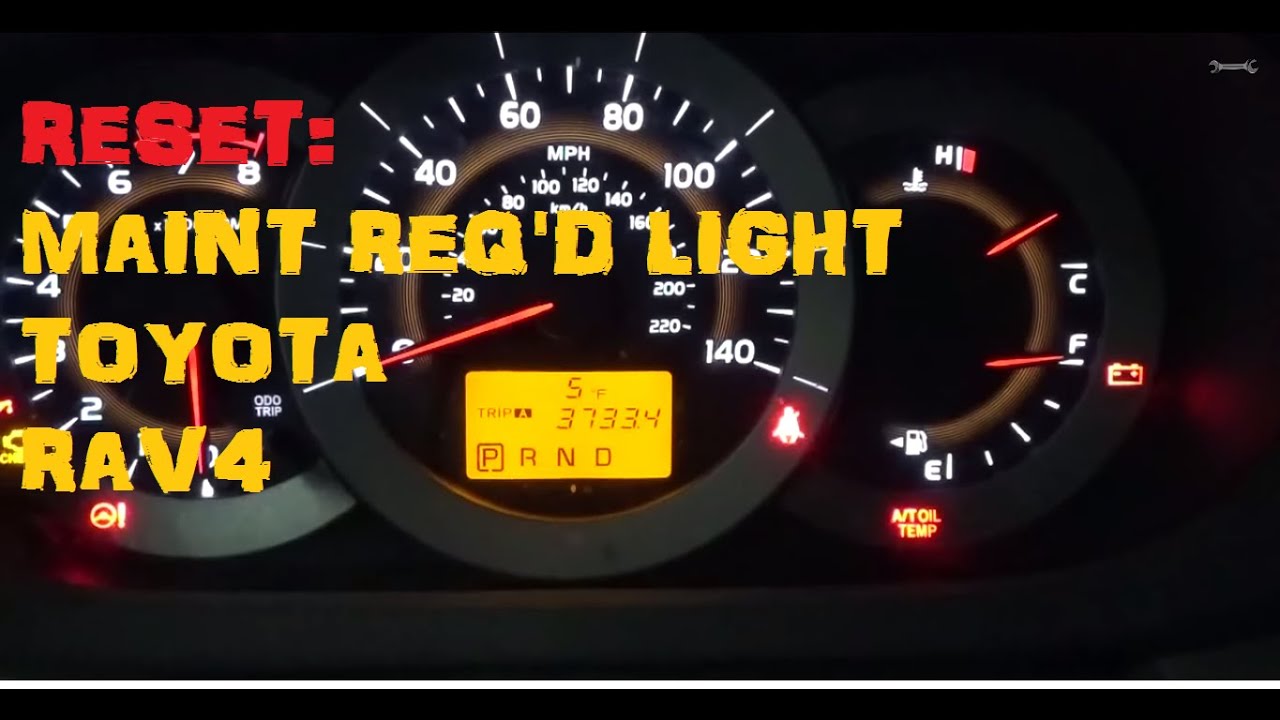
How to Turn off Maint Reqd Light Toyota? To turn off the Maintenance Required (Maint Reqd) light on a Toyota, first, ensure the vehicle is turned off. Press and hold the trip reset button.
While holding the button, turn the ignition key to the “on” position. Continue to hold the button until the Maint Reqd light turns off. This simple process will reset the maintenance reminder and turn off the light on your Toyota.
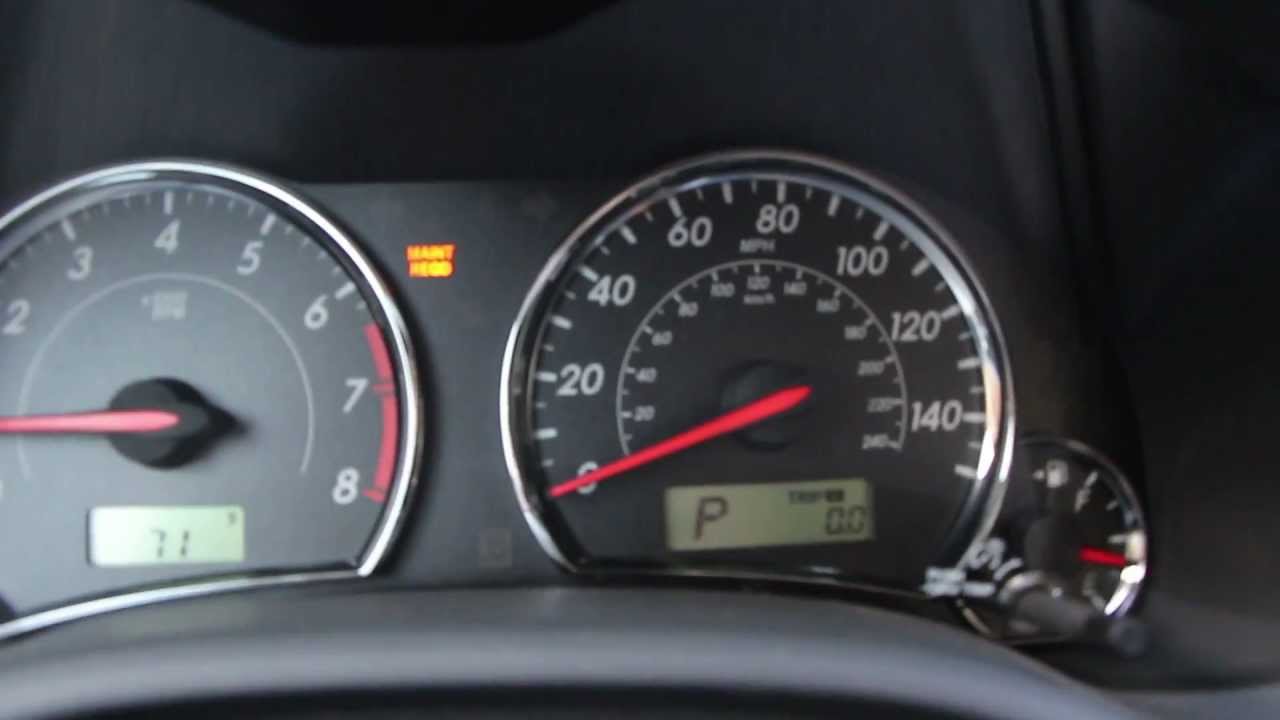
When driving a Toyota, the Maint Reqd light may illuminate, indicating that routine maintenance is due. It’s important to address this reminder to ensure the vehicle continues to operate smoothly. Fortunately, turning off the light can be done quickly and without the need for professional assistance. By following specific steps, you can reset the maintenance reminder and turn off the Maint Reqd light on your Toyota, allowing you to drive without the distraction of the illuminated warning.
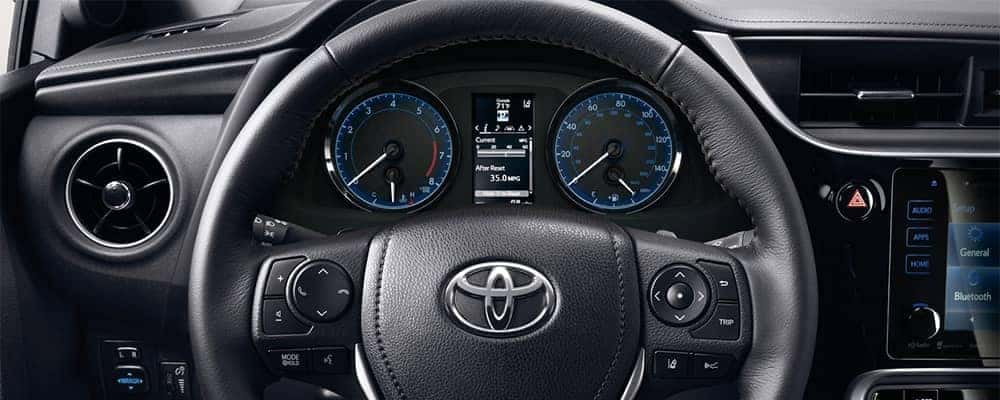
Credit: www.redmccombstoyota.com
Why Is The Maint Reqd Light On?
When the Maint Reqd light illuminates in your Toyota vehicle, it indicates that it’s time for routine maintenance. This light serves as a reminder to perform regular maintenance to keep your vehicle in optimal condition.
The Maint Reqd light is triggered based on your vehicle’s engine operating hours. It doesn’t necessarily mean there is a problem with your car; rather, it’s a reminder for upkeep tasks like oil changes, inspections, and more.
To reset the Maint Reqd light, follow these steps:
- Start by turning off the engine
- Press and hold the Trip Reset button
- Turn the ignition key to the ON position without starting the engine
- Continue holding the Trip Reset button until the Maint Reqd light turns off
It’s crucial to heed the Maint Reqd light to ensure your vehicle operates smoothly. Keep track of your maintenance schedule to prevent potential issues down the line.
Credit: m.youtube.com
Resetting The Maint Reqd Light
Resetting the Maint Reqd Light on your Toyota is an essential part of maintaining your vehicle. Here are a few methods to help you turn off the light and stay on top of your vehicle’s maintenance needs.
Checking The Owner’s Manual
One way to reset the Maint Reqd Light on your Toyota is to consult your owner’s manual. This is always a good place to start, as it provides specific instructions for your vehicle model. Look for the section on resetting the maintenance light, and follow the step-by-step guide to turn off the light.
Using The Odometer Button
If you prefer a hands-on approach, you can reset the Maint Reqd Light using the odometer button. This method typically involves a series of steps using the buttons on your dashboard, so refer to your owner’s manual for the exact sequence. Once you have located the instructions, follow them carefully to reset the maintenance light.
Using A Scan Tool
Another option for resetting the Maint Reqd Light is to use a scan tool. This device allows you to access the vehicle’s onboard computer and reset the maintenance light directly. While a scan tool may require additional equipment, it can be a convenient option for those comfortable with automotive technology.
Understanding The Maint Reqd Light
The Maint Reqd Light, also known as the maintenance required light, is a feature in Toyota vehicles designed to remind drivers when it’s time for routine maintenance. Understanding this light is crucial for vehicle maintenance and ensuring your car runs smoothly. Proper maintenance can help prevent costly repairs down the line and extend the lifespan of your vehicle.
What Does The Maint Reqd Light Mean?
When the maintenance required light is illuminated on your dashboard, it means that your vehicle’s engine control unit (ECU) has determined that it’s time for maintenance based on the mileage and time since the last service. This light serves as a gentle reminder to schedule an oil change, fluid checks, filter replacements, or other routine services recommended by Toyota.
Is It Safe To Drive With The Maint Reqd Light On?
Driving with the maintenance required light on is generally safe for a short period. However, it’s important not to ignore this indicator for too long, as it could lead to potential issues with your vehicle’s performance and efficiency. It’s best to address the required maintenance promptly to ensure your car continues to operate at its best.
Common Issues And Troubleshooting
In troubleshooting the maintenance required light on your Toyota, common issues can arise even after attempting to reset the light. Below are some common scenarios and troubleshooting tips to help you resolve the issue.
Light Still On After Reset
If the maintenance required light remains illuminated after the reset process, there may be a deeper underlying issue that requires further investigation.
Light Keeps Coming Back On
If the maintenance required light keeps reappearing after being reset, there are a few steps you can take to address this recurring problem.
When To Seek Professional Help
If you’re wondering how to turn off the Maint Reqd light on your Toyota, seeking professional help is recommended. A trained technician can accurately diagnose the issue and provide a remedy, ensuring the light is reset and your vehicle is in optimal condition.
If you have attempted to reset the Maint Reqd light on your Toyota but it is still illuminated, it may be a sign that there is an underlying issue that needs to be addressed by a professional. Additionally, if you notice other warning lights on your dashboard, it is essential to consult a qualified technician to diagnose and rectify any potential problems.
When Reset Attempts Don’t Work
If your attempts to reset the Maint Reqd light have been unsuccessful, it is advisable to seek the expertise of a professional mechanic or visit an authorized Toyota service center. These trained professionals have the necessary diagnostic tools and knowledge to accurately identify and resolve any issues that may be causing the light to remain on.
Beyond the standard procedure of resetting the light, it is possible that your vehicle requires more in-depth troubleshooting. A qualified technician will be able to conduct a comprehensive inspection of your Toyota, examining various components that could be contributing to the illuminated light.
It is crucial not to ignore a persistent Maint Reqd light, as it could indicate potential problems with your engine, oil levels, or other vital systems. Continuing to drive without resolving these issues could lead to further damage and more costly repairs in the future.
When There Are Other Warning Lights
When you notice other warning lights in addition to the Maint Reqd light, it is imperative to seek professional help promptly. Multiple illuminated warning lights often suggest a more complex underlying problem that requires expert attention.
A professional technician will have the expertise to diagnose the specific issues related to each warning light, ensuring that the appropriate repairs or maintenance procedures are performed. This can help prevent further damage and ensure the safety and longevity of your Toyota vehicle.
Remember, attempting to fix or ignore multiple warning lights without the necessary expertise can be risky and may cause additional harm to your vehicle or compromise your safety on the road. Seeking professional help is the best course of action to address these concerns effectively.

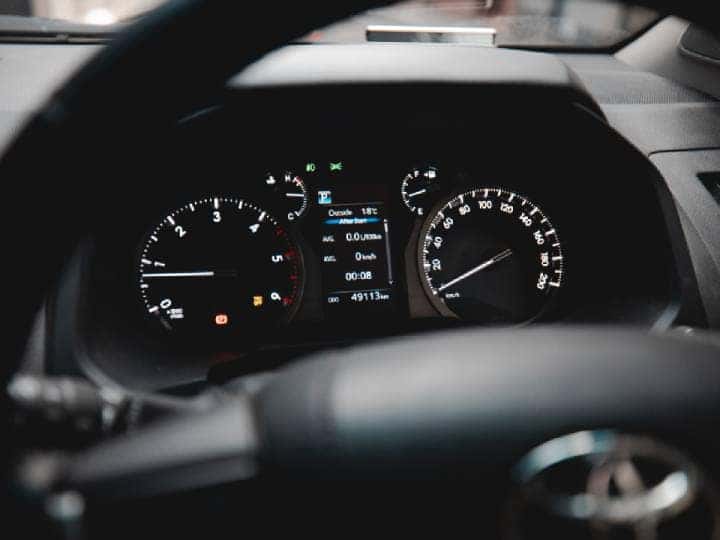
Credit: www.tvtoyota.com
Frequently Asked Questions On How To Turn Off Maint Reqd Light Toyota
How Do I Turn Off The Maintenance Required Light On My Toyota?
To turn off the maintenance required light on your Toyota, simply follow these steps:
1. Make sure your vehicle is turned off. 2. Locate the odometer button, typically found on the dashboard. 3. Press and hold the button while turning the ignition to the “on” position. 4. Continue holding the button until the maintenance required light turns off. 5. Release the button and start your vehicle. The light should now be reset.
Why Is The Maintenance Required Light On In My Toyota?
The maintenance required light in your Toyota is an indicator that regular maintenance is due. It is a reminder to perform routine services, such as oil changes, tire rotations, and filter replacements. Ignoring this light could lead to potential issues with your vehicle’s performance and longevity.
How Often Should I Perform Maintenance On My Toyota To Prevent The Maintenance Required Light From Coming On?
To prevent the maintenance required light from coming on in your Toyota, it is recommended to follow the manufacturer’s recommended maintenance schedule. This typically includes regular oil changes every 5,000 to 7,500 miles, tire rotations every 5,000 to 7,500 miles, and inspections of other vital components, such as brakes and filters, at specified intervals.
Regular maintenance will help keep your vehicle running smoothly and can extend its lifespan.
Conclusion
Keeping your Toyota well-maintained is crucial for longevity. Understanding how to turn off the maint reqd light can save you time and money. By following these simple steps, you can easily reset the light and ensure your vehicle is running smoothly.
Stay proactive in caring for your car.