How to Change an Alternator on a 2010 Toyota Corolla? To change an alternator on a 2010 Toyota Corolla, follow these steps:
- Prepare your vehicle and safely park and disconnect the battery.
- Remove the old alternator.
- Select and install a new alternator ensuring model compatibility.
- Reconnect everything.
- Conduct final checks and testing.
Step 1: Preparing Your Vehicle

To replace the alternator in your 2010 Toyota Corolla, start by getting the right tools: wrenches, a socket set, screwdrivers, and maybe a serpentine belt tool. Also, have a car manual ready for guidance on your car’s specifics.
Make sure your car is on a flat surface with good lighting. Wear safety gloves and eyewear.
Next, disconnect the battery by removing the negative terminal first to avoid electrical issues and ensure safety.
Locate the alternator, usually at the front of the engine in a 2010 Toyota Corolla. Check your manual for its exact location and instructions on how to access it.
Step 2: Removing the Old Alternator
To remove the old alternator from a 2010 Toyota Corolla, follow these steps:
- Find the alternator: It’s usually at the front of the engine, accessible from the top.
- Loosen the tensioner: This lets you remove the serpentine belt from the alternator pulley. Use a wrench or a special tool.
- Disconnect electrical connections: Carefully unplug the main power cable and any other connectors from the alternator.
- Remove the alternator bolts: Take out the bolts holding the alternator. Then, you can lift the alternator out.
Remember to keep all bolts and connectors organized. Using a magnetic parts tray helps to avoid losing small parts. After removing the alternator, you can proceed to install the new one.
Step 3: Selecting a New Alternator
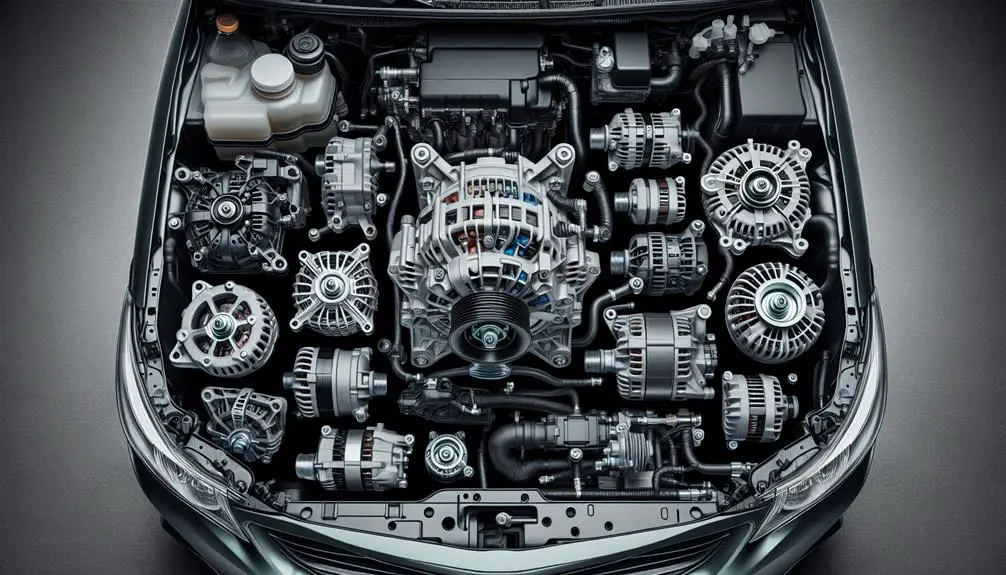
Choosing the right alternator for your 2010 Toyota Corolla involves a few steps:
- Check compatibility. Ensure the alternator fits your Corolla’s model and engine type. Use your car’s manual or ask a car parts store.
- Consider power needs. Match the alternator’s output with your car’s electrical needs. If you’ve added power-hungry accessories, you might need a stronger alternator. Otherwise, the standard output works.
- Decide between new or remanufactured. New alternators are more reliable and come with warranties but cost more. Remanufactured ones are cheaper but ensure they’re from a trusted source.
- Look at the warranty. A longer warranty is good, but understand its limits.
Step 4: Installing the New Alternator
To install a new alternator in a 2010 Toyota Corolla, follow these simple steps. Ensure the car is on a flat surface, the engine is turned off and cool, and the battery is disconnected to prevent electrical shocks.
- Place the new alternator in its position, making sure it aligns with the mounting brackets to avoid belt wear.
- Thread the bolts by hand to avoid cross-threading, then tighten them with a wrench without over-tightening to prevent thread stripping or bolt breaking.
- Reconnect the electrical connections to the alternator, ensuring they’re secure to avoid charging issues.
Make sure everything is correctly installed to avoid future problems.
Step 5: Final Checks and Testing
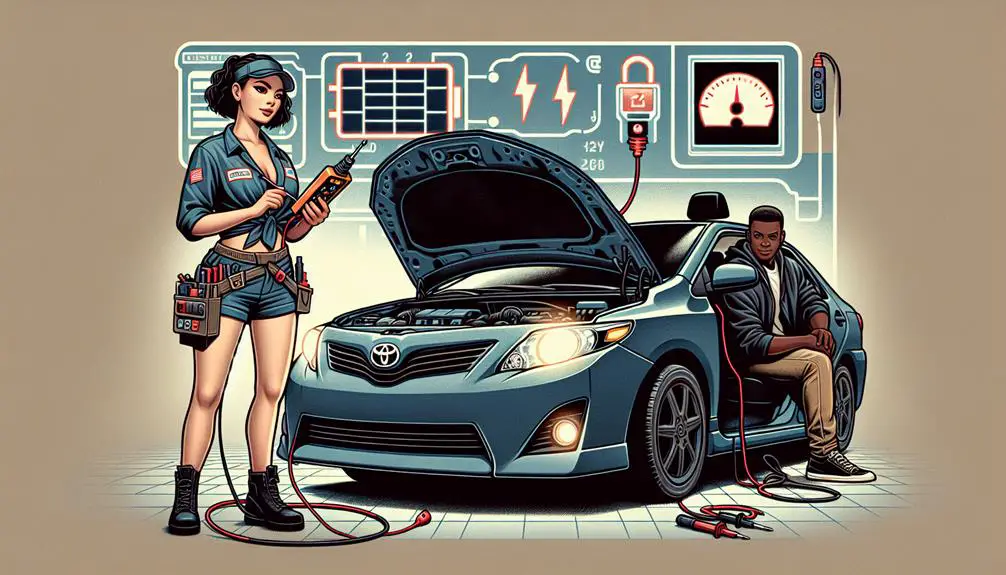
Before you connect the battery again, make sure to do these checks to ensure the new alternator works well. First, check all connections you made are tight, including the alternator’s electrical connector and battery cables.
Next, check the belt that connects to the alternator. It should be tight enough not to slip but not too tight to damage it. You should be able to twist the belt slightly. Adjust it if needed.
Now, connect the battery. Start with the positive cable, then the negative. Ensure the connections are tight and not corroded. After connecting the battery, start the car to see if the alternator works.
Look at the dashboard for the charging system warning light. It shouldn’t be on. Also, use a voltmeter to measure the charging voltage at the battery. It should be between 13.8 and 14.2 volts when the engine is running, which means the alternator is working well.
If all is good, you have successfully replaced and tested the alternator in your 2010 Toyota Corolla. Remember to regularly check your vehicle’s electrical system to prevent future problems.
Wrapping Up
If you’re a proud owner of a 2010 Toyota Corolla facing alternator issues, you’re in luck! We’ve just walked you through the step-by-step process of replacing this crucial component. Our guide covered everything from safety precautions to the final testing of your newly installed alternator.
We broke down the process into easy-to-follow steps, starting with disconnecting the battery and locating the alternator. We then explained how to remove the serpentine belt, disconnect the electrical connections, and remove the old alternator. The guide also detailed the installation of the new alternator, including proper belt routing and tension adjustment.