If you own a Toyota RAV4, you know how important it is to keep your vehicle running smoothly. One often overlooked but essential maintenance task is changing the cabin air filter. A clean cabin air filter ensures that you and your passengers breathe fresh air while driving, and it helps maintain the efficiency of your vehicle’s HVAC system.
Why Change the Cabin Air Filter?
The cabin air filter in your Toyota RAV4 is designed to remove dust, pollen, and other airborne contaminants from the air that enters your vehicle’s interior through the heating, ventilation, and air conditioning (HVAC) system. Over time, the filter can become clogged with debris, reducing its effectiveness and potentially impacting the air quality inside your car. Regularly changing the cabin air filter is essential for maintaining a clean and healthy driving environment.
When to Change the Cabin Air Filter
Toyota recommends inspecting and, if necessary, replacing the cabin air filter every 15,000 to 30,000 miles, depending on driving conditions. However, if you frequently drive in heavy traffic, urban areas, or dusty environments, you may need to change the filter more often. Additionally, it’s a good idea to replace the cabin air filter at least once a year to ensure optimal performance.
Steps to Change the Cabin Air Filter in a Toyota RAV4
Changing the cabin air filter in your Toyota RAV4 is a straightforward process that you can easily do yourself. Follow these simple steps to replace the cabin air filter and maintain the air quality inside your vehicle:
- Locate the Cabin Air Filter Housing: The cabin air filter is typically located behind the glove compartment on the passenger side of the vehicle.
- Remove the Glove Compartment: Open the glove compartment and remove any items or clutter inside. Press in the sides of the glove compartment to release the retaining tabs and lower the compartment until it can be unhinged from its supports.
- Locate and Remove the Filter Housing Cover: Once the glove compartment is out of the way, you’ll see the cabin air filter housing. It may be covered by a plastic panel secured with clips or screws. Carefully remove the cover to access the old filter.
- Remove the Old Filter: Gently slide out the old cabin air filter from its housing. Take note of the airflow direction indicated on the filter, as you’ll need to install the new filter in the same orientation.
- Install the New Filter: Slide the new cabin air filter into the housing, making sure it is positioned correctly according to the airflow direction markings. Ensure that the filter is fully seated and the housing cover can be fastened securely.
- Reassemble the Glove Compartment: Lift the glove compartment back into position and reattach it to its supports. Test the compartment to ensure that it opens and closes smoothly.
Choosing the Right Cabin Air Filter
When selecting a replacement cabin air filter for your Toyota RAV4, it’s important to choose a high-quality filter that is compatible with your vehicle’s make and model. Look for filters that offer superior filtration of airborne particles and allergens, as well as long-lasting durability.
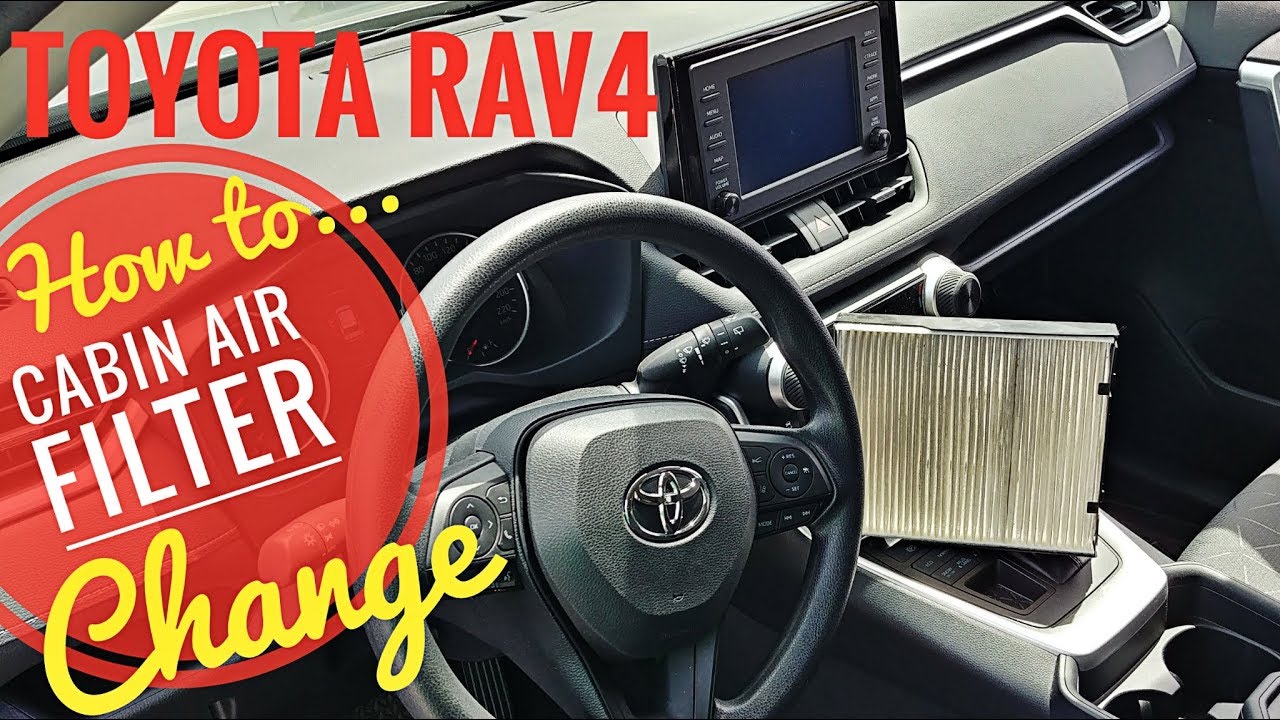
Credit: www.youtube.com
Benefits of Regular Cabin Air Filter Replacement
By changing the cabin air filter in your Toyota RAV4 as part of your regular maintenance routine, you can enjoy numerous benefits, including:
- Improved air quality inside the vehicle
- Enhanced HVAC system performance
- Reduced exposure to allergens and pollutants
- Prevention of musty odors inside the car
Moreover, maintaining a clean cabin air filter can contribute to the longevity of your vehicle’s heating and cooling components, helping to avoid potential HVAC system issues in the future.
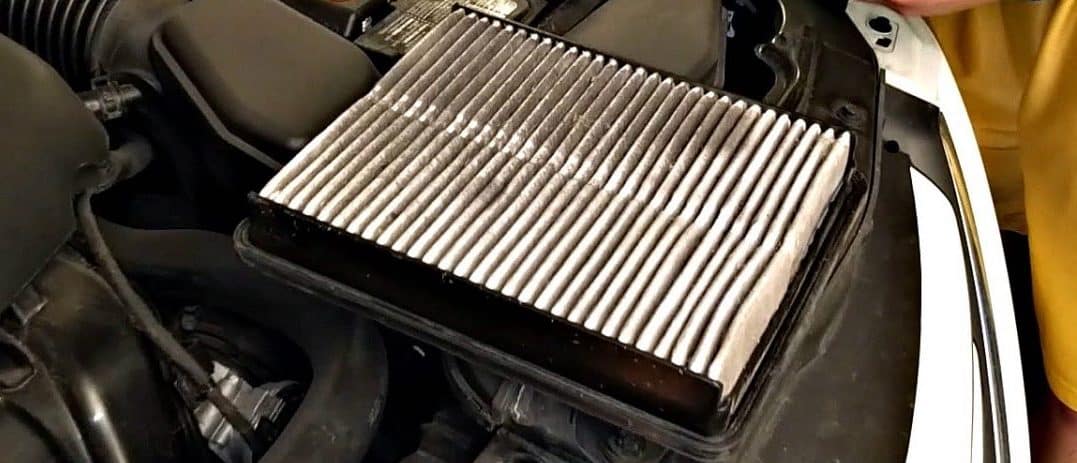
Credit: www.frontiertoyota.com
Frequently Asked Questions Of How To Change Cabin Air Filter Toyota Rav4
How Often Should I Change The Cabin Air Filter In My Toyota Rav4?
It is recommended to change the cabin air filter in your Toyota Rav4 every 12,000 to 15,000 miles or once a year. Regular maintenance ensures optimal air quality in your vehicle.
What Are The Signs That My Cabin Air Filter Needs To Be Replaced?
If you notice reduced airflow from the vents, unpleasant odors, increased allergies or dust in your vehicle, it’s a good indication that your cabin air filter needs to be replaced. Don’t compromise on air quality.
How Do I Change The Cabin Air Filter In My Toyota Rav4?
To change the cabin air filter in your Toyota Rav4, locate the filter housing under the dashboard or behind the glove compartment. Remove the old filter and insert a new one according to the manufacturer’s instructions. Enjoy clean, fresh air inside your vehicle.
Conclusion
Regularly changing the cabin air filter in your Toyota RAV4 is a simple yet crucial maintenance task that ensures you and your passengers breathe clean, fresh air while driving. By following the steps outlined in this guide, you can easily replace the filter and maintain the air quality inside your vehicle, contributing to a more comfortable and healthy driving experience.