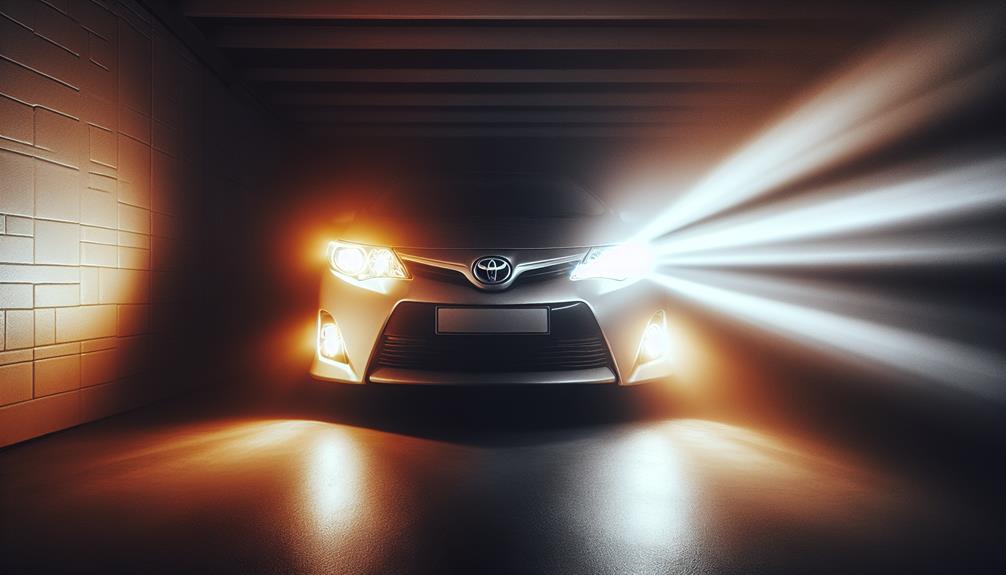
To change a Toyota Corolla headlight bulb, gather basic tools. Access the headlight assembly and remove the old bulb. Install the new one with precision, ensuring proper alignment and connection for safe night driving.
Adding a double new line for clarity:
To change a Toyota Corolla headlight bulb, gather basic tools. Access the headlight assembly and remove the old bulb. Install the new one with precision, ensuring proper alignment and connection for safe night driving.
Gather Your Tools

Before changing your Toyota Corolla's headlight bulb, it is important to gather the necessary tools. This includes acquiring a new headlight bulb that is compatible with your specific Corolla model. The right bulb can be identified by referencing your car's manual or by searching online. Additionally, you will need a set of hand tools, such as a Phillips head screwdriver. It may also be beneficial to have both a flat-head and Phillips head screwdriver on hand for different parts of the process. To protect the bulb from oils on your skin, remember to wear gloves during the replacement. For improved visibility in darker areas, consider using a flashlight or headlamp. In case of minor adjustments, having electrical tape available can be helpful. Ensure you have all these tools ready before beginning the headlight bulb replacement process.
Accessing the Headlight Assembly
To change the headlight bulb in your Toyota Corolla, first open the hood to see the back of the headlight assembly. The assembly is found at the front of the car, on both sides, behind the grille.
Follow these steps:
- Find the Headlight Assembly: Decide if you're replacing the left or right bulb, and look at that side. The assembly has a protective cover over it.
- Remove Obstructions: Some models have the battery or air filter housing in the way. If so, move or take these out carefully to avoid damage.
- Open the Back Cover: After removing any obstacles, find the back cover of the headlight assembly. It's usually plastic with clips, screws, or a twist-off design. Open or remove it to get to the bulb.
Removing the Old Bulb

To remove the old bulb from the headlight assembly, twist the bulb holder to the left until it comes loose. Be careful to avoid breaking it. If it doesn't come out easily, check you're twisting the right way and look for any dirt or rust that might make it harder to remove.
Once the bulb holder is loose, pull it out. The bulb will be connected to a plug. To disconnect it, hold the plug and gently pull it off the bulb. Don't pull the wires. If the plug is tight, wiggle it a bit as you pull.
Now you have the old bulb. Check the bulb holder and surrounding area for any damage or rust and make sure the headlight assembly is dry.
Be careful with the old bulb, especially if it was on recently because it could be hot. Throw it away as per your local rules because bulbs shouldn't go in the regular trash.
Now, you can put in the new bulb.
Installing the New Bulb
To install a new bulb in a Toyota Corolla's headlight:
- Prepare the New Bulb: Clean and dry your hands before handling the new bulb. Wearing gloves can help avoid transferring oils from your skin to the bulb, which can reduce its lifespan.
- Insert the New Bulb: Hold the new bulb by its base or use a clean cloth to avoid touching the glass. Align the notches or tabs on the bulb with those on the headlight assembly for a correct fit. Gently push the bulb into the socket until it's secure. Be careful not to use too much force to avoid damage.
- Secure the Bulb: Secure the bulb in place to prevent it from coming loose. This might require twisting it clockwise until it locks or reattaching a clip or ring from the old bulb. Ensure it's firmly in place but avoid excessive force to prevent breaking.
Installing the new bulb correctly is important for safe driving at night and meeting road regulations. The installation process may vary by the vehicle's year and model, so check the owner's manual for specific instructions.
Testing the New Headlight
After replacing the headlight bulb, test it to ensure it works well. First, put away your tools and close your car's hood to avoid blocking the light. Then, sit in the driver's seat to access the car's ignition and headlight switch.
Turn on the ignition, but you don't have to start the car unless it's necessary for the headlights to work. Turn on the headlights and aim them at a wall or garage door to check the light's pattern and brightness.
Look for a bright and evenly distributed light. If the light is weak or uneven, make sure the bulb is installed correctly and wasn't touched with bare hands, as skin oils can reduce the bulb's effectiveness.
Check both the low and high beams to ensure they work well. If both settings are good, your headlight bulb replacement was successful, and your car is ready for safer driving.
Conclusion
You've just changed the headlight bulb in your Toyota Corolla, so you're ready to drive safely again.
It's very important to keep your headlights working well to stay safe and make sure others are safe too.
If you're ever not sure how to change the bulb, you can look in your car's manual or ask an expert for help.
Safe driving starts with keeping your car in good shape, and changing your headlight bulb is a big part of that.
Keep your lights bright and drive safely!