If you’ve lost your Toyota transponder chip key or need to replace it, you might be wondering how you can program a new one. Luckily, with the right information and tools, you can easily program a new transponder chip key for your Toyota. In this comprehensive guide, we’ll walk you through the step-by-step process of programming a Toyota transponder chip key, so you can get back on the road with peace of mind.
Transponder Chip Keys Overview
Before we jump into the programming process, let’s first understand what a transponder chip key is and how it works. A transponder chip key is equipped with a small electronic chip that communicates with the vehicle’s immobilizer system. This system is designed to prevent the car from starting if an unauthorized key is used. When you insert the key into the ignition, the transponder chip sends a unique code to the car’s immobilizer system. If the code matches the one programmed into the system, the car will start.
What You’ll Need
Before you begin programming your Toyota transponder chip key, you’ll need to gather a few essential tools and materials:
| Tools & Materials |
|---|
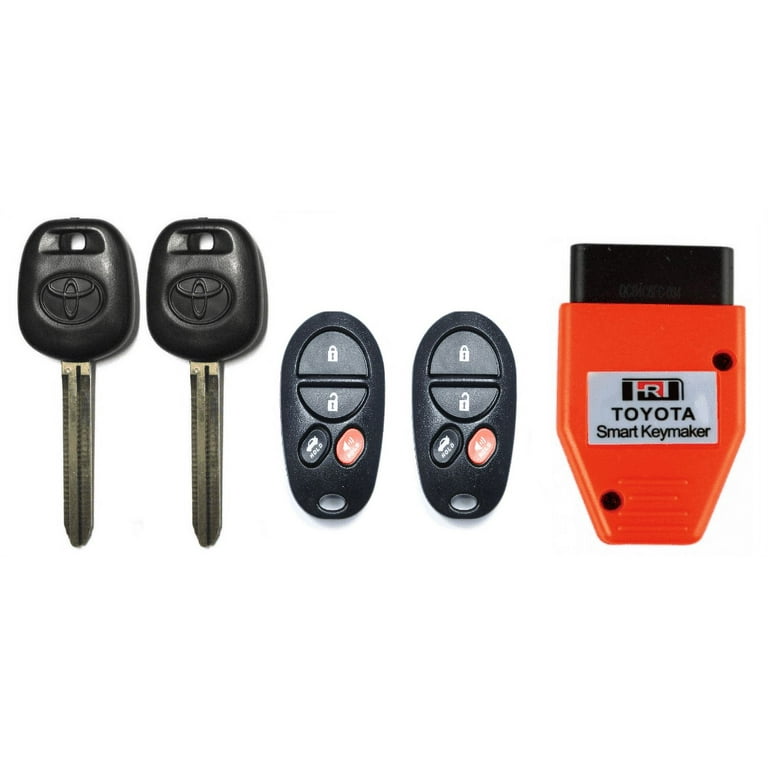
| Replacement Toyota transponder chip key |
| Original Toyota transponder chip key |
| Programming instructions specific to your Toyota model |
| Paperclip or jumper wire |
| Stable internet connection for accessing programming instructions |
Programming Your Toyota Transponder Chip Key
Now that you have all the necessary tools and materials, it’s time to start programming your Toyota transponder chip key. Follow these step-by-step instructions to successfully program your new key:
Step 1: Obtain the Programming Instructions
Start by obtaining the programming instructions specific to your Toyota model. These instructions can usually be found in your owner’s manual, or you can search online for the specific programming procedure for your car’s make and model.
Step 2: Enter Programming Mode
To enter programming mode, you’ll need to insert the original transponder chip key into the ignition and then remove it within 5 seconds. Quickly insert the new transponder chip key and turn the ignition to the “ON” position. Wait for the security light to turn off and then turn the ignition off.
Step 3: Confirm Programming
To confirm that the new key has been successfully programmed, repeat step 2 with each additional key within 40 seconds. Each key should be inserted and removed, followed by the insertion of the next key within 5 seconds. Once all keys have been programmed, turn the ignition to the “ON” position and wait for the security light to turn off.
Step 4: Test the New Key
After programming all of your transponder chip keys, it’s essential to test each key to ensure they start the vehicle successfully. This will confirm that all keys have been programmed correctly and are ready to use.
Credit: www.walmart.com
