Replacing a Toyota Corolla's headlight assembly involves several steps:
- Preparing with the necessary tools
- Accessing and removing the old assembly
- Installing the new one
- Ensuring proper alignment for optimal illumination
Patience and careful steps are key to successful replacement.
Gather Necessary Tools
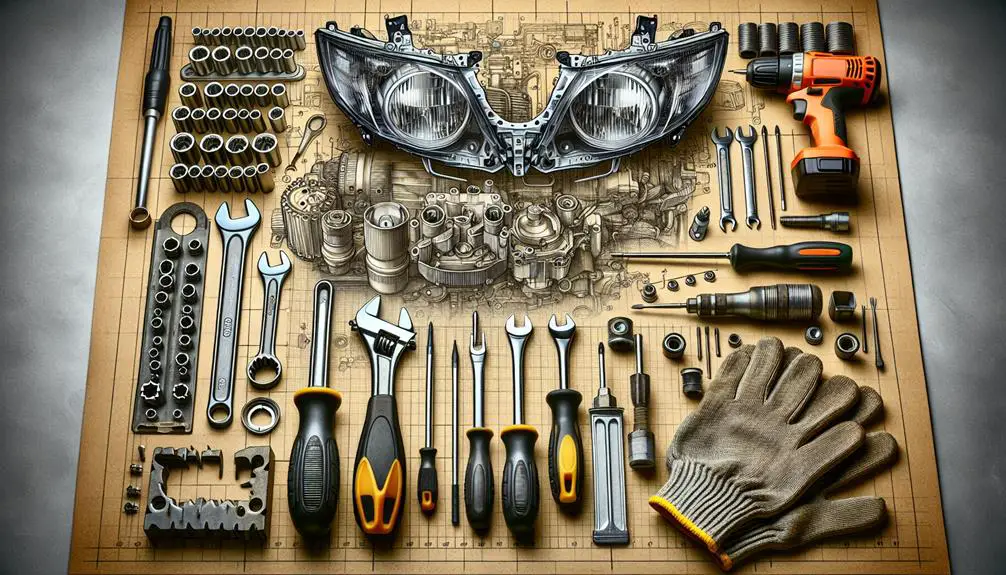
Before starting, gather all necessary tools for replacing the Toyota Corolla headlight assembly. This will save time and prevent frustration. You need a few basic tools, including:
- A set of screwdrivers (both Phillips and flathead) since the assembly may have different screw types.
- A ratchet and socket set with multiple sizes to fit your Corolla model.
- Pliers for removing stubborn headlight assembly or electrical connectors carefully.
- A flashlight or headlamp to see clearly in dimly lit areas under the hood.
- Gloves and safety glasses for protection against dirt, debris, and accidental slips.
With these tools, you're ready to replace the headlight assembly on your Toyota Corolla.
Accessing the Headlight Assembly
Before replacing the headlight assembly on your Toyota Corolla, make sure to follow these steps for a smooth process:
- Park your vehicle on a level surface and turn off the ignition to ensure safety.
- Open the hood and make sure it's securely held open.
- Find the headlight assembly from the engine compartment side.
- Remove or move any parts blocking access to the headlight assembly, doing so carefully to avoid damage.
- Take your time to avoid mistakes or damage. If something seems stuck, double-check your approach before proceeding.
Removing the Old Assembly

To remove the old headlight assembly, first disconnect the electrical connector. Press or pull the clip or plug gently to avoid damage.
Next, unscrew the bolts or screws holding the assembly. There are usually two or three, found at the top and back. Use a socket wrench or screwdriver. Keep the screws safe for later use.
If the assembly doesn't come out easily, it may be snug or have extra clips. Wiggle it gently to find any spots where it's still attached. Look for any missed fasteners.
Installing the New Assembly
With the old headlight assembly removed, it's time to install the new one. This is important for your Toyota Corolla's appearance and safety during night or bad weather. Here's how to install it smoothly:
- Check compatibility: Ensure the new headlight assembly fits your Toyota Corolla.
- Handle carefully: Avoid touching the new bulbs with bare hands to prevent damage.
- Align properly: Align the new assembly accurately with the mounting points to avoid misalignment.
- Ensure secure connections: Make sure all electrical connections are tightly connected.
- Tighten appropriately: Secure the assembly with bolts or screws firmly but without overtightening to avoid damage.
Following these steps carefully will help you successfully install the new headlight assembly on your Toyota Corolla.
Testing the New Headlights

Before driving, test your new Toyota Corolla headlights to make sure they work properly. Here's what to do:
- Park your car in a safe, dim area. Turn on the headlights and check them from outside the car. They should be bright and point in the same direction. If not, adjust them.
- Test both low and high beams. Look for flickering or failure to switch settings, indicating a possible issue.
- Check the turn signals and any other lights in the headlight assembly to ensure they're all connected and working.
If everything works, the installation is successful. If not, recheck your connections and the headlight assembly's fit. A small adjustment might fix the problem.
Conclusion
You did a great job changing the headlight assembly on your Toyota Corolla. First, you got all the tools you needed.
Then, you went into the headlight area, took out the old part, and put in the new one carefully. After that, you checked to make sure the new headlights worked well and saw them light up bright.
Give yourself a pat on the back. Your car looks better and is safer to drive now because of your hard work. Remember, keeping your car's parts in good shape helps make your drives smooth and safe.