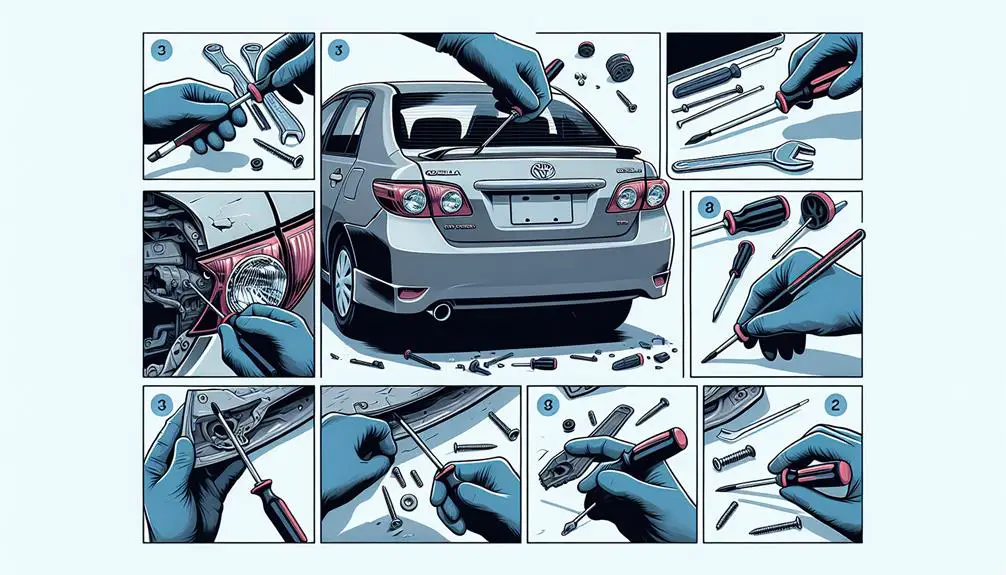
To replace a Toyota Corolla tail light cover, follow these steps:
- Access the tail light assembly
- Remove the old cover
- Install a new one
This simple process enhances safety and ensures compliance with traffic laws. Tools and patience are required for success.
Gather Required Tools

Before you start replacing the tail light cover on your Toyota Corolla, make sure you have the necessary tools. This will help you save time and avoid frustration.
You'll likely need a set of screwdrivers (both flat-head and Phillips), a pair of pliers, some masking tape, and a soft cloth. The screwdrivers are needed because the tail light cover might be secured with different types of screws. Pliers can help remove tight fasteners or clips.
Masking tape can protect your car's paint, and a soft cloth can be used for cleaning and to place the tail light cover on. Having these tools ready will make the replacement process easier and prevent damage to your car.
Accessing the Tail Light Assembly
To access the tail light assembly on a Toyota Corolla, start by opening the car's trunk. Inside, you'll find a panel or liner covering the tail lights, which you may need to remove. This can involve unscrewing or pulling away the panel, often held in place by clips or fasteners. Use a flathead screwdriver or your hands to carefully remove these, avoiding damage.
Next, locate the electrical connectors at the back of the tail light assembly. Disconnect these by pressing down on the tab and pulling out the connector. Handle gently to avoid breaking them.
With the electrical connectors off, the tail light assembly is accessible. You can now proceed with replacing the tail light cover or any other tasks, ensuring nothing is obstructing your work. Take your time to avoid any damage.
Removing the Old Cover

To take off the old tail light cover, first carefully use a screwdriver to remove the clips or screws. Make sure you don't damage anything around it. After removing them, gently take off the cover, remembering how it was positioned for when you put the new one on.
Then, if the tail light bulb is connected to the cover, you need to disconnect it. Do this by turning the bulb holder to the left and pulling it out. Be careful with the bulb because it can break easily.
Check the area for any damage like cracks or corrosion before putting on the new cover. This ensures the new cover fits well and works right.
Here's a guide for removing the cover:
| Step | Tool Needed | Note |
|---|---|---|
| 1. Remove clips or screws | Screwdriver | Don't damage surroundings |
| 2. Take off the cover | Hands | Remember how it was placed |
| 3. Disconnect the bulb | Hands | Turn left and pull out |
Installing the New Cover
Having taken off the old tail light cover, you're set to put on the new one. Here's how to do it correctly:
- Check the new tail light cover for any damage. If it's fine, you can proceed.
- Clean the area where the cover will go with a clean cloth. This ensures a good fit and prevents scratches.
- Align the new cover with the tail light assembly. It should have tabs or hooks that match slots on the assembly. Press it into place until it secures.
- Reattach any screws or bolts you removed earlier. Tighten them just enough to hold the cover in place without gaps. Avoid over-tightening to prevent damage.
Your new tail light cover is now installed on your Toyota Corolla.
Final Checks and Testing

After you install the new tail light cover on your Toyota Corolla, follow these steps to make sure it's correctly installed and working:
- Check that the tail light cover is firmly attached. It shouldn't move when pressed. If it does, recheck your installation to ensure all clips or screws are secure.
- Test the tail light by:
- Turning on the headlights to see if the tail lights light up.
- Using the turn signals to make sure they work with the new cover.
- Having someone press the brake pedal to check that the brake lights get brighter as expected.
These steps help confirm the tail light works properly with the new cover and meets safety standards.
Conclusion
You did a great job changing the tail light cover on your Toyota Corolla. First, you got all the tools you needed. Then, you got to the light, took off the old cover, and put on the new one. You were like a pro.
Don't forget to check everything and make sure the lights work right. Fixing it yourself saved you money and made you feel good about handling car fixes. Good job!
