To reset the maintenance light on a Toyota, turn the ignition on and press the trip meter button until the dashboard displays “Odo.” Then turn the ignition off and hold the trip meter button while turning the ignition back on.
Follow these simple steps to quickly reset the maintenance light on your Toyota. Proper maintenance of your vehicle is crucial for its long-term performance and safety. Regularly resetting the maintenance light ensures that you stay on top of your vehicle’s service needs.
This guide will provide you with clear, easy-to-follow instructions for resetting the maintenance light on your Toyota, allowing you to maintain your vehicle in optimal condition. Regular maintenance not only increases your vehicle’s longevity but also ensures your safety on the road. Let’s delve into the process of resetting the maintenance light on your Toyota to keep it running smoothly.

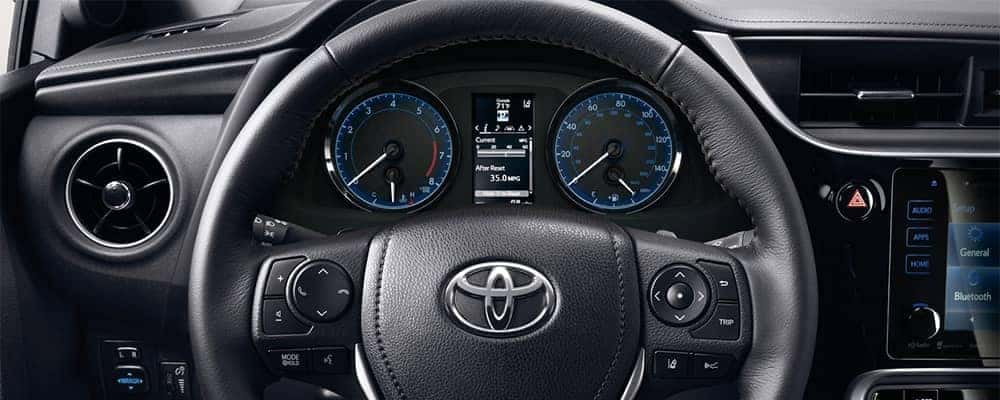
Credit: m.youtube.com
Methods For Resetting The Maintenance Light
Learn the simple methods for resetting the maintenance light on your Toyota vehicle. Whether you prefer the ignition method or the trip meter method, follow these steps to get rid of that pesky light.
Using The Ignition Method
- Insert and turn the key in the ignition to the “On” position.
- Press and hold the trip reset button until the light starts flashing.
- Release the trip reset button, and the light should disappear.
Using The Trip Meter Method
- Turn off the car completely.
- Press and hold the trip meter button.
- Turn the key to the “On” position while holding the trip meter button.
- Release the trip meter button after the light resets.
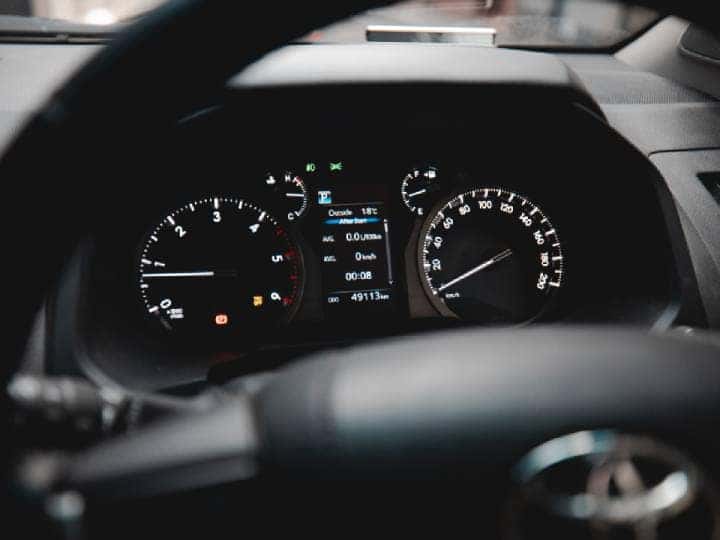
Credit: www.mariettatoyota.com
Troubleshooting Common Issues
Troubleshooting common issues is an essential part of owning a Toyota and learning how to reset the maintenance light is no exception. Despite following the standard reset procedures, you might encounter some common issues. Understanding these issues can help you address them effectively, allowing you to keep your Toyota in optimal condition.
Maintenance Light Still On After Resetting
If your maintenance light remains illuminated after successfully completing the reset process, there are a few possible reasons for this issue. One common culprit is not following the reset procedure accurately, so ensure that you precisely follow the steps outlined in your vehicle’s manual. Additionally, it’s important to check for any underlying mechanical issues that may be triggering the maintenance light. If the problem persists, it might be advisable to seek professional assistance to diagnose the underlying cause.
Unable To Reset Maintenance Light
If you find yourself unable to reset the maintenance light despite following the prescribed steps, there are a few troubleshooting measures to consider. Start by ensuring that your vehicle meets the conditions required for the reset process, such as having the key in the correct position or the odometer reading within the specified range. If the conditions are met and the issue persists, it might be helpful to review the reset procedure once more to identify any missed steps or errors. If the problem continues, consulting with a Toyota dealership or a qualified mechanic can offer further guidance and resolution options.
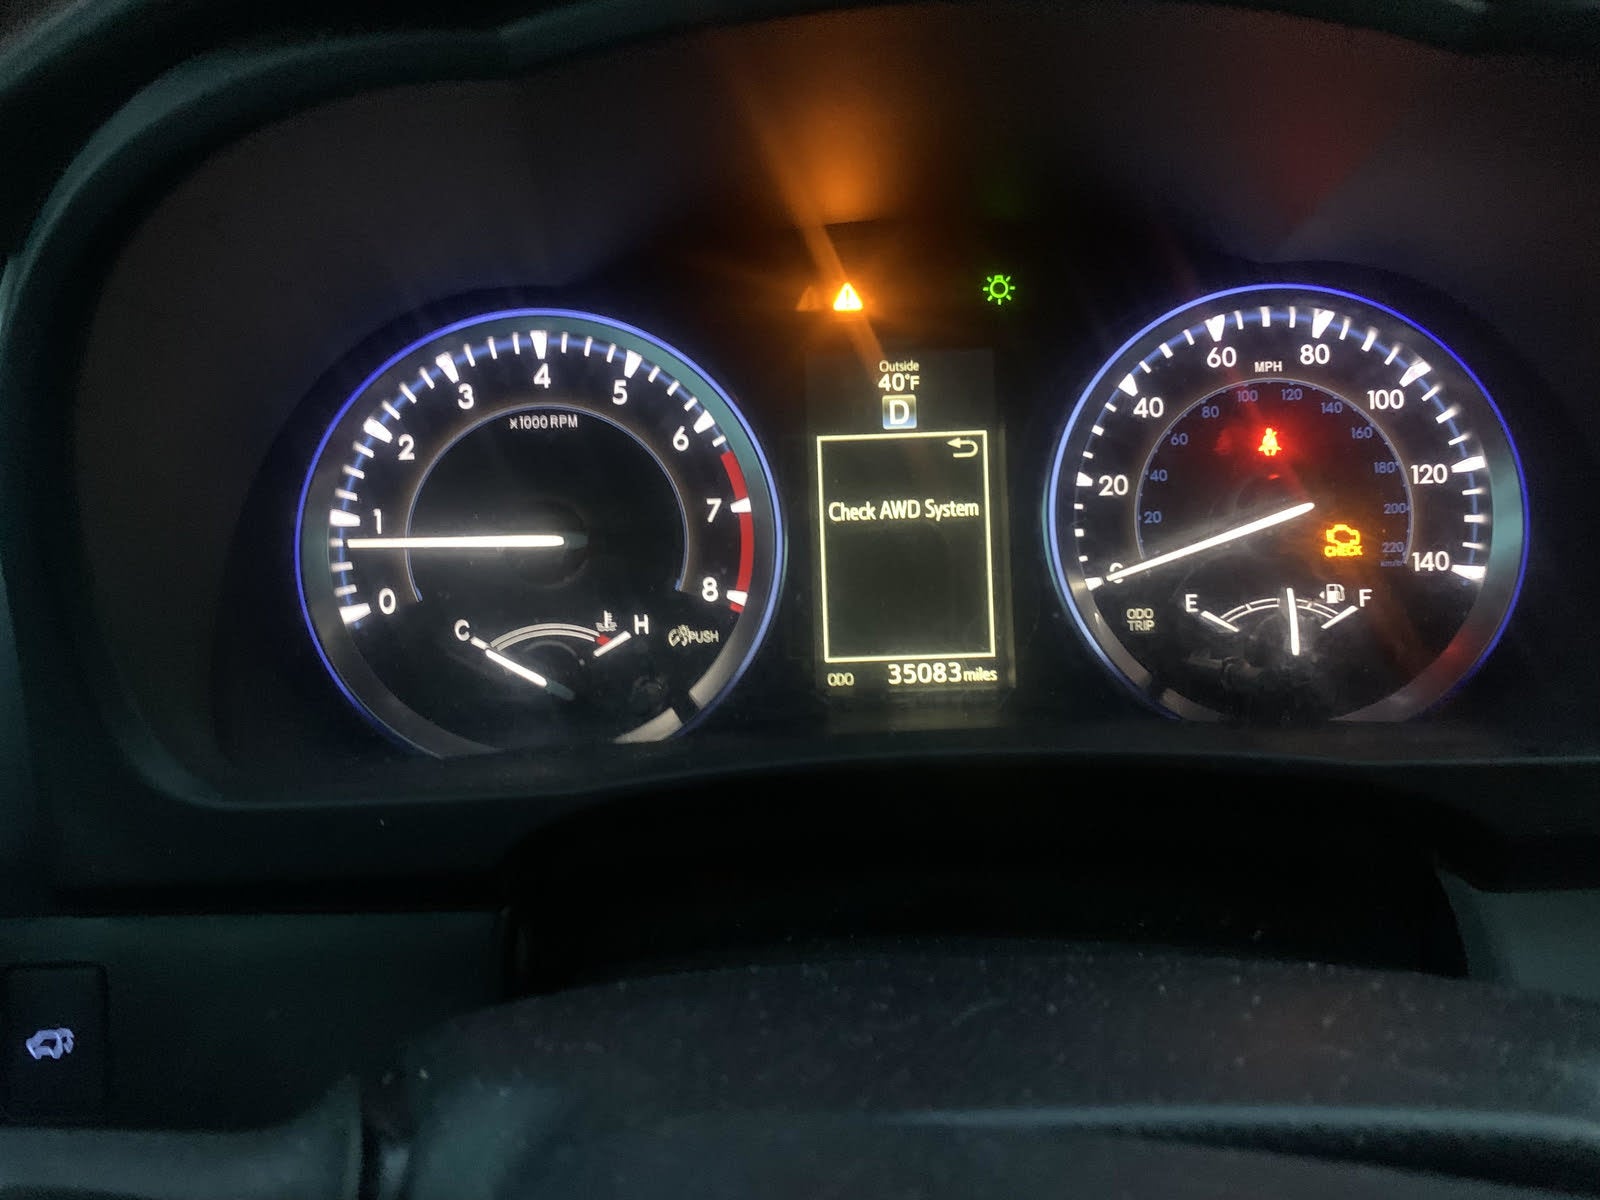
Credit: www.redmccombstoyota.com
Frequently Asked Questions For Toyota How To Reset Maintenance Light
How Do I Reset The Maintenance Light On My Toyota?
You can reset the maintenance light on your Toyota by following these simple steps:
1. Insert the key into the ignition and turn it to the “On” position without starting the engine. 2. Press and hold the trip meter reset button until the trip meter displays “000000”. 3. Turn the key to the “Off” position and then release the trip meter reset button. 4. Start the engine and verify that the maintenance light is no longer illuminated.
Why Is My Toyota Maintenance Light On?
The maintenance light on your Toyota is an indication that it’s time for a scheduled service. It could be an oil change, tire rotation, or other routine maintenance tasks. It’s important not to ignore the light, as regular maintenance helps keep your Toyota running smoothly and prevents potential issues down the road.
What Happens If I Don’t Reset My Toyota Maintenance Light?
If you don’t reset your Toyota maintenance light after completing the necessary maintenance, the light will continue to stay illuminated. This can be confusing and can also cause unnecessary worry. Additionally, if you ignore the maintenance light for an extended period of time, you may miss out on performing crucial maintenance tasks, which can lead to potential problems with your vehicle’s performance and longevity.
Conclusion
Resetting your Toyota maintenance light is simple and essential for keeping your vehicle in top condition. By following these steps, you can easily ensure your car runs smoothly and efficiently. Stay proactive in maintaining your Toyota to enjoy a safe and reliable driving experience.
Keep cruising hassle-free!


.jpg?t=162379540600)