Recent Posts

How to Get Rid of Maintenance Required Light on Toyota Corolla


To reset the maintenance required light on a Toyota Corolla, follow these steps:

  • Turn the ignition to the 'On' position.
  • Press the odometer button until it reads the actual mileage.
  • Turn the ignition off.
  • Press and hold the odometer button while turning the ignition back to 'On'.

Understanding the Maintenance Light

decoding car maintenance alerts

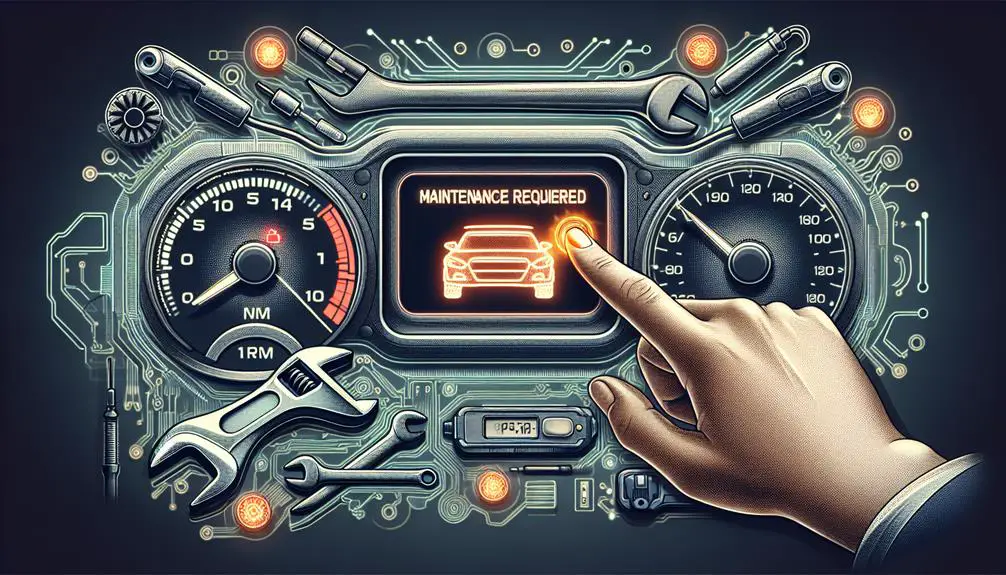
Before you turn off the maintenance required light on your Toyota Corolla, know that this light is a reminder for regular car maintenance. It usually turns on after driving around 5,000 miles and suggests it's time for an oil change or other maintenance tasks.

Is it urgent? No, it's not like a check engine light, but don't ignore it. Keeping up with maintenance helps your car last longer and run better. Ignoring it could cause bigger, more expensive problems later.

Preparing to Reset the Light

To turn off the maintenance light on your Toyota Corolla, follow these simple steps.

First, check the service manual to know the correct method for resetting the light.

Next, make sure you have your car keys and maybe a pen and paper to jot down any steps.

Lastly, ensure you've completed all needed maintenance tasks. This isn't just about turning off a reminder, but also making sure your car is well-maintained.

Now, you're ready to reset the light.

Step-by-Step Reset Process

resetting your device guide

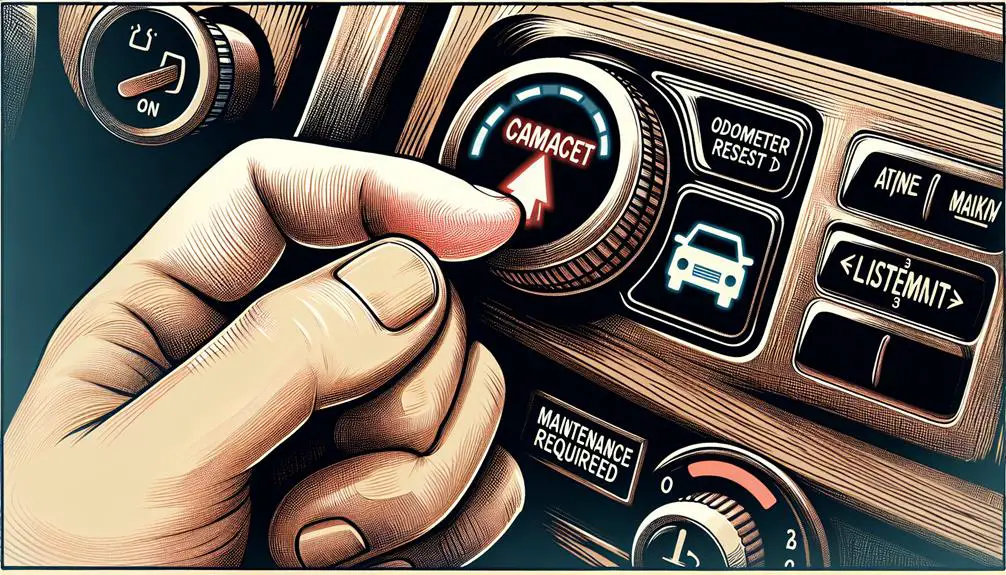
To reset the maintenance light on a Toyota Corolla, follow these steps:

  1. Turn the ignition key to 'On' without starting the car.
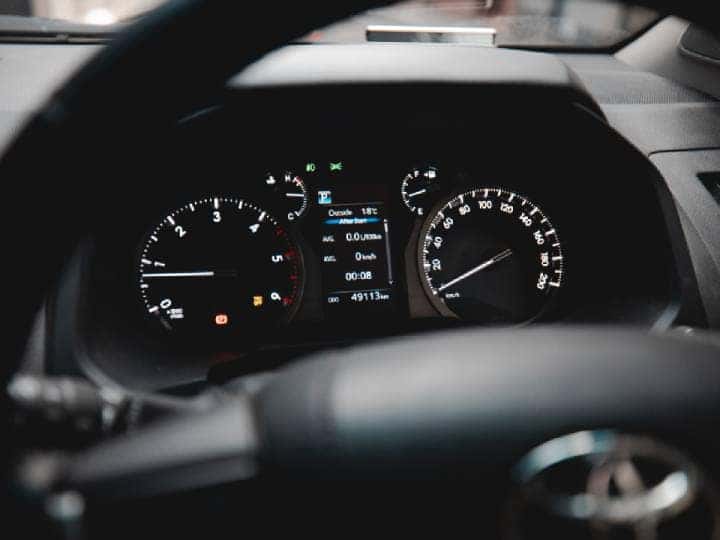
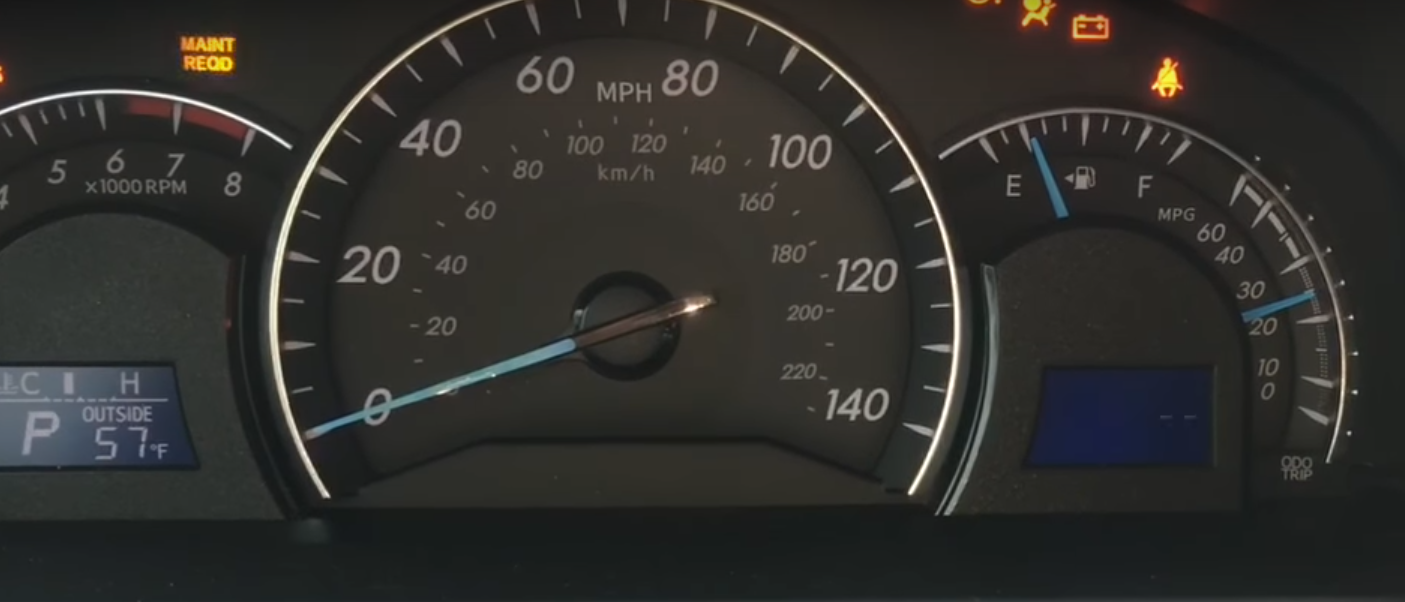
  2. Find the odometer button or dial near the speedometer. Make sure the display shows the total mileage, not the trip meter.
  3. Turn the key back to 'Off'.
  4. Press and hold the odometer button. While holding, turn the key to 'On'. Keep holding until the maintenance light blinks.
  5. Release the button when the light blinks. Wait for it to be steady.
  6. Press and hold the button again until the light turns off. This completes the reset process.

Troubleshooting Common Issues

Resetting the maintenance light on a Toyota Corolla can sometimes have issues. Here's how to fix common problems:

  1. Light Doesn't Reset:
  • Make sure you followed the reset steps correctly. Missing a step or not pressing a button long enough can cause issues. If you've checked and the light still doesn't reset, there might be a problem with the car's computer. It's best to see a mechanic.
  1. Error Messages:
  • Error messages after trying to reset can mean there's a problem with the car's diagnostic system. Check that the car's battery is fully charged and working well. If errors continue, you might need professional equipment to find the issue.
  1. Maintenance Light Turns Back On:
  • If the maintenance light comes back on soon after resetting, your Corolla might've a problem that needs looking into. It could be a small issue or something more serious. Don't ignore it; get the car checked.

If you run into these issues while resetting, remember it's okay to ask for professional help.

Maintaining Your Corolla Post-Reset

resetting maintenance on corolla

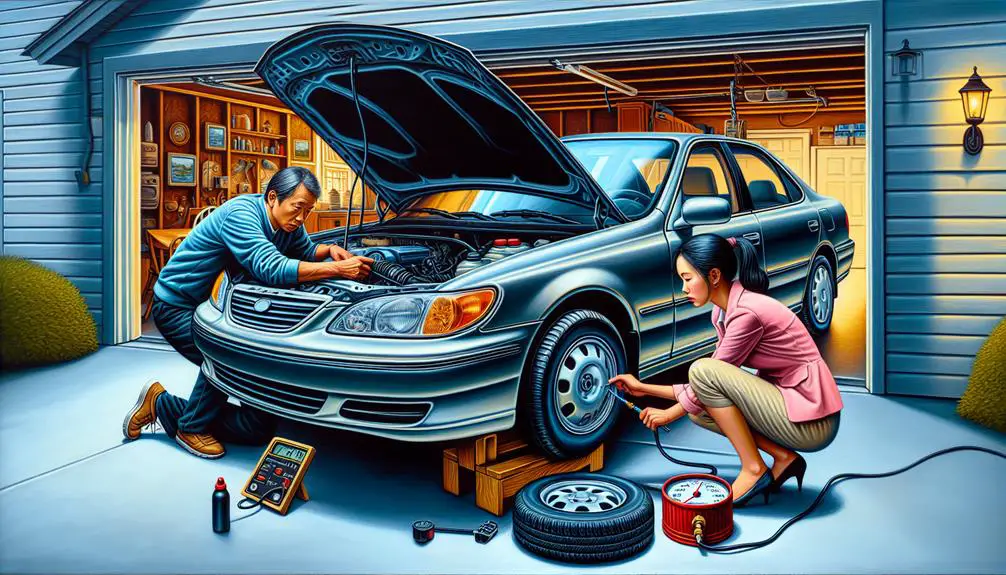
After you reset the maintenance light on your Toyota Corolla, it's important to continue taking care of your car. This helps it work well for a longer time and avoids expensive repairs later. Here's a simple guide for keeping your Corolla in good shape after resetting the light.

Make sure to change the oil regularly. Clean oil is essential for your engine to work well and not overheat. Usually, you should change the oil every 5,000 miles, but check your owner's manual for your specific model's recommendations.

Also, take care of your tires. Rotate them regularly and keep them inflated correctly to make them last longer and to help your car use less fuel.

Don't forget about your brakes. If you hear strange noises or notice they're not working as well, get them checked right away.

Here's a quick table to remind you:

Maintenance Task Frequency
Oil Change Every 5,000 miles
Tire Rotation Every 5,000 to 7,500 miles
Brake Inspection At every oil change

Conclusion

You've fixed the maintenance required light on your Toyota Corolla like an expert. By knowing what it means, getting ready, and following easy steps to reset it, everything is good again.

If there were any problems, figuring them out should have made things better. Remember, resetting the light isn't just about turning off a warning; it's about making sure your Corolla stays in great shape.

Keep up with regular check-ups to make sure your car is always ready to go.

How to Update Toyota Entune?


How to Update Toyota Entune? Toyota Entune is a powerful multimedia and infotainment system that enhances the driving experience by providing access to a range of features including navigation, music, and hands-free communication.

To ensure that your Toyota Entune system is running smoothly and accessing the latest features, it is essential to keep it updated. In this guide, we will walk you through the step-by-step process of updating Toyota Entune.

Why Update Toyota Entune?

Updating your Toyota Entune system is crucial for several reasons. It ensures that you have access to the latest maps and navigation information, allowing for accurate and efficient travel.

Additionally, updates can include improvements to the user interface, new features, and enhanced compatibility with mobile devices. Keeping your Entune system updated also helps to address any technical issues and bugs, providing a smoother and more reliable experience.

Step-by-Step Guide to Update Toyota Entune

Follow these simple steps to update your Toyota Entune system:

  1. Check Compatibility: Before proceeding with the update, ensure that your Toyota Entune system is compatible with the latest software version. Check the Toyota website or contact your local dealership for information on compatibility.
  2. Connect to Wi-Fi: To download the update, ensure that your vehicle is within range of a stable Wi-Fi connection. Connecting to Wi-Fi will allow for a faster and more reliable update process.
  3. Access the Settings Menu: In your vehicle, navigate to the “Settings” menu on the Entune system. Select the “Software Update” option to begin the update process.
  4. Download and Install Update: Follow the on-screen instructions to download and install the latest software update. This process may take some time, so ensure that your vehicle is in a stationary and well-ventilated location.
  5. Restart the System: Once the update is successfully installed, restart your Toyota Entune system to apply the changes. This will ensure that the system is running the latest software version.
 
How to Update Toyota Entune

Credit: www.brentbrowntoyota.com

Tips for a Successful Update

Here are some additional tips to ensure a smooth and successful update for your Toyota Entune system:

  • Charge Your Vehicle: Before initiating the update, ensure that your vehicle’s battery is sufficiently charged to avoid any potential interruptions during the update process.
  • Clear Storage Space: If prompted during the update process, clear any unnecessary files or data from the Entune system to free up storage space and facilitate the update.
  • Stay Informed: Check the Toyota website or contact customer support for any specific instructions or updates related to the Entune system.
How to Update Toyota Entune

Credit: www.youtube.com

Benefits of Updating Toyota Entune

By keeping your Toyota Entune system up to date, you can enjoy a host of benefits, including:

  • Access to the latest maps and navigation information for accurate and efficient travel.
  • Enhanced compatibility with mobile devices and apps for seamless integration.
  • Improved user interface and new features that enhance the overall driving experience.
  • Addressing technical issues and bugs for a smooth and reliable system performance.

In Conclusion

Updating your Toyota Entune system is essential for experiencing the full range of features and benefits it offers. With regular updates, you can ensure that your Entune system remains at the forefront of multimedia and infotainment technology, providing a seamless and enjoyable driving experience.

Follow the step-by-step guide provided in this article to update your Toyota Entune system and stay tuned to the latest enhancements and features.

FAQ

How Do I Update Toyota Entune?

To update your Toyota Entune system, follow these steps:
1. Ensure your vehicle is parked with the engine on and the doors closed.

2. Connect your smartphone to the vehicle’s Entune system using a USB cable. 3. Go to the Settings menu on the Entune touchscreen display.

4. Select the Software Update option.

5. If an update is available, follow the on-screen instructions to download and install it.

6. Once the update is complete, restart your Entune system for the changes to take effect.

Can I Update Toyota Entune Without Visiting A Dealership?

Yes, you can update Toyota Entune without visiting a dealership. Here’s how:


1. Connect your smartphone to the vehicle’s Entune system using a USB cable.

2. Go to the Entune App Suite on your smartphone and open the app.

3. In the app, navigate to the Settings menu and select Software Update.

4. If an update is available, follow the prompts to download and install it.

5. Once the update is complete, restart your Entune system for the changes to take effect.

How Often Should I Update Toyota Entune?

It is recommended to update your Toyota Entune system at least once a year or whenever a new update is available. Regular updates ensure that you have access to the latest features, improvements, and security patches for your Entune system.

Keeping your Entune system up to date enhances your overall driving experience and provides you with the best functionality and compatibility with your smartphone and other devices.


How to Check Oil Percentage in Toyota Highlander


If you own a Toyota Highlander, it’s essential to keep an eye on your oil percentage to ensure your engine is running smoothly. Regularly checking the oil percentage is crucial for the maintenance of your vehicle.

How to Check Oil Percentage in Toyota Highlander

Credit: www.genemessertoyota.com

Importance of Checking Oil Percentage

Maintaining the proper oil level and percentage in your Toyota Highlander is vital to ensure that your engine runs optimally. The oil lubricates moving parts, reduces friction, and helps dissipate heat, preventing engine damage and ensuring longevity.


Step-by-Step Guide to Check Oil Percentage

Checking the oil percentage in your Toyota Highlander is a straightforward process that you can do on your own. Here’s a step-by-step guide to help you through the process:

  1. Warm Up the Engine: Start your car and let the engine run for a few minutes to warm up the oil. This ensures that the oil has circulated through the engine and is at the correct level for an accurate measurement.

  2. Locate the Oil Dipstick: After turning off the engine, locate the oil dipstick under the hood of your Toyota Highlander. The oil dipstick is usually bright-colored for easy identification.

  3. Remove and Wipe the Dipstick: Carefully pull out the dipstick and wipe it clean with a cloth or paper towel to remove any residual oil and dirt.

  4. Reinsert and Remove the Dipstick: After cleaning the dipstick, reinsert it into the oil reservoir fully, and then pull it out again to check the oil level and percentage.

  5. Inspect the Oil Level: On the dipstick, you will see markings indicating the minimum and maximum oil levels. Check the oil level against these markings to determine the percentage of oil in your Toyota Highlander.

  6. Check the Oil Condition: While inspecting the oil level, also assess the condition of the oil. Fresh oil should appear clear and amber in color. If the oil looks dark or opaque, it may be time for an oil change.

How to Check Oil Percentage in Toyota Highlander

Credit: m.youtube.com

Understanding Oil Percentage Readings

When checking the oil percentage in your Toyota Highlander, it’s essential to understand the readings and what they mean for your vehicle. If the oil level is at or near the maximum mark, it indicates that your engine has sufficient oil, and the percentage is high. Conversely, if the oil level is closer to the minimum mark, it indicates a lower oil percentage, signaling a need to add more oil.

Importance of Maintaining the Right Oil Percentage

Ensuring that your Toyota Highlander maintains the proper oil percentage is crucial for the overall health and performance of your vehicle. An adequate oil level and percentage help prevent engine wear, reduce friction, and promote efficient operation, ultimately extending the life of your engine.

Regular Oil Changes

In addition to checking the oil percentage, it’s essential to adhere to the manufacturer’s recommended oil change intervals. Regular oil changes help maintain the integrity of the engine oil, ensuring optimal lubrication and protection for your Toyota Highlander’s engine.

Frequently Asked Questions Of How To Check Oil Percentage In Toyota Highlander

How Do I Check The Oil Percentage In My Toyota Highlander?

To check the oil percentage in your Toyota Highlander, start by parking the vehicle on level ground and allowing the engine to cool down. Locate the oil dipstick, typically located near the engine. Pull the dipstick out, wipe it clean, reinsert it, and then pull it out again to read the oil level.

The oil dipstick will have indicators for minimum and maximum levels, and the oil percentage can be determined based on where the oil level falls between these markers.

Why Is It Important To Check The Oil Percentage Regularly?

Regularly checking the oil percentage in your Toyota Highlander is crucial for maintaining the engine’s health and overall performance. Adequate lubrication provided by the oil is essential for reducing friction and preventing wear and tear on engine components. Monitoring the oil percentage helps ensure that the oil is at the optimal level and hasn’t depleted or become contaminated.

Regular checks allow you to address any issues promptly, preventing potential damage and extending the lifespan of your Highlander’s engine.

How Often Should I Check The Oil Percentage In My Toyota Highlander?

It is recommended to check the oil percentage in your Toyota Highlander at least once a month or before embarking on long journeys. However, it’s a good practice to consult your Highlander’s owner’s manual for specific guidelines regarding oil change intervals and frequency of checking the oil level.

Factors such as driving conditions and mileage can also affect how often you should check the oil percentage. Regular maintenance and monitoring ensure that your Highlander’s engine stays in optimal condition for consistent performance and longevity.

Conclusion

Checking the oil percentage in your Toyota Highlander is a simple yet crucial task in maintaining your vehicle’s performance and longevity. By following the step-by-step guide and understanding the significance of maintaining the right oil level, you can ensure that your Toyota Highlander’s engine remains in top condition, providing you with reliable and efficient performance for years to come.

How to Update Toyota Highlander Navigation System for Free


How to Update Toyota Highlander Navigation System for Free

Keeping your Toyota Highlander navigation system up to date is crucial to ensure accurate and efficient routing. However, purchasing updates can be expensive. Fortunately, there are ways to update your Toyota Highlander navigation system for free. In this article, we will guide you through the process of updating your navigation system without breaking the bank.


Updating via USB

If your Toyota Highlander is equipped with a navigation system that supports updates via USB, you’re in luck. Here’s a step-by-step guide to updating your navigation system using a USB drive:

  1. Visit the official Toyota website and navigate to the “Map Updates” section.
  2. Select your Toyota Highlander model and download the latest navigation update file compatible with your system.
  3. Insert a blank USB drive into your computer and transfer the downloaded update file to the USB drive.
  4. Once the file transfer is complete, safely eject the USB drive from your computer.
  5. Start your Toyota Highlander and insert the USB drive into the USB port on the navigation system.
  6. Follow the on-screen prompts to begin the update process. This may take some time, so be patient.
  7. Once the update is finished, reboot the navigation system to apply the changes. Your system is now updated with the latest maps and software.

Updating via SD Card

If your Toyota Highlander uses an SD card for navigation updates, the process is slightly different. Here’s how to update your navigation system using an SD card:

  1. Visit the official Toyota website and locate the “Map Updates” section.
  2. Choose the appropriate update file for your specific Toyota Highlander model and download it to your computer.
  3. Insert an SD card into your computer and transfer the update file to the SD card.
  4. Eject the SD card from your computer once the file transfer is complete.
  5. Start your Toyota Highlander and insert the SD card into the designated slot on the navigation system.
  6. Follow the on-screen instructions to initiate the update process. This may take some time, so remain patient.
  7. Once the update is complete, restart your navigation system to finalize the update. Your system is now equipped with the latest maps and software.
How to Update Toyota Highlander Navigation System for Free

Credit: www.reddit.com

Third-Party Options

In addition to the official Toyota updates, there are third-party options available for updating your Toyota Highlander navigation system. Some websites offer free or discounted navigation updates that are compatible with various Toyota models, including the Highlander. However, it’s crucial to ensure the legitimacy and compatibility of these third-party updates before proceeding.

Before considering a third-party option, thoroughly research the provider and read user reviews to gauge the reliability and effectiveness of the offered updates. Using third-party updates entails a degree of risk and may void your warranty, so proceed with caution.

How to Update Toyota Highlander Navigation System for Free

Credit: www.ebay.com

Benefits of Navigation System Updates

Keeping your Toyota Highlander navigation system up to date offers numerous benefits, including:

  • Accurate and up-to-date maps that reflect new roads, landmarks, and points of interest.
  • Improved route guidance and efficiency, leading to reduced travel times and fuel consumption.
  • Enhanced overall performance and functionality of the navigation system.
  • Minimized potential for navigational errors and detours.

Frequently Asked Questions Of How To Update Toyota Highlander Navigation System For Free

How Can I Update The Toyota Highlander Navigation System?

To update the Toyota Highlander navigation system, follow these steps:
– Visit the official Toyota website and navigate to the “Owners” section. – Enter your vehicle details, including the model and year of your Highlander. – Check for available updates for the navigation system and download them onto a USB drive. – Insert the USB drive into your vehicle’s USB port and follow the on-screen prompts to update the system. – Ensure your vehicle is parked in a well-ventilated area and is connected to a stable power source during the update process.

What Are The Benefits Of Updating My Toyota Highlander Navigation System?

Updating your Toyota Highlander navigation system brings several benefits:
– Access to the latest maps, ensuring accurate and up-to-date directions to your destinations. – Improved navigation performance, with enhanced routing and faster response times. – Additional features and functionalities not available on older software versions. – Resolving any known software issues or bugs, ensuring a smoother navigation experience. – Potential compatibility with new road networks, points of interest, or traffic data.

Can I Update My Toyota Highlander Navigation System For Free?

Toyota offers free software updates for a limited period for its navigation systems, including the Highlander. However, the availability of free updates may vary depending on the age and model of your vehicle. Visit the official Toyota website and check if your Highlander qualifies for free updates.

In some cases, you may be required to pay a fee or subscribe to a service plan to access the latest navigation system updates.

Conclusion

Updating your Toyota Highlander navigation system for free is entirely feasible, whether through official means or third-party options. By keeping your navigation system up to date, you can enjoy optimal performance, accurate guidance, and an overall enhanced driving experience. Whether you choose to update via USB, SD card, or explore third-party solutions, maintaining an updated navigation system is a worthwhile investment in your Toyota Highlander’s functionality and convenience.

How to Put Back Seats down in Toyota Highlander 2022


How to Put Back Seats Down in Toyota Highlander 2022

The 2022 Toyota Highlander is a versatile and spacious SUV that offers plenty of cargo space for all your adventure needs. Should you need to maximize the cargo space, putting down the back seats is essential. In this article, we will guide you through the process of folding down the back seats in a Toyota Highlander 2022, allowing you to transport larger items with ease.


Step-by-Step Guide

Follow these steps to put down the back seats in your Toyota Highlander 2022:

  1. Start by ensuring that the area around the back seats is clear of any objects or debris.
  2. Locate the release handles for the back seats. In the Toyota Highlander 2022, these handles are typically located at the top of the seat, near the headrest.
  3. Once you have identified the release handles, pull them to release the seatback. You may need to use some force, but be gentle to avoid any damage to the seats.
  4. After releasing the seatback, push it forward to create a flat surface. You may need to adjust the front seats to accommodate the newly expanded cargo space.

Benefits of Folding Down the Back Seats

Folding down the back seats in your Toyota Highlander 2022 offers numerous benefits, including:

  • Increased Cargo Space: By putting down the back seats, you can significantly increase the cargo capacity of your Highlander, allowing you to transport larger items such as furniture, sports equipment, or camping gear.
  • Enhanced Versatility: With the back seats folded down, your Highlander becomes more versatile, enabling you to configure the interior to suit your specific needs, whether it’s hauling gear for a weekend getaway or picking up larger items from the store.
  • Convenience: Folding down the back seats provides added convenience when loading and unloading cargo, as well as making it easier to clean and maintain the interior of your vehicle.
How to Put Back Seats down in Toyota Highlander 2022

Credit: www.cars.com

How to Put Back Seats down in Toyota Highlander 2022

Credit: m.youtube.com

Tips for Putting Down the Back Seats

Here are some useful tips to keep in mind when putting down the back seats in your Toyota Highlander 2022:

  • Clear the Area: Before folding down the back seats, ensure that the area behind the seats is clear to prevent damage to any objects and to allow for a smooth transition for the seats.
  • Protect the Seats: When folding down the back seats, be mindful of the seat fabric and any delicate components. If necessary, use a protective layer such as a blanket or sheet to prevent any damage during the process.
  • Secure Loose Items: If you have any loose items on the back seats, be sure to secure them or remove them before folding the seats down to prevent any shifting or damage during the process.

Frequently Asked Questions For How To Put Back Seats Down In Toyota Highlander 2022

How Do I Put The Back Seats Down In The Toyota Highlander 2022?

To put the back seats down in the Toyota Highlander 2022, locate the seat release lever on the side of the seat, and pull it up. Once released, push the seat down until it lays flat.

Can I Fold The Back Seats Separately In The Toyota Highlander 2022?

Yes, you can fold the back seats separately in the Toyota Highlander 2022. Each seat has its own release lever, allowing you to fold them individually to accommodate passengers and cargo.

What Are The Advantages Of Putting The Back Seats Down In The Toyota Highlander 2022?

Putting the back seats down in the Toyota Highlander 2022 provides several advantages. It expands the cargo space, allowing you to transport larger items. It also allows for more flexibility in arranging the interior to suit your needs, whether it’s carrying sports equipment or going on a road trip with friends or family.

Conclusion

Folding down the back seats in your Toyota Highlander 2022 is a straightforward process that can significantly expand the cargo space and versatility of your vehicle. By following the simple steps outlined in this guide and keeping the tips in mind, you can easily put down the back seats whenever the need arises, allowing you to make the most of your Highlander’s spacious interior.

Whether you’re planning a road trip, moving furniture, or simply need to transport large items, knowing how to fold down the back seats in your Toyota Highlander 2022 will enhance the practicality and functionality of your SUV, providing you with the freedom to carry more and make the most of every journey.

How to Remove Maintenance Required on Toyota Camry


To remove the maintenance required light on a Toyota Camry, push and hold the dashboard odometer button and turn the key to position two. Keep holding the odometer button until the maintenance light starts to flash.

How to Remove Maintenance Required on Toyota Camry

Credit: m.youtube.com

Methods To Remove Maintenance Required Light

To remove the maintenance required light on a Toyota Camry, you can reset it by pushing and holding the dashboard odometer button and turning the key to position two. Keep holding the button until the maintenance light starts to flash, then release it.

This simple process will reset the maintenance light and turn it off.

Using The Dashboard Odometer Button

“` To remove the maintenance required light on a Toyota Camry, you can utilize the dashboard odometer button. This method is simple and does not require any special tools or equipment. HTML Syntax: “`html

Turning Off The Maintenance Light

“` Another method to remove the maintenance required light is by turning it off manually. This can be done using the key ignition and the odometer trip button. HTML Syntax: “`html

Resetting The Maintenance Light On Toyota Camry With Push Button Start

“` For Toyota Camry models equipped with push button start, the process to reset the maintenance light may vary slightly. It’s important to follow the specific steps outlined in the owner’s manual or seek assistance from a professional technician. By following these methods, you can easily remove the maintenance required light on your Toyota Camry without the need for complex tools or professional help. Keeping up with regular maintenance is crucial for the optimal performance and longevity of your vehicle.
How to Remove Maintenance Required on Toyota Camry

Credit: www.redmccombstoyota.com

Step-by-step Guide

Discover how to remove the maintenance required light on your Toyota Camry with this step-by-step guide. Say goodbye to the annoying light and keep your vehicle running smoothly.

Step 1: Push And Hold The Dashboard Odometer Button

To begin the process of removing the maintenance required light on your Toyota Camry, locate the dashboard odometer button. Push and hold the button firmly using your thumb or finger until you proceed to the next step.

Step 2: Turn The Key To Position Two

Once you have successfully held the dashboard odometer button, proceed to turn the key to position two. This position is typically one before the engine starts. Ensure that the key is turned firmly and securely in this position for the next step to proceed.

Step 3: Keep Holding The Odometer Button Until The Maintenance Light Starts To Flash

While the key is in position two, continue to firmly hold the odometer button on the dashboard. As you maintain this hold, you will notice that the maintenance light on your Toyota Camry will start to flash. It is important to keep holding the button until you observe this flashing.

Step 4: Release The Odometer Button And Start The Engine To Confirm The Light Is Off

Once the maintenance light on your Toyota Camry starts to flash, release the dashboard odometer button. After releasing, proceed to start the engine of your vehicle. Allow the engine to run for a moment, and check if the maintenance light has turned off. If it has, congratulations! You have successfully removed the maintenance required light on your Toyota Camry.


Additional Tips And Precautions

To remove the maintenance required on a Toyota Camry, follow these steps: 1) Push and hold the dashboard odometer button while turning the key to position two. 2) Keep holding the button until the maintenance light starts flashing. This SEO-friendly tip provides a quick and easy solution for Toyota Camry owners.

If you have successfully removed the maintenance required light on your Toyota Camry, congratulations! However, there are a few additional tips and precautions that you should keep in mind to ensure the process is done correctly and to avoid any potential issues in the future.

Ensure The Maintenance Work Has Been Completed

Before resetting the maintenance required light, it is crucial to ensure that any necessary maintenance work on your Toyota Camry has been completed. This includes tasks such as changing the oil, replacing filters, and checking fluid levels. By completing these maintenance tasks, you can prevent potential issues and keep your vehicle running smoothly.

Consult The Vehicle’s Manual For Specific Instructions

Each Toyota Camry model may have slightly different procedures for resetting the maintenance required light. Therefore, it is essential to consult your vehicle’s manual for specific instructions. The manual will provide you with accurate information and step-by-step guidelines tailored to your particular model. By following the manual, you can confidently reset the light without any guesswork.

Seek Professional Help If Unsure Or Uncomfortable Performing The Reset

If you are unsure or uncomfortable performing the maintenance required light reset on your Toyota Camry, it is always advisable to seek professional help. An experienced mechanic or technician will have the knowledge and expertise to perform the reset correctly and ensure that no other issues arise during the process. Remember, it’s better to be safe than sorry.

In conclusion, by following these additional tips and precautions, you can effectively remove the maintenance required light on your Toyota Camry and maintain your vehicle’s optimal performance. Always make sure the necessary maintenance work has been completed, consult your vehicle’s manual for specific instructions, and seek professional help if needed. With these precautions in mind, you can confidently reset the maintenance required light and continue enjoying a smooth and safe driving experience.

How to Remove Maintenance Required on Toyota Camry

Credit: www.howtoautomotive.com

Frequently Asked Questions For How To Remove Maintenance Required On Toyota Camry

How Do You Reset The Maintenance Required Light On A Toyota Camry?

To reset the maintenance required light on a Toyota Camry, follow these steps: 1. Turn the key to position two. 2. Hold the odometer button until the maintenance light flashes. 3. Release the button. The maintenance light is now reset.

How Do I Turn Off Toyota Maintenance Required Message?

To turn off the Toyota maintenance required message, follow these steps: 1. Push and hold the dashboard odometer button. 2. Turn the key to position two. 3. Keep holding the odometer button until the maintenance light starts to flash. 4.

Release the button. By following these steps, you can reset the maintenance light on your Toyota Camry.

How Do I Clear The Maintenance Required Light?

To clear the maintenance required light on a Toyota Camry, follow these steps: 1. Push and hold the dashboard odometer button. 2. Turn the key to position two. 3. Continue holding the odometer button until the maintenance light starts flashing. 4.

Release the button and the light should be cleared. That’s it! You’ve successfully cleared the maintenance required light on your Toyota Camry.

Conclusion

Removing the maintenance required light on your Toyota Camry can be easily accomplished by following a few simple steps. By resetting the maintenance light using the appropriate method for your specific model, you can ensure that your vehicle is running smoothly and efficiently.

Taking the time to perform this maintenance task will help you stay on top of your vehicle’s service needs and ensure its longevity.