Recent Posts

How to Reset Maintenance Light on Toyota Corolla 2017


To reset the maintenance light on a 2017 Toyota Corolla, follow these steps:

  1. Turn the ignition to 'On'.
  2. Set the odometer to 'Trip A'.
  3. Turn off the ignition.
  4. Press and hold the odometer button.
  5. Turn the ignition to 'On'.
  6. Release the button when the light goes off.

Preparing Your Vehicle

safety first tires second

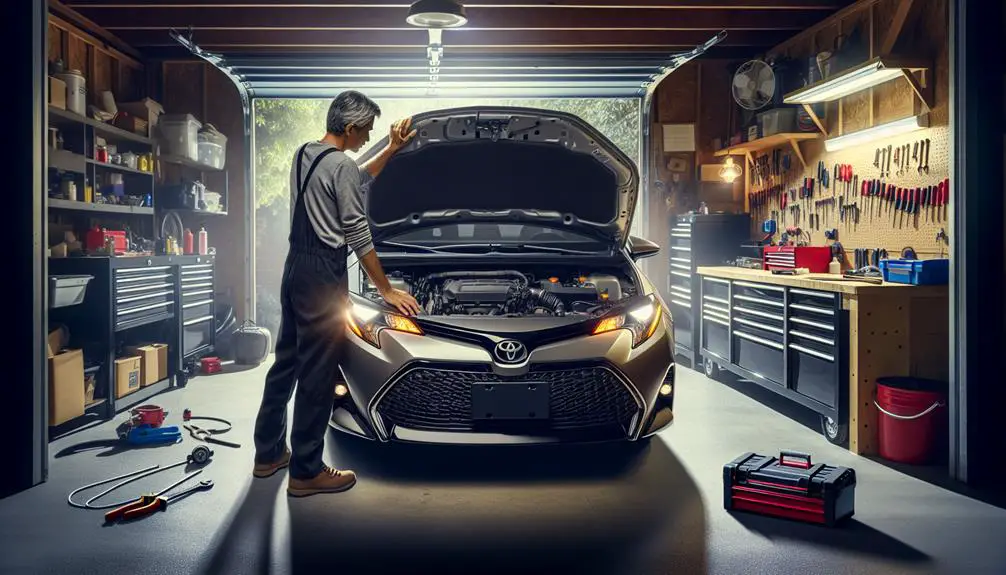
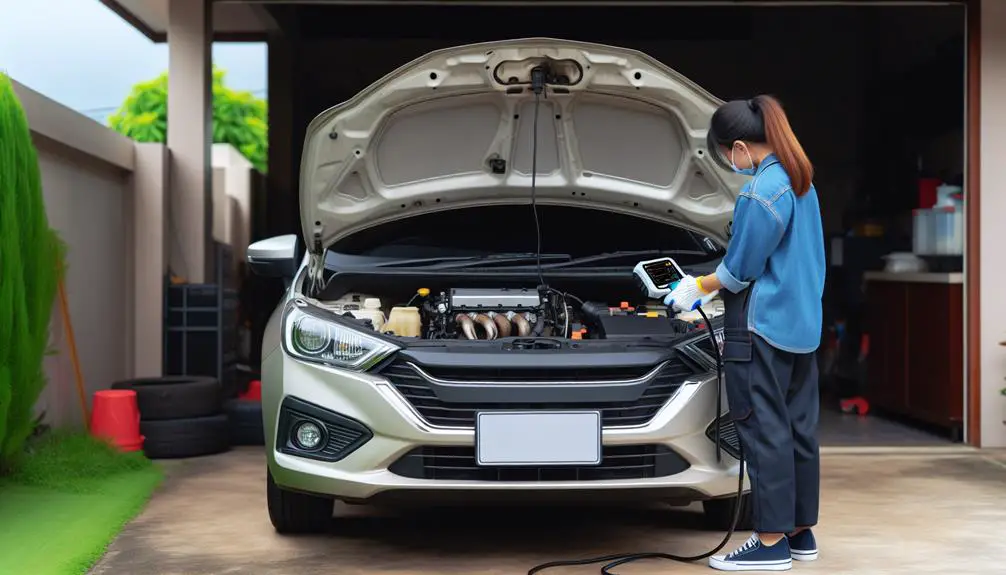
Before you reset the maintenance light on your 2017 Toyota Corolla, park the car on a flat surface and turn off the ignition for safety and to make sure the reset works.

You don't need many tools for this, but have your car's manual ready. The manual helps confirm the steps and gives extra help if your car needs something special for the reset.

Make sure all the car doors are closed to avoid any issues during the reset.

Starting the Ignition

To reset the maintenance light on your 2017 Toyota Corolla, start by making sure your car is parked safely. Then, follow these steps to turn on the ignition without starting the engine:

  • Turn the key to the 'On' position, where the car's electronics are on but the engine isn't running.
  • Make sure all doors are closed to avoid interruptions with the vehicle's electrical systems.
  • Watch the dashboard lights as they turn on during the car's self-check process. This indicates you're ready for the next steps in the reset process.

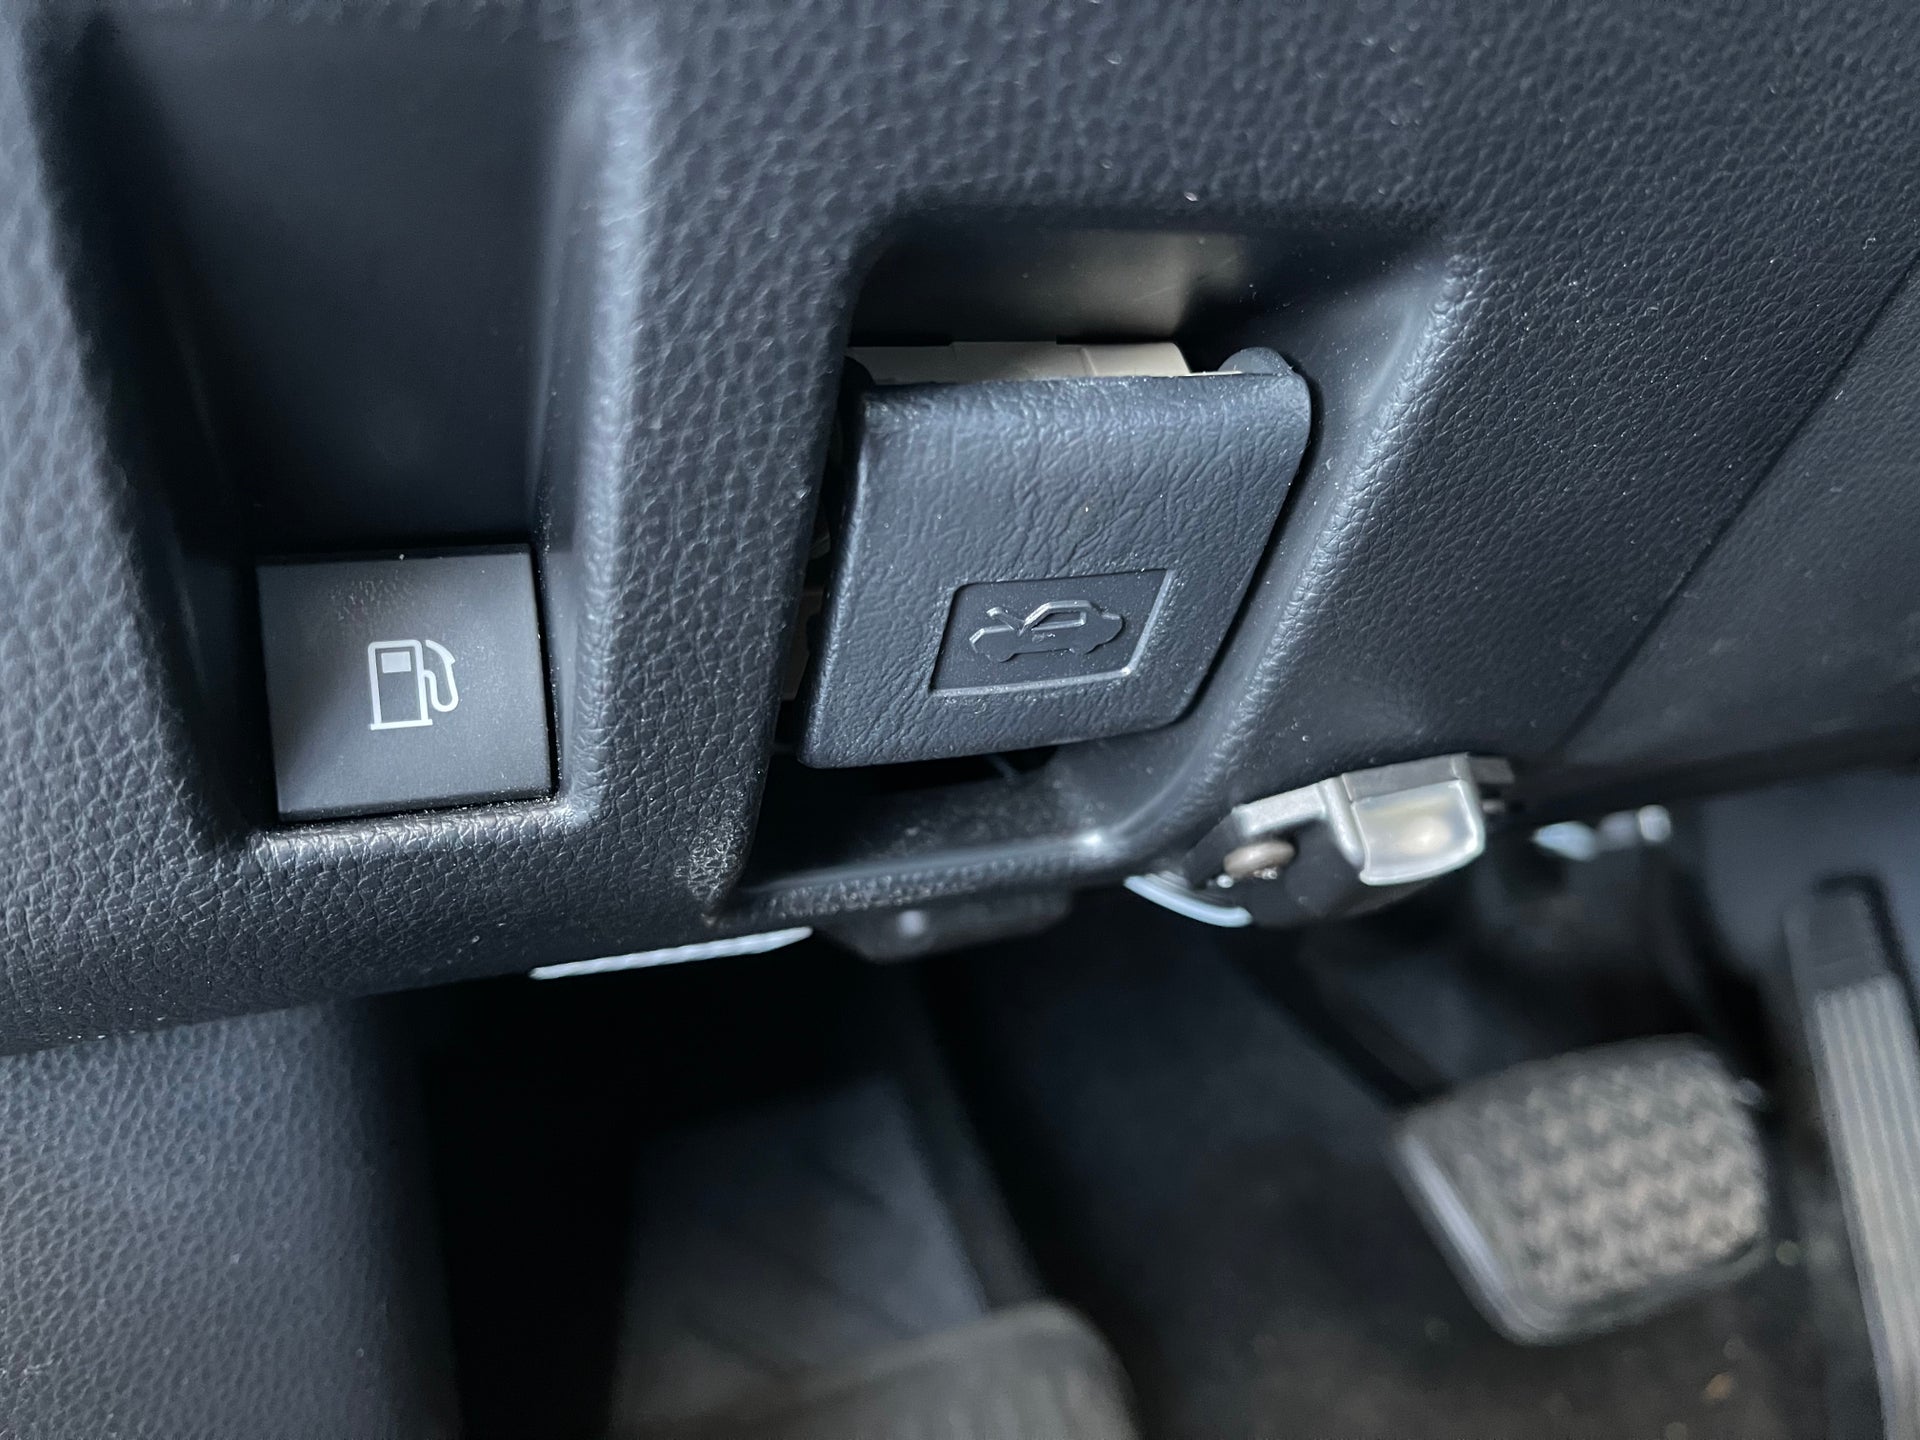
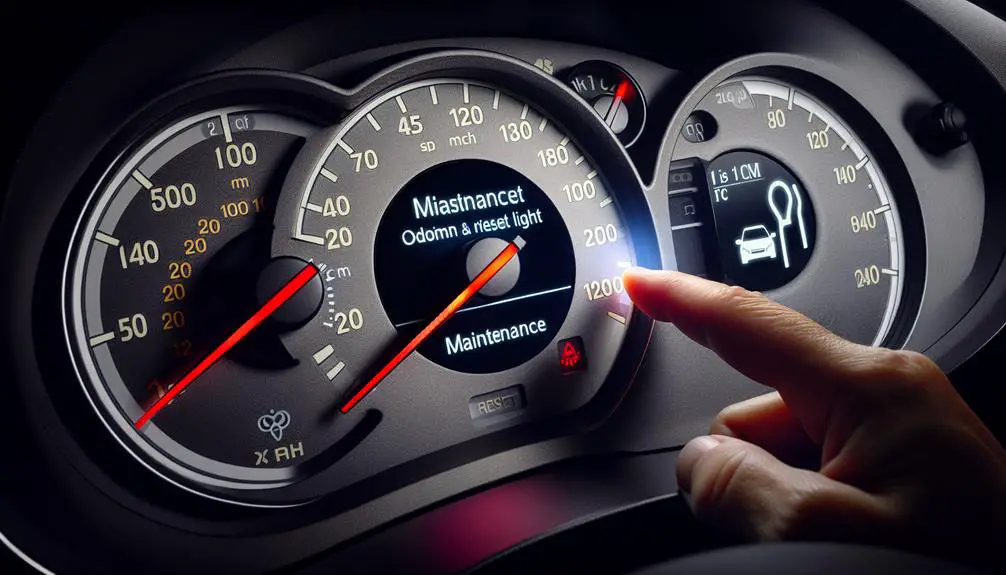
Accessing the Odometer

monitoring vehicle mileage digitally

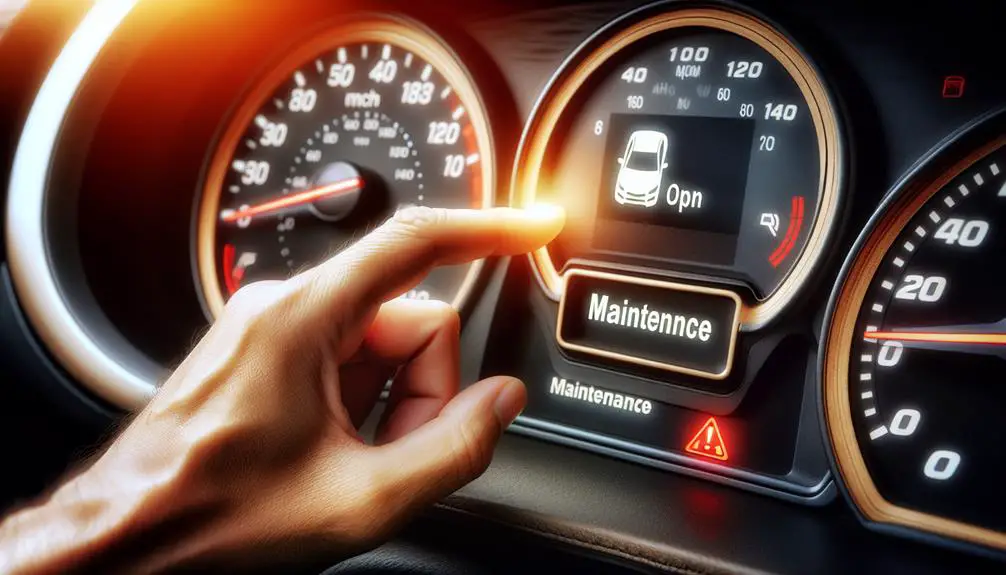
To reset the maintenance light for a 2017 Toyota Corolla, first, make sure your car is turned on but don't start the engine. For push-button start models, press the start button without stepping on the brake pedal. If your car uses a key, turn it to the 'On' position but don't start the car.

Next, find the odometer display on your dashboard. If the odometer isn't showing, press the 'Trip' button until it does. This button might be on the dashboard or a stalk coming out of it. Keep pressing until you see the total mileage of your car, not the trip mileage. This step is necessary for resetting the maintenance light.
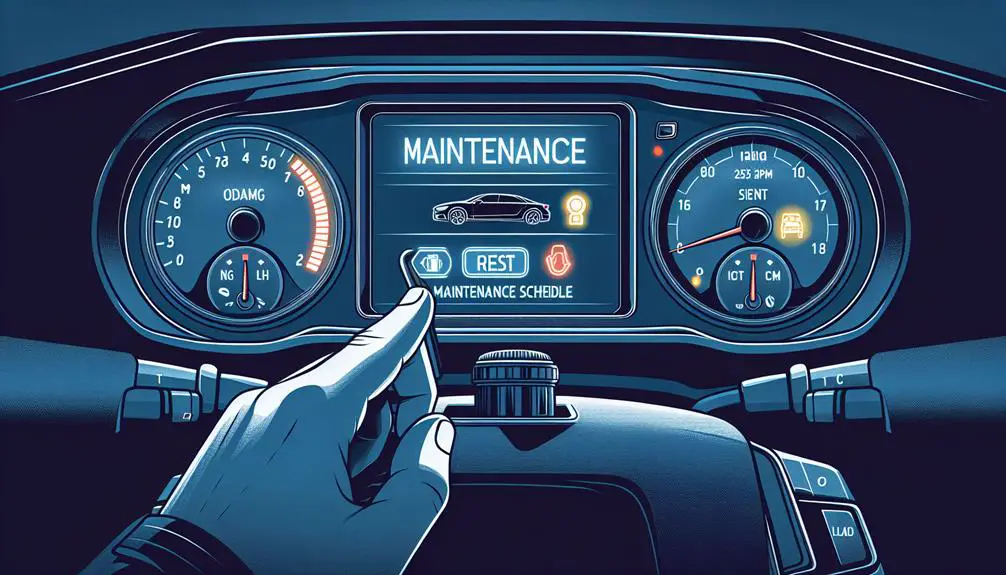
Resetting the Light

To reset the maintenance light on your 2017 Toyota Corolla, follow these steps.

First, turn off your car. Then, press and hold the odometer button. While holding it, turn the ignition to 'On' without starting the engine. Watch the odometer display; it will flash and then show decreasing dashes. When the display clears, release the button, turn off the car, and start it again. If done right, the maintenance light will be reset.

Resetting the maintenance light is important for these reasons:

  • Safety: It ensures you're aware of future issues, keeping everyone in the car safe.
  • Vehicle Health: It reminds you to take care of your car, helping it last longer.
  • Peace of Mind: It confirms that you have taken care of your car's maintenance, giving you confidence during drives.

Confirming the Reset

confirming system reset in progress

To confirm the maintenance light reset on your 2017 Toyota Corolla was successful, start the car and let it run for a few minutes. Watch the dashboard to see if the maintenance light stays off. If it does, the reset worked. If the light comes back on, try resetting again or seek professional help.

Emotion Reason
Relief The maintenance light staying off means the reset was successful.
Frustration If the light returns, it indicates further action or professional help is needed.

| Satisfaction | Successfully handling the reset yourself can be rewarding.

Conclusion

You've just reset the maintenance light on your 2017 Toyota Corolla. By getting your car ready, turning on the ignition, finding the odometer, and doing the reset, you've done something important for your car's health. Always double-check the reset to make sure it worked.

Keeping up with maintenance lights helps your Corolla run well. Good job doing this by yourself, making sure your car is ready for the road ahead.

How to Remove Device From Toyota Corolla 2020


To remove a device from your Toyota Corolla 2020, follow these steps:

  • Access the infotainment system.
  • Navigate to device settings.
  • Select the device you wish to remove.
  • Confirm the removal.

This process helps maintain a clutter-free digital environment in your vehicle.

Understanding Your Infotainment System

exploring vehicle infotainment features

Before you remove a device from your Toyota Corolla 2020's infotainment system, it's important to understand the basics. This system enhances your driving by providing entertainment, navigation, and communication.

The main way you interact with this system is through a touchscreen. It's easy to use and helps you stay focused on the road. From the home screen, you can access audio, phone connections, and navigation if your car has it.

You can connect devices to the system using Bluetooth or USB. This lets you make calls, stream music, and see your contacts and messages without using your hands. There's also voice recognition that allows you to give commands while keeping your hands on the wheel.

The system can handle multiple devices. This means you and others in the car can connect your phones or other devices. Keeping your device list up-to-date and managing connections well makes for a better driving experience.

Understanding these basics helps you use your infotainment system better. It's also important for knowing how to correctly remove a device, keeping everything working smoothly.

Locating Device Settings

To find the device settings on the Toyota Corolla 2020's infotainment system, follow these steps:

  1. Tap 'Menu': Begin by tapping the 'Menu' icon on the touchscreen.
  2. Choose 'Setup': After tapping 'Menu', select the 'Setup' option, often shown with a gear icon.
  3. Go to 'Bluetooth' Settings: In the 'Setup' menu, select 'Bluetooth' to manage wireless connections.
  4. Open 'Device Settings': Within the 'Bluetooth' section, look for 'Device Settings' or a similar option to view and manage paired devices.

Selecting the Device to Remove

choosing which device carefully

ARTICLE TITLE: How to Remove a Device from Toyota Corolla 2020

PREVIOUS SUBTOPIC: Finding Device Settings

CURRENT SUBTOPIC: Choosing the Device to Remove

In the 'Device Settings' menu, look through the list to find the device you want to remove. Make sure you select the correct device to avoid removing someone else's or a necessary device. The infotainment system in your Toyota Corolla 2020 can hold many devices. Confirm you've selected the correct device by checking its name, which is usually the device's model or the owner's given name.

Here's a simple guide to help you identify different devices in your car's system:

Device Type Identification Tips
Smartphone Named after the model or user's name
Tablet Look for 'Tab' or 'Pad' in the name
Laptop Often named by brand
Wearable Search for 'Watch' or 'Band'
Audio Player Names like 'iPod' or 'Player'

After finding the device you want to remove, select it from the list. At this point, you're only selecting it, not removing it. This will be done in the next step. Be sure you've chosen the correct device before moving on.

Confirming Device Removal

After you pick the device you want to delete, you must confirm this action to make sure it's fully removed from your Toyota Corolla 2020's system. This is important to avoid deleting something by mistake. Here are the steps to confirm the removal of your device:

  1. Check the Confirmation Message: Once you click 'Remove Device,' a message will ask if you're sure. This is your chance to back out if you picked the wrong device or changed your mind.
  2. Press 'Yes' to Confirm: If you're sure you want to remove the device, click 'Yes.' This tells the system you want to go ahead with the deletion.
  3. Wait for the Removal to Finish: The system will start removing the device. You might see a loading sign. Wait for this to end to make sure the device is completely removed.
  4. Make Sure the Device is Gone: After the removal, you'll see the list of devices again. Look through the list to confirm the device you removed isn't there anymore. If it's gone, the removal was successful.

Tips for Device Management

managing devices effectively

To manage devices in your Toyota Corolla 2020 effectively, follow these steps:

  1. Check the devices connected to your car once a month to keep the list current and ensure only relevant devices have access.
  2. Name your devices clearly, like 'John's iPhone' or 'Sharon's Galaxy', to easily identify and manage them, especially when removing them.
  3. Limit the number of connected devices to avoid clutter and slow connections. Ideally, connect only your main phone and maybe one other device.
  4. Always disconnect devices you're not using anymore, especially when selling your car or sending it for service, to protect your personal information and prevent unauthorized access.
  5. Learn how to reconnect your devices quickly to ensure your preferred entertainment and navigation options are always set up and ready to use.

Conclusion

To sum up, you now know how to delete devices from the screen in your 2020 Toyota Corolla.

You do this by going to the settings for devices, picking the one you don't want anymore, and saying yes to remove it.

This helps keep your car's system working well and makes your rides better.

Always remember to check and organize your devices to keep everything working nicely and easy to use in your Corolla.

Have safe trips!

How Big is the Gas Tank on a Toyota Prius


When it comes to the Toyota Prius, one of the most popular questions that arise is about its gas tank size. It’s no surprise, as the fuel tank is an important component of any vehicle and can significantly impact its overall range and performance. In this comprehensive guide, we’ll delve into the specifics of the gas tank on a Toyota Prius and provide you with all the essential information you need.

Understanding the Gas Tank Size of the Toyota Prius

The Toyota Prius, known for its exceptional fuel efficiency and hybrid technology, boasts a gas tank with a capacity of 11.3 gallons. This sizable tank allows the Prius to achieve impressive fuel economy while also providing a decent driving range on a full tank. With the combination of its electric motor and gasoline engine, the Prius is designed to optimize fuel usage, making it an ideal choice for eco-conscious drivers.

Factors Affecting the Range of the Prius

While the gas tank size of the Prius is notable, there are several other factors that play a role in determining its overall range. The driving conditions, such as city or highway driving, along with the driving habits of the driver, can influence how far the Prius can travel on a single tank of gas. Additionally, the usage of the electric motor and regenerative braking further enhances the Prius’ fuel efficiency, ultimately affecting its total range.


How Big is the Gas Tank on a Toyota Prius

Credit: priuschat.com

Optimizing Fuel Efficiency

As with any vehicle, optimizing fuel efficiency is paramount for maximizing the benefits of the gas tank. The Toyota Prius incorporates various features and technologies to help drivers achieve the best possible fuel economy. Its hybrid system seamlessly switches between the electric motor and gasoline engine, and the Eco driving mode further enhances efficiency by adjusting the throttle response and climate control to conserve fuel.

How Big is the Gas Tank on a Toyota Prius

Credit: commons.wikimedia.org

Monitoring Fuel Consumption

To ensure smooth operation and prevent unexpectedly running out of fuel, it’s essential for Prius owners to stay vigilant about their fuel consumption. The vehicle’s onboard computer provides real-time information about fuel efficiency and remaining range, empowering drivers to plan their refueling stops strategically. Regularly monitoring the fuel level also minimizes the risk of driving with a low fuel reserve, which can potentially harm the fuel system.

Advantages of a Moderate Gas Tank Size

While some may desire a larger gas tank, the moderate size of the Prius’ gas tank offers several advantages. The vehicle’s weight and aerodynamics are optimized, contributing to enhanced performance and handling. Moreover, a smaller gas tank facilitates quicker refueling, and with the growing availability of charging stations for plug-in hybrid models, an extensive driving range may not always be the primary consideration for Prius drivers.

Efficient Use of the Gas Tank

Utilizing the gas tank effectively is crucial for Prius owners, and practicing good driving habits can significantly impact the vehicle’s overall fuel economy. Gentle acceleration, maintaining a steady speed, and reducing unnecessary idling can make a noticeable difference in conserving fuel. Furthermore, ensuring that the Prius is regularly serviced and its hybrid system is properly maintained can help optimize its fuel efficiency in the long run.

In Conclusion

With its 11.3-gallon gas tank and innovative hybrid technology, the Toyota Prius stands out for its exceptional fuel economy and environmental conscientiousness. The vehicle’s gas tank size, combined with its advanced features and efficient design, makes the Prius a practical and sustainable choice for modern-day driving needs.

If you’re considering a Toyota Prius as your next vehicle, understanding the intricacies of its gas tank size and fuel efficiency can empower you to make an informed decision. Whether you’re drawn to the Prius for its eco-friendly appeal or its economical operation, the gas tank size of the Prius is just one of many factors that contribute to its overall appeal and performance.

Frequently Asked Questions On How Big Is The Gas Tank On A Toyota Prius

How Big Is The Gas Tank On A Toyota Prius?

The gas tank on a Toyota Prius has a capacity of approximately 11. 3 gallons, allowing for impressive fuel efficiency.

How Far Can A Toyota Prius Go On A Full Tank?

A Toyota Prius can travel approximately 570 miles on a full tank of gas, thanks to its remarkable fuel economy.

How Often Do You Need To Fill Up The Gas Tank On A Prius?

With the average driver’s usage, a Toyota Prius typically requires filling up the gas tank every 10-14 days, depending on the driving conditions and distance traveled.

How to Open Toyota Rav4 Gas Tank?


How to Open Toyota Rav4 Gas Tank? Opening the gas tank of your Toyota Rav4 may seem like a simple task, but for those who are not familiar with the specific steps, it can be a bit confusing. Whether you’re a new Rav4 owner or have simply forgotten the process, this guide will take you through the steps to open your Toyota Rav4 gas tank with ease.

Step 1: Park in a Safe Area

Before attempting to open your gas tank, ensure that you park your Toyota Rav4 in a safe and well-lit area. It’s important to be in a secure environment when dealing with your vehicle’s gas tank.

Step 2: Turn Off the Engine

Prior to opening the gas tank, turn off your Toyota Rav4’s engine. It’s crucial to avoid any potential hazards and ensure your safety while opening the gas tank.

Step 3: Locate the Gas Tank Door Release

Inside the driver’s side door, typically near the floor, you will find the gas tank door release lever. This lever is used to unlock the gas tank door for refueling.


Step 4: Pull the Gas Tank Door Release Lever

Once you have located the gas tank door release lever, simply pull it to unlock the gas tank door. The door will pop open, indicating that it is ready to be accessed for refueling.

Step 5: Unscrew the Gas Cap

After opening the gas tank door, you will see the gas cap covering the fuel inlet. Unscrew the gas cap in a counterclockwise direction to access the fuel tank for refilling.

Step 6: Refuel and Resecure the Gas Cap

Once you have finished refueling your Toyota Rav4, securely screw the gas cap back onto the fuel inlet. Ensure it is tightened properly to prevent any potential fuel leaks.

How to Open Toyota Rav4 Gas Tank

Step 7: Close the Gas Tank Door

After the gas tank has been refilled and the gas cap has been secured, gently push the gas tank door until you hear it click into place, indicating that it is closed and secured.

How to Open Toyota Rav4 Gas Tank

Step 8: Check for Proper Closure

Before leaving the refueling station, take a moment to ensure that the gas tank door is securely closed. This will prevent any potential issues while driving.

FAQ

How Do You Open The Gas Tank On A Toyota Rav4?

To open the gas tank on a Toyota Rav4, locate the fuel door release lever, usually located on the driver’s side floorboard or the lower left side of the dashboard. Pull the lever and the fuel door will pop open, allowing you to access the gas tank.

Can The Gas Tank Of A Toyota Rav4 Be Opened From The Inside?

No, the gas tank of a Toyota Rav4 cannot be opened from the inside. The fuel door release lever is specifically designed to be operated from the driver’s side of the vehicle. It is important to note that the fuel door release lever is a safety feature and should only be operated when the vehicle is stationary.

Are There Any Precautions When Opening The Gas Tank On A Toyota Rav4?

Yes, there are a few precautions to keep in mind when opening the gas tank on a Toyota Rav4. Firstly, ensure that the vehicle is parked in a well-ventilated area away from any open flames or sparks. Secondly, make sure the engine is turned off and the vehicle is in park or neutral.

Finally, be careful not to force the fuel door open if it does not release easily, as this could cause damage to the vehicle.

Conclusion

Opening the gas tank of your Toyota Rav4 is a straightforward process, but it’s important to follow the correct steps to ensure safety and proper functioning of your vehicle. By following these simple guidelines, you can easily open your Toyota Rav4 gas tank and maintain a smooth refueling process.


How to Get Hyundai Dealership


To get a Hyundai dealership, you need to follow a structured approach.

Prepare a detailed business plan outlining your strategies and objectives.

Demonstrate your financial stability and ability to meet Hyundai's requirements.

Follow Hyundai's application process step by step to increase your chances of approval.

Understanding Hyundai's Requirements

analyzing hyundai s production standards

To successfully obtain a Hyundai dealership, it's important to meticulously understand and meet the specific requirements set forth by the manufacturer. Two pivotal aspects you must focus on are Market Analysis and Location Selection.

Your path begins with a thorough market analysis. You've got to explore into the current automotive market trends, especially those relating to Hyundai vehicles. It's about grasping the demand dynamics in your targeted area; are SUVs more popular than sedans? Is there a growing interest in electric vehicles? This analysis isn't just about numbers; it's about grasping the preferences and needs of potential customers in the locale where you plan to set up shop.

Next, location selection becomes your focal point. Hyundai places a strong emphasis on where their dealerships are situated. You're not just looking for a spot with high foot traffic or visibility. It's about identifying a location that aligns with Hyundai's brand image and market positioning. The chosen location should also offer convenience to your target market, enhancing accessibility and thereby, customer experience. Remember, your chosen location directly impacts your dealership's visibility, accessibility, and ultimately, its success.

Preparing Your Business Plan

Crafting a thorough business plan is your next vital step, serving as the blueprint for launching and operating your Hyundai dealership successfully. This document shouldn't only lay out your financial projections and operational strategies but also include a detailed market analysis and an overview of the competitive landscape.

In your market analysis, you'll need to identify and comprehend your target customers' buying habits, preferences, and the general demand for Hyundai vehicles in your intended location. You're analyzing the market size, growth potential, and demographics to make sure there's a sustainable market for your dealership.

Of equal significance is the assessment of the competitive landscape. Here, you'll detail who your direct competitors are, what they offer, their strengths and weaknesses, and how you plan to differentiate your dealership from them. This section should demonstrate a clear grasp of the competitive forces at play and how you'll position your Hyundai dealership to gain a competitive edge.

Your business plan should be analytical, detailing how each aspect of your dealership, from sales strategies to service offerings, will operate within the context of the market dynamics and competitive environment. This groundwork is pivotal for convincing Hyundai and potential investors of the viability and potential success of your dealership.

Navigating the Application Process

understanding college application process

After finalizing your business plan, you'll need to navigate the application process for securing a Hyundai dealership, a step that requires attention to detail and adherence to specific criteria set by Hyundai. This phase is important and demands a thorough grasp of the selection criteria, including the significance of dealer location. Hyundai typically looks for locations that can optimize visibility and access to potential customers, ensuring a profitable operation for both the dealer and the company.

To avoid common application pitfalls, it's necessary to demonstrate not only financial readiness but also an insight into the market dynamics in the proposed location. Mistakes in this area can lead to rejection. Detailed demographic studies, traffic flow analysis, and competitor evaluations are often required to justify the choice of location.

Furthermore, Hyundai may require detailed documentation of your business structure, management team, and operational plans. Neglecting these aspects can be another pitfall. Ensuring all documentation is accurate, thorough, and professionally presented is important. This step isn't just about showing financial capability but also about proving your team's competency to manage a dealership successfully.

Securing Financial Backing

Securing financial backing is a pivotal step in establishing a Hyundai dealership, requiring you to meticulously assess your funding options and understand the financial commitments involved. You'll need to delve deep into investment strategies and conduct thorough credit analysis to guarantee your financial stability and attractiveness to potential lenders or investors.

Funding Source Pros Cons
Bank Loans Structured payments, possible low interest rates Requires strong credit, collateral
Investors Flexible agreements, expertise and networks Share of ownership, profit sharing
Personal Assets Complete control, no interest rates High personal risk, limited by assets

Each funding source comes with its unique set of challenges and opportunities. Bank loans, for instance, are a conventional route but hinge heavily on your creditworthiness and business plan's viability. Engaging investors could bring not just funds but valuable business acumen and networks, though it often means sharing control. Utilizing personal assets offers independence but exposes you to significant personal financial risk.

Strategically, combining different investment strategies while maintaining a strong credit analysis can optimize your funding structure. This multifaceted approach not only secures the necessary capital but positions your dealership for future financial health and growth.

Finalizing the Dealership Agreement

finalizing the dealership contract

Having navigated the complexities of financial backing, you'll next need to focus on finalizing your Hyundai dealership agreement, a process that demands a thorough comprehension of the terms and conditions to guarantee a successful partnership. This step is critical as it sets the foundation of your future operations and profit margins.

Key to this phase is location selection. Your agreement will detail the territory or specific location where you're authorized to operate. This directly impacts your dealership's visibility, customer traffic, and ultimately, sales performance. It's essential to analyze the proposed location's potential thoroughly before agreeing.

Negotiation strategies also play a significant role at this juncture. It's not just about accepting what's offered but understanding and negotiating terms that align with your business goals and market realities. This might include discussions on sales targets, the range of models you'll have in your inventory, and support from Hyundai regarding marketing and training.

Conclusion

In summary, securing a Hyundai dealership demands a thorough approach.

You've got to grasp Hyundai's strict requirements, craft a compelling business plan, and skillfully navigate the application maze. Financial backing is vital; without it, your ambitions may falter.

Ultimately, grasping and finalizing the dealership agreement is paramount.

It's a meticulous process, but with detailed preparation and a strategic mindset, you can position yourself as a strong candidate for Hyundai's dealership network.

How to Reset Maintenance Light on 2015 Toyota Corolla


To reset the maintenance light on a 2015 Toyota Corolla, follow these steps:

  • Turn the ignition key to the 'On' position.
  • Press the odometer button until it displays the trip A mileage.
  • Turn the key to 'Off.'
  • Press and hold the odometer button while turning the key back to 'On.'

This process should reset the maintenance light on your 2015 Toyota Corolla.

Prepare Your Vehicle

prepare for winter driving

Before you reset the maintenance light on your 2015 Toyota Corolla, park the car on a flat surface and turn it off. This is important for safety and to avoid problems.

Make sure you have the car's manual with you for specific instructions on how to reset the maintenance light. Sit in the driver's seat to easily access the dashboard and steering column.

Lastly, know where the odometer/trip meter button and the ignition switch are on the dashboard to make the reset process smoother.

Turn Ignition On

Turn the ignition to the 'On' position but don't start the engine. This activates the car's electronics without turning on the engine. You'll see the dashboard lights turn on, including the maintenance light you want to reset.

Hearing sounds or seeing flashing lights is normal as the car checks its systems. Make sure not to start the engine; if you do, turn it off and begin again.

Turn off all other electrical accessories like the radio or air conditioning to save battery.

Access Maintenance Display

digital control panel malfunction

To access the maintenance display on your 2015 Toyota Corolla, follow these steps:

  1. Turn on the ignition but don't start the engine.
  2. Look at the instrument panel for the trip meter display.

If your Corolla has a traditional dashboard:

  • Find the trip meter reset button on the dashboard.
  • Press this button to switch between the odometer and trip meters (trip A and trip B).
  • Make sure trip A is displayed for the reset process. The maintenance required message will show here if there are any notifications.

If your Corolla has an advanced infotainment system:

  • Use the touchscreen or steering wheel controls to go to the vehicle settings menu.
  • Find the option for vehicle information or maintenance to see any maintenance alerts or messages.

Reset Maintenance Light

To reset the maintenance light on your 2015 Toyota Corolla, follow these steps:

  1. Turn Key to On Position: Without starting the car, turn the key to the 'On' position. This activates the electrical components but not the engine.
  2. Show Odometer: Make sure the odometer is showing. If it's showing the trip meter, press the odometer button until the odometer reading appears.
  3. Press and Hold Odometer Button: Press and hold the odometer button. While holding, turn the key to 'Off' and then back to 'On' without starting the car. Keep holding the button for about 10 seconds until the maintenance light blinks and turns off, indicating the reset is complete.

Confirm Light Reset

confirming a light reset

After resetting the maintenance light on your 2015 Toyota Corolla, check if it's off. Turn the ignition key to 'On' but don't start the engine. Look at the dashboard where the maintenance light was. If the light is off, the reset worked. If it's on or blinking, the reset didn't work.

If the light doesn't turn off, try resetting it again. Follow the steps carefully and wait a few seconds after each step for the system to recognize the changes.

Check your vehicle's manual for any specific reset instructions for your model.

Once the maintenance light is off, it means you've reset it successfully. Remember, this light reminds you to perform regular maintenance. Keep up with your car's service schedule to prevent future problems. Regular maintenance is important for your Toyota Corolla's health and performance.

Conclusion

Great job! You've reset the maintenance light on your 2015 Toyota Corolla.

You got your car ready, turned on the ignition, found the maintenance display, and did the steps to reset the light.

This is a big step in keeping your car in good shape. Make sure to check that the light is really off to finish the process.

Keep taking good care of your car so it stays in great condition for a long time.

Good work!