Recent Posts

How to Turn on Dashboard Lights in Toyota Corolla


To turn on your Toyota Corolla's dashboard lights, locate and adjust the control knob to set the lights' intensity for optimal clarity and comfort.

This also helps you understand vital vehicle health symbols, enhancing your driving experience.

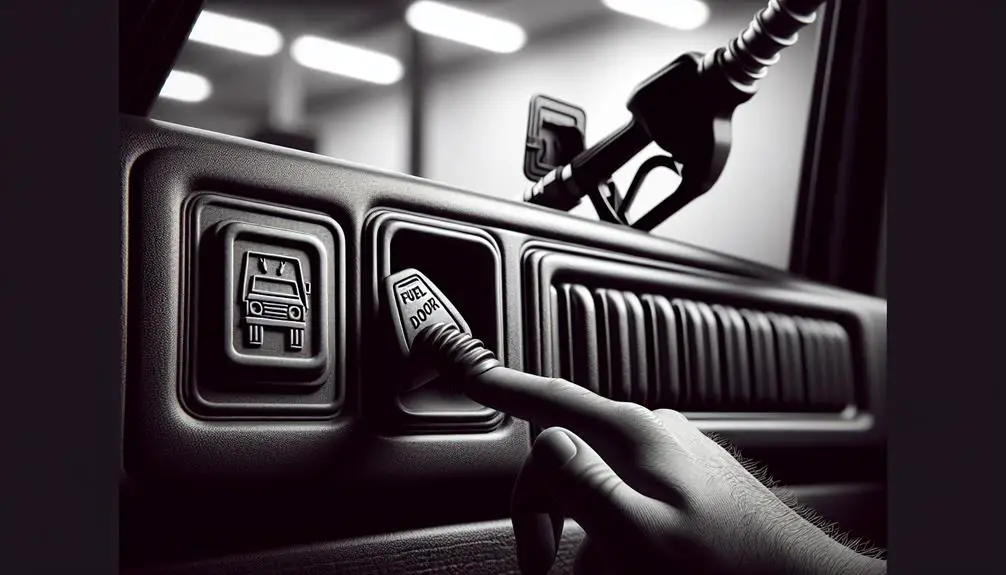
Locating the Control Knob

adjusting the thermostat temperature

To find the control knob in your Toyota Corolla, look on the driver's side dashboard near the steering wheel. This knob lets you change the brightness of the dashboard lights. You can turn it to make the lights dimmer or brighter, which is useful at night or in tunnels.

Depending on your car's model, pushing or pulling the knob might turn on the interior light or adjust the instrument panel lights. This knob is important for controlling your car's lights easily.

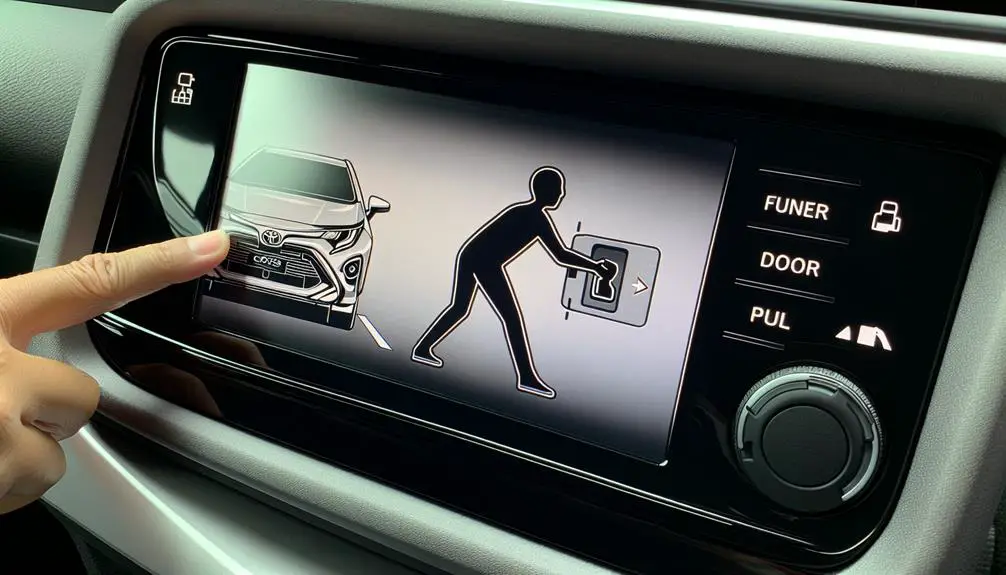
Turning on the Ignition

To turn on the ignition of your Toyota Corolla, follow these steps:

  1. Sit in the driver's seat and fasten your seatbelt.
  2. If your Corolla uses a key, insert it into the ignition switch on the right side of the steering column. If it has a push-button start, the start button will be in a similar location.
  3. For key ignition, turn the key clockwise to the 'On' position. For push-button start, press the button once without pressing the brake pedal.
  4. Watch the dashboard lights turn on, indicating the electrical system is working.
  5. Wait a few seconds for some lights to turn off as part of the self-check process.

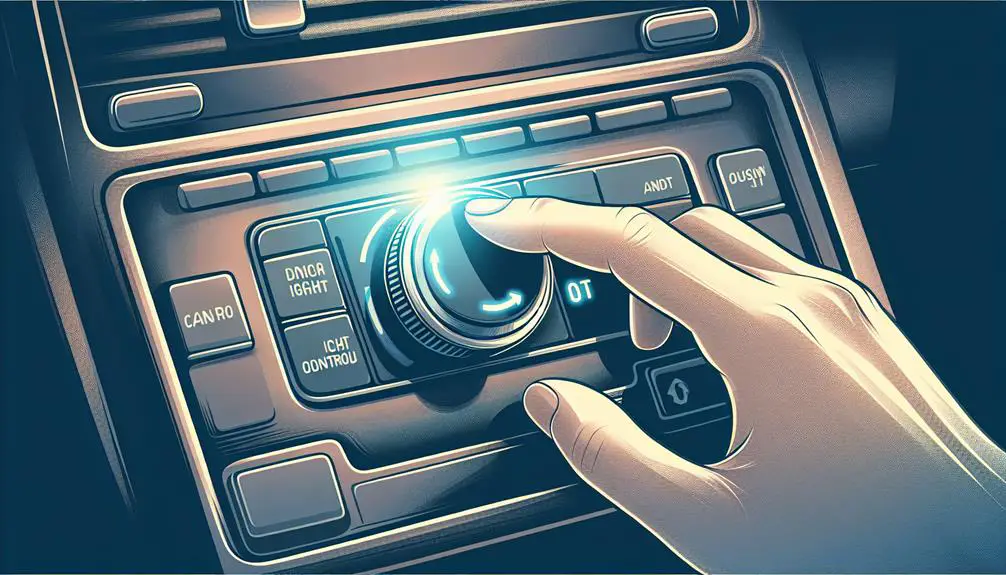
Adjusting Light Intensity

optimizing light levels carefully

To adjust the dashboard light intensity in your Toyota Corolla, follow these steps:

  1. Find the dashboard light control knob. It's usually on the dashboard or on the left side of the steering wheel.
  2. Increase brightness by turning the knob to the right.
  3. Decrease brightness by turning the knob to the left.
  4. Choose a comfortable brightness level that doesn't cause glare.
  5. Keep the knob at your preferred setting. It saves automatically for next use.

This adjustment helps improve visibility and reduces eye strain at night.

Understanding Dashboard Symbols

Learn what your Toyota Corolla's dashboard symbols mean to improve your driving. Each symbol alerts you to your car's condition. Here are common symbols:

  • Engine Warning Light: Looks like an engine. It turns on if there's a possible engine problem. Check your car soon.
  • Battery Alert: Shaped like a battery. It means there's a problem with the car's charging system. Fix it to avoid a dead battery.
  • Oil Pressure Warning: Looks like an oil can. It signals a drop in oil pressure, possibly needing more oil or fixing a leak.
  • Tire Pressure Warning Light: An exclamation mark inside a tire shape. It means your tire pressure is low, affecting fuel efficiency and safety.

Knowing these symbols helps you avoid big repairs. Address warnings early to keep your car in good shape.

Troubleshooting Common Issues

addressing technical problems effectively

To fix Toyota Corolla dashboard light issues, follow these steps:

  1. If the dashboard lights are off, check for a blown fuse or a battery issue. Replace any blown fuses. Make sure the battery is charged and connected.
  2. For dim lights, it might be an alternator problem or the dimmer switch. Try adjusting the dimmer switch. If that doesn't work, get the alternator checked.
  3. Flickering lights may mean a loose connection or an electrical system problem. Check connections for looseness or corrosion and fix them.

Troubleshooting guide:

  • Lights not on: Check fuse or battery.
  • Dim lights: Check alternator or dimmer switch.
  • Flickering lights: Check connections or electrical system.

Conclusion

Turning on the dashboard lights in your Toyota Corolla is easy once you know how. First, find the knob that controls the lights. Next, turn on the car's ignition. Then, adjust the brightness of the lights until it's just right for you.

It's important to understand what the symbols on the dashboard mean to keep safe while driving. If something doesn't work right away, it's okay – figuring out problems is part of learning.

Now, you're ready to drive with a clear view of your dashboard. Have a safe trip!

How to Charge Toyota Sienna Hybrid Battery


How to Charge Toyota Sienna Hybrid Battery

Are you wondering how to charge the battery in your Toyota Sienna Hybrid? Toyota Sienna Hybrid is a remarkable vehicle that seamlessly combines the practicality of a minivan with the fuel efficiency of a hybrid. However, while the hybrid battery is designed to be self-charging through regenerative braking and the internal combustion engine, there may be times when you need to manually charge the hybrid battery. Let’s explore the best practices for this process.

Understand the Hybrid Battery

Before attempting to charge the hybrid battery, it’s important to understand its components and operation. The Toyota Sienna Hybrid features a nickel-metal hydride (Ni-MH) battery pack that stores and provides power to the electric motor. The vehicle’s hybrid system intelligently manages the state of charge to ensure optimal efficiency and performance. However, in circumstances where the battery charge is low, manual intervention may be necessary.

How to Charge Toyota Sienna Hybrid Battery

Credit: www.bankstreet-toyota.ca


Charging Procedure

It’s essential to follow the correct procedure to safely and effectively charge the Toyota Sienna Hybrid battery.

Step 1: Prepare The Vehicle

Before you begin, park the vehicle in a well-ventilated area and engage the parking brake. Ensure the ignition is turned off and the key is removed from the vehicle.

Step 2: Locate The Jump Start Terminals

Open the hood of the vehicle and locate the jump start terminal cover. On the Toyota Sienna Hybrid, it is typically located in the engine compartment and is marked with a “+” sign.

Step 3: Connect The Charging Device

Use a compatible external charging device to connect to the jump start terminal. Ensure that the positive (+) lead of the charging device is connected to the positive jump start terminal and the negative (-) lead to a suitable grounding point. Always follow the instructions provided with the charging device.

Step 4: Initiate The Charging Process

Once the connections are secure, follow the specific instructions provided with your charging device to initiate the charging process. It is crucial to use a charging device that is designed for hybrid vehicles and to follow the manufacturer’s guidelines for charging procedures and safety precautions.

Best Practices for Charging

When charging the Toyota Sienna Hybrid battery, there are important best practices to keep in mind.

  • Use the Right Equipment: Always use a charging device that is specifically designed for hybrid vehicles, and follow the manufacturer’s guidelines.
  • Ensure Proper Ventilation: Charging should be conducted in a well-ventilated area to prevent the accumulation of combustible gases.
  • Follow Safety Precautions: Adhere to all safety precautions provided by the charging device manufacturer to minimize the risk of electrical hazards.
  • Monitor the Charging Process: Keep an eye on the charging process and be ready to respond to any unexpected events. Follow the recommended charging duration to prevent overcharging.
How to Charge Toyota Sienna Hybrid Battery

Credit: www.reddit.com

Benefits of Regular Driving

While manual charging may be necessary in certain situations, the Toyota Sienna Hybrid is designed to maintain the hybrid battery charge through everyday driving. The vehicle’s hybrid system optimizes the use of electric power and ensures that the battery is charged through regenerative braking and the internal combustion engine.

By driving the Toyota Sienna Hybrid regularly, you can contribute to maintaining the hybrid battery charge and enjoying the exceptional efficiency and performance that this vehicle offers. Additionally, regular driving allows the hybrid system to function optimally, resulting in a seamless and efficient driving experience.

Frequently Asked Questions On How To Charge Toyota Sienna Hybrid Battery

How Often Do I Need To Charge The Toyota Sienna Hybrid Battery?

The frequency of charging the Toyota Sienna Hybrid Battery depends on various factors such as driving conditions, temperature, and battery usage. Typically, it is recommended to charge the battery at least once every few weeks to maintain its optimal performance.

What Is The Best Way To Charge The Toyota Sienna Hybrid Battery?

To charge the Toyota Sienna Hybrid Battery, it is recommended to use a dedicated electric vehicle charger that is compatible with the battery’s specifications. It is important to follow the manufacturer’s guidelines and instructions for a safe and efficient charging process.

Can I Charge The Toyota Sienna Hybrid Battery At Home?

Yes, you can charge the Toyota Sienna Hybrid Battery at home using a standard electrical outlet or a dedicated electric vehicle charging station. It is advisable to install a level 2 charger at home for faster and more convenient charging.

Conclusion

Charging the Toyota Sienna Hybrid battery is a simple and straightforward process when approached with the right knowledge and equipment. By following the correct procedure and best practices, you can ensure that the hybrid battery is effectively charged when necessary. Additionally, regular driving will contribute to maintaining the battery charge and maximizing the benefits of owning a Toyota Sienna Hybrid.

Best Hyundai Showroom Near Me


Finding the best Hyundai showroom involves several steps:

  1. Researching local dealerships
  2. Evaluating customer reviews
  3. Comparing deals
  4. Test driving to ensure the dealer meets your needs.

Identifying Your Hyundai Needs

choosing the best car

Before setting foot in a Hyundai showroom, it's vital to assess your driving habits, budget, and feature preferences to pinpoint the model that best suits your needs. Diving into the model specifications offers a clear perspective on what each Hyundai vehicle brings to the table, such as fuel efficiency, safety features, and technological advancements. You'll find that Hyundai's wide range caters to different lifestyles, from the eco-friendly Ioniq to the spacious Santa Fe.

Comprehending financing options is equally vital. Hyundai offers a variety of financing solutions to fit different budgets, including leasing options, loans, and sometimes even incentives for specific models. It's crucial to calculate your monthly payments beforehand and consider the total cost of ownership, which includes insurance, maintenance, and fuel expenses.

Researching Local Dealerships

After identifying your Hyundai needs, it's important to explore researching local dealerships to find one that offers the best customer service, vehicle selection, and financing options tailored to your preferences. Delving into the specifics, the dealership location plays a pivotal role in your buying process. It's not just about proximity; it's about accessibility and the convenience it adds to your car maintenance in the long run. A well-situated dealership can greatly reduce the hassle during your purchase process and future servicing needs.

Additionally, showroom amenities are indicative of the dealership's commitment to customer satisfaction. A showroom that's equipped with comfortable waiting areas, informative displays, and a variety of models available for test driving speaks volumes about the dealership's operation and service quality. These amenities not only improve your buying experience but also reflect the dealership's attentiveness to customer needs and preferences.

Essentially, a thorough investigation into dealership location and showroom amenities provides you with a clearer picture of what to expect regarding service quality and convenience. This analytical approach ensures you make an informed decision, selecting a dealership that aligns with your specific Hyundai needs and expectations.

Evaluating Customer Reviews

analyzing customer feedback data

Diving into customer reviews can offer invaluable insights into a dealership's reputation, allowing you to gauge the level of satisfaction past customers have experienced. When you're looking for the best Hyundai showroom near you, it's not just about the number of stars a dealership has. You've got to dig deeper to understand the quality of service and vehicle satisfaction.

Aspect to Evaluate Why It Matters
Review Authenticity Authentic reviews give you a real sense of customer experiences. Watch for verified buyer tags and detailed accounts of the buying process.
Response Time How quickly a dealership responds to reviews signals their commitment to customer service. A prompt response to both positive and negative feedback shows they value customer input and are proactive in addressing concerns.

Analyzing these features in reviews can reveal a lot about a dealership's integrity and customer service philosophy. Authentic reviews provide a wealth of information, from the friendliness of the staff to the thoroughness of the post-sale service. Meanwhile, evaluating response time helps you understand how a dealership values its customers post-purchase. Together, these elements paint a complete picture of what you can expect from your Hyundai showroom experience.

Comparing Deals and Incentives

Understanding the subtleties of customer reviews equips you with a foundational knowledge; now, let's focus on dissecting the different deals and incentives Hyundai showrooms offer to truly distinguish the best value for your investment. When you're on the hunt for a new or pre-owned Hyundai, it's not just about the sticker price. Several key factors come into play, each affecting the overall cost and benefits of your purchase.

Here's what you should examine:

  1. Trade-in Options: Look for showrooms that offer competitive trade-in values. A good trade-in deal can significantly lower your upfront costs. Ensure the valuation process is transparent and fair.
  2. Financing Rates: Interest rates can make or break a deal. Some Hyundai dealers may offer lower financing rates, especially during promotional periods. Keep an eye out for these opportunities.
  3. Manufacturer Incentives: Hyundai often provides incentives directly from the manufacturer, such as cash back offers or special financing rates for certain models. These can vary significantly from one showroom to another.
  4. Warranty and Service Packages: Some deals include extended warranties or free maintenance services for a certain period. These add-ons can save you money in the long run.

Visiting and Test Driving

exploring cars and features

Once you've navigated the complexities of deals and incentives, the next vital step involves visiting the showroom and taking your potential Hyundai out for a test drive. This phase is essential as it offers you a tangible feel of the car, something specs on paper can't fully convey. During your visit, pay close attention to the vehicle customization options available. Hyundai's range often includes different trim levels and packages that can greatly improve your driving experience. Comprehending these choices in the showroom can help you make a well-informed decision, tailored precisely to your needs and preferences.

Before heading to the showroom, consider some appointment scheduling tips to guarantee a smooth experience. To start, try to book your visit during weekdays. Showrooms are less crowded, allowing sales staff to give you more attention and detailed information. Next, inquire if the showroom offers specific test drive routes or if you can choose your path. This flexibility can help you test the vehicle in conditions that match your daily driving scenarios. Last, don't rush your visit. Allocate enough time to explore all aspects of your potential new car, from performance and comfort to technology and safety features. This thorough approach will guide you towards a choice you'll be satisfied with for years to come.

Conclusion

After thoroughly reviewing your Hyundai needs and researching local dealerships, it's clear that the best choice comes down to customer service, deals, and your personal experience.

Don't just take the word of online reviews; visit the showrooms, engage with the staff, and test drive the models you're interested in.

Comparing incentives across dealerships can lead to significant savings. Ultimately, the dealership that understands your needs and offers the best complete value should earn your business.

How to Repair the Automatic Transmission of a Toyota Corolla 2013


Repairing a 2013 Toyota Corolla's automatic transmission involves several key steps.

Diagnosing the issue is the first crucial step, followed by gathering the necessary tools.

Once the tools are in place, the transmission can be removed for further inspection and repair.

Repairing or replacing parts as needed is the next phase, followed by reassembling the transmission.

Finally, thorough testing is essential to ensure the smooth operation of the repaired transmission.

Diagnosing Transmission Issues

automotive diagnostic technology used

To fix your Toyota Corolla 2013's transmission correctly, first, find out what's wrong. Don't start taking things apart or buying new parts until you're sure of the issue.

Start by figuring out what the problem looks like. If your car shifts roughly, slips gears, or doesn't move, each sign points to different problems. For example, gear slipping might mean low transmission fluid or a bad transmission solenoid.

Check the transmission fluid next. If it's dirty or smells burnt, you need to change it, and there might be more damage inside. But, if there's not enough fluid, you probably have a leak, which is easier to fix.

Look out for any warning lights on your dashboard. Your Corolla has advanced systems that can alert you to many problems. A transmission warning light could mean a small sensor issue or a big mechanical problem.

Also, listen for odd noises when the car is running. Grinding sounds usually mean a serious problem inside the transmission.

Gathering Necessary Tools

To fix a 2013 Toyota Corolla's transmission, you need certain tools. These tools help do the job smoothly and prevent damage to the car parts. You should have:

  1. Basic hand tools like wrenches (both metric and standard) and a socket set. These are important for working with different nuts and bolts in the transmission.
  2. A transmission jack is important for safely handling the transmission.
  3. A torque wrench is needed to make sure everything is put back together correctly, according to Toyota's guidelines.

Here's a simple list of the needed tools:

  • Basic Tools: Wrenches, Socket Set
  • Special Tools: Transmission Jack
  • Precision Tools: Torque Wrench
  • Safety Gear: Gloves, Safety Glasses

Removing the Transmission

taking out the transmission

To remove the transmission from a 2013 Toyota Corolla, follow these steps. Make sure the car is lifted and supported on jack stands for safety. First, disconnect the battery to avoid electrical issues. Then, take out the air intake assembly, starter motor, and possibly the exhaust manifold, depending on the car model. Keep track of all parts and screws for easy reassembly.

Next, carefully disconnect the shift linkage, speed sensor connectors, and transmission fluid lines. Labeling these can help during reinstallation. Use an engine support bar to keep the engine stable after removing the transmission.

Repairing or Replacing Parts

After you remove the transmission from your 2013 Toyota Corolla, check each part for wear or damage. Look at the gears, clutches, seals, and torque converter. If parts are worn or damaged, decide whether to fix or replace them. Often, replacing is better for a long-term fix. For instance, a damaged gear should usually be replaced, not repaired. But, some seals or gaskets can be fixed if they're only slightly damaged.

When getting new parts, choose quality ones. Cheap parts might save money now but can cause problems later. Use OEM parts made for your Corolla for the best fit and performance.

Reassembling and Testing

analyzing fixing and verifying

After choosing and replacing any old or broken parts, it's important to carefully put your Corolla's transmission back together. This ensures your car works well. First, prepare all the parts and tools you need. Think of it as a detailed puzzle where each piece must return to its exact spot.

Here's a simple guide to follow:

Step What to Do
1. Install the gears Make sure they're correctly aligned.
2. Place the clutch assembly Ensure it's facing the right way.
3. Secure the valve body Tighten all bolts uniformly.
4. Attach the transmission pan Use a new gasket to stop leaks.

After assembly, test your work. Fill the transmission with the right fluid. Then, start your Corolla and let it run for a few minutes. This helps the fluid spread and oil the inside parts.

Next, take a test drive. Focus on how the transmission changes gears. It should do so smoothly, without delays or odd sounds. If anything seems off, it's best to fix it immediately.

Putting together and testing your Corolla's transmission requires patience and careful attention. Doing it correctly means your car will run well. This task isn't just about repair; it's about mastering a complex challenge.

Conclusion

You did a great job fixing the automatic transmission in your Toyota Corolla. You found out what was wrong, got all the tools you needed, and fixed or replaced the parts that were broken.

After putting everything back together, it's time to see if your work was successful. Start the car and go for a short drive. If the car drives smoothly, you fixed the transmission correctly.

Remember, taking care of your car often can help avoid problems later. Well done on making your car run well again!

Toyota Corolla Fuel Cap Release: How to Open Gas Tank on Toyota Corolla Cross 2024


To open the gas tank on a Toyota Corolla Cross:

  • Locate the release lever inside your vehicle.
  • Push it upward to unlock the gas tank door.

This action allows you to refuel your car without confusion or delays.

How to Open Gas Tank on Toyota Corolla Cross?

How to Open Gas Tank on Toyota Corolla Cross?

Step 1: Locate the Release Lever

find the release mechanism

To open the gas tank on a Toyota Corolla Cross, look for the release lever inside the car. Make sure the car is parked and the engine is off.

The lever is on the floor by the driver’s seat, near the door. It may be hard to see at first, but it’s there, often marked with a fuel pump icon.

Step 2: Push the Lever Upward

To open your Toyota Corolla Cross’s gas tank, push the release lever upward gently. This unlocks the fueling point. Remember these points when pushing the lever:

  1. Use Light Pressure: Push the lever up lightly but firmly to open the gas tank without damaging the lever or its mechanism.
  2. Listen for a Click: A click sound means the gas tank door is unlocked. If you don’t hear it, the lever mightn’t have been pushed all the way, or there could be a problem with the lock.
  3. Don’t Use Tools: Avoid using tools if the lever is stuck, as they can scratch or damage it. Check for blockages or consult the car manual if there are issues.

Step 3: Approach the Gas Tank Door

Unlock the gas tank and go to the side of your Toyota Corolla Cross to find the gas tank door. Depending on the model year, it can be on the left or right side. Know your car’s layout to find it easily.

Look at the fuel gauge inside your car for an arrow next to the fuel pump icon. This arrow shows which side the gas tank door is on.

Before opening the gas tank door, check for any leaves, snow, or dirt around it. Clean any debris to avoid problems opening the door.

Remembering these steps can help avoid frustration when accessing the gas tank door.

Step 4: Press to Open the Door

To open the gas tank door on a Toyota Corolla Cross:

  1. Find the Fuel Door Release button. It’s usually on the driver’s side, near the lower dashboard or by the floor. It has a fuel pump icon on it.
  2. Press the Release Button. A light press will open the gas tank door. If it doesn’t open, check if the car is locked, as some models require the car to be unlocked.
  3. After pressing the button, leave the car and go to the gas tank door. It will be slightly open. Open it fully by hand without using too much force.

Step 5: Refueling Your Vehicle

fill up the tank

After opening the gas tank door of your Toyota Corolla Cross, follow these steps to refuel:

  1. Turn off the engine for safety.
  2. Open the fuel tank by turning the cap counterclockwise.
  3. Put the fuel pump nozzle in the tank and select the type of fuel.
  4. Fill up the tank without overfilling to prevent spillage.
  5. Close the fuel tank by turning the cap clockwise until it clicks.

Conclusion

You’ve now opened the gas tank on your Toyota Corolla Cross and are ready to fill it up. Here’s how you did it:

  • You found the lever that opens the gas tank, pushed it up.
  • Walked over to where the gas tank door is and pressed on it to open.

These steps are easy to follow, so you can keep your car running well without trouble.

Always remember to close the gas tank door tight after you’re done filling up.

Enjoy your drive in your Corolla Cross and stay safe!

How to Take off Seat Belt Alarm 2012 Toyota Tacoma


How to Turn off Seat Belt Alarm in 2012 Toyota Tacoma

Are you tired of the constant beeping from your seat belt alarm in your 2012 Toyota Tacoma? Many drivers find the seat belt alarm to be an annoying feature, especially in situations where using a seat belt may not be necessary, such as when moving the vehicle within a short distance, or when doing off-road driving. In this guide, we will show you how to disable the seat belt alarm in your 2012 Toyota Tacoma.

How to Take off Seat Belt Alarm 2012 Toyota Tacoma

Credit: www.tacomaworld.com

Step 1: Check the Owner’s Manual

Before attempting to disable the seat belt alarm, it is essential to check the owner’s manual of your 2012 Toyota Tacoma. The manual may contain specific instructions or precautions related to the seat belt alarm system. It’s important to follow the manufacturer’s recommendations to ensure the safety of all occupants of the vehicle.

Step 2: Identify the Alarm Source

Locate the source of the seat belt alarm in your Toyota Tacoma. Depending on the vehicle model, the seat belt alarm may be connected to a sensor near the seat belt buckle, or it may be integrated into the vehicle’s computer system. Understanding the alarm’s location will help you to determine the best method to disable it.

Step 3: Buckle and Unbuckle the Seat Belt

One common method to stop the seat belt alarm from sounding is to buckle and unbuckle the seat belt several times in a row. This action may reset the sensor and temporarily stop the alarm from beeping. However, this method may not permanently disable the alarm and may not be suitable for all driving situations.

How to Take off Seat Belt Alarm 2012 Toyota Tacoma

Credit: m.youtube.com

Step 4: Use a Seat Belt Alarm Stopper

If you want a more permanent solution to disable the seat belt alarm in your 2012 Toyota Tacoma, consider using a seat belt alarm stopper. These devices are designed to plug into the seat belt buckle’s receptacle, simulating the action of a buckled seat belt and stopping the alarm from sounding. Just make sure to use these devices responsibly and only when appropriate.


Step 5: Consult a Professional Mechanic

If you are unsure about how to turn off the seat belt alarm in your 2012 Toyota Tacoma, or if you have concerns about how disabling the alarm may affect the vehicle’s safety features, it’s best to consult with a professional mechanic. They can provide expert advice and assistance in addressing the seat belt alarm system.

Remember, the seat belt alarm is designed with safety in mind, and it’s crucial to consider the potential risks of disabling this feature. Always prioritize the safety of yourself and your passengers when driving your Toyota Tacoma.

By following these steps, you can effectively address the seat belt alarm in your 2012 Toyota Tacoma and find a solution that best fits your driving needs. Whether you choose to temporarily silence the alarm or seek a more permanent solution, it’s important to do so responsibly and with safety in mind.

Frequently Asked Questions Of How To Take Off Seat Belt Alarm 2012 Toyota Tacoma

How Do I Turn Off The Seat Belt Alarm In My 2012 Toyota Tacoma?

To disable the seat belt alarm in your 2012 Toyota Tacoma, simply follow these steps: buckle your seat belt, turn on the ignition, and then unbuckle and re-buckle the seat belt within 30 seconds.

Can I Disable The Seat Belt Alarm Permanently In My 2012 Toyota Tacoma?

While it is possible to disable the seat belt alarm permanently in your 2012 Toyota Tacoma, it is not recommended due to safety reasons. The seat belt alarm serves as a reminder to fasten your seat belt, ensuring your safety while driving.

Is It Legal To Turn Off The Seat Belt Alarm In My 2012 Toyota Tacoma?

It is generally legal to turn off the seat belt alarm in your 2012 Toyota Tacoma, as long as you comply with the seat belt laws in your jurisdiction. However, it is advisable to wear your seat belt at all times to ensure your safety and comply with the law.