Recent Posts

How to Turn on Dashboard Lights Toyota Corolla


To turn on the dashboard lights in your Toyota Corolla:

  • Locate the light control dial on the dashboard, usually found to the left of the steering wheel.
  • Simply rotate the dial to adjust the brightness or turn the lights on.

Locate the Light Control Dial

find the light control

To start, locate the light control dial on the left side of the steering wheel in your Toyota Corolla. This dial helps you see your dashboard clearly by controlling the lights. It's important for safety and ease of driving.

The dial controls various lighting functions, but your main focus is to turn on the dashboard lights. It usually works by twisting or turning, which is easy to do.

Using the dial helps you see important information like speed and fuel level more easily, especially in low light conditions.

Note that the location or design of the light control dial might differ across Toyota Corolla models. Check your vehicle's manual to learn how to use it properly.

Adjusting Brightness Levels

To adjust the brightness of your Toyota Corolla's dashboard lights, follow these steps:

  1. Park or put your car in neutral. Make sure the engine is on or in accessory mode. This is important for the electrical system to work.
  2. Find the dashboard brightness control. It might be a dial or buttons, and its location depends on the year of your Corolla.
  3. Use the dial or buttons to change the brightness. You can make it brighter or dimmer. This helps you see the display better in different conditions.

Here's a guide for setting the brightness based on where you're driving:

  • Night in the city: Set it to medium or low.
  • Night in the countryside: Keep it low or very low.
  • Twilight or dawn: Medium is good.
  • Sunny day: Go for high brightness.
  • Cloudy day: Medium to high works well.

Troubleshooting Common Issues

addressing everyday technical problems

If your Toyota Corolla's dashboard lights aren't working, try these steps:

  1. Check the dimmer switch. It might've been adjusted by mistake. You can find it on the dashboard or near the headlight controls. Adjust it to see if the lights turn back on.
  2. Look at the fuse. The fuse box is under the dashboard or in the engine compartment. Use your owner's manual to locate the dashboard lights' fuse. Remove it and see if the wire inside is broken. If yes, replace the fuse.
  3. Check the alternator. If it's not charging the battery properly, your dashboard lights may be dim or flicker. If you see other electrical issues, have a professional check the alternator.
  4. If none of the above work, there might be a more complex electrical problem. It's best to see a mechanic for these types of issues, as they can properly diagnose and fix them.

Tips for Nighttime Driving

Driving at night can be challenging, especially when it comes to visibility. To ensure you can see well, make sure your Toyota Corolla's dashboard lights are set correctly. Additionally, here are some tips to help you drive safely at night:

  • Lower your car's inside lights to avoid hindering your vision of the road.
  • Turn on your headlights early in the evening or in adverse weather conditions to enhance visibility for other drivers. Adjust them properly to prevent blinding oncoming traffic.
  • Regularly clean your windshield to remove dirt and debris that can obstruct your view, particularly when illuminated by other vehicles' lights.
  • Stay focused and vigilant while driving at night. Avoid distractions and continuously scan the road for potential hazards. If you feel tired, take a break as drowsy driving poses serious risks.

Maintaining Dashboard Lights

tracking vehicle dashboard indicators

To maintain your Toyota Corolla's dashboard lights:

  1. Monitor your car's battery, especially if it's over three years old. A weak battery can cause dim or flickering dashboard lights.
  2. Clean the dashboard regularly with a soft, dry cloth to remove dust and dirt. Avoid using harsh chemicals or abrasive materials.
  3. Check the dimmer switch if your dashboard lights seem dim. It might've been accidentally adjusted.
  4. Replace any burnt-out bulbs as soon as you notice them. Auto parts stores can provide the correct bulbs and instructions for replacement.

Conclusion

Now you know how to turn on and adjust the dashboard lights in your Toyota Corolla, fixing any small problems should be easy.

It's important to keep these lights at the right level of brightness to make driving at night better. Always check these lights to make sure everything is okay and there are no surprises when you're driving.

By following these easy steps, you can keep your dashboard lights working well, which makes driving at night safer and more enjoyable.

Have fun driving!

How to Reset Toyota Radio?


How to Reset Toyota Radio? Are you having trouble with your Toyota radio and need to reset it? Don’t worry! In this comprehensive guide, we will walk you through the step-by-step process to reset your Toyota radio. Whether you’re experiencing issues with connectivity, sound quality, or any other radio-related problems, a reset can often solve these issues.

Step 1: Locate the VIN

First, you need to locate the Vehicle Identification Number (VIN) of your Toyota. The VIN can typically be found on the driver’s side dashboard, near the windshield. It is also located on your car’s registration and insurance documents.

Step 2: Obtain Radio Code

With the VIN in hand, you can contact your local Toyota dealership or the Toyota customer service to obtain the radio unlock code. You will need this code to reset the radio.

Step 3: Enter the Radio Code

Once you have the radio code, turn on the ignition in your car. The radio display should show “Code” or “Enter Code”. Use the radio preset buttons to input the code. Be sure to enter the correct code to avoid locking the radio.


Step 4: Completing the Reset

After entering the code, press the “Enter” or “OK” button on the radio. If the code is correct, the radio should beep and begin working properly again. Your radio is now reset and ready to use!

How to Reset Toyota Radio

Credit: m.youtube.com

Common Issues with Toyota Radios

Toyota radios may encounter various issues such as connection problems with Bluetooth or auxiliary devices, loss of sound, or frozen screens. A reset can often resolve these issues.

Achieving A Factory Reset

When experiencing persistent issues with your Toyota radio, performing a factory reset might be necessary. The exact steps for this can vary between different Toyota models, so it’s best to consult your vehicle’s manual or reach out to a Toyota expert for guidance.

Consulting an Expert

If you’re ever unsure about resetting your Toyota radio or encounter difficulties during the process, it’s recommended to seek assistance from a certified Toyota technician. They have the knowledge and tools to ensure the radio is reset correctly without causing any further issues.

How to Reset Toyota Radio

FAQ

How Do I Reset My Toyota Radio?

To reset your Toyota radio, locate the “Reset” or “Eject” button on the interface. Press and hold it for a few seconds until the display turns off and then back on. Your radio should now be reset.

What Should I Do If My Toyota Radio Is Not Working?

If your Toyota radio is not working, check the fuse related to the radio in the fuse box. If the fuse is blown, replace it with a new one of the same rating. If the fuse is fine, consult a professional for further troubleshooting.

Can I Reset My Toyota Radio Without A Code?

Yes, you can reset your Toyota radio without a code. Simply disconnect the car battery for a few minutes, then reconnect it. This should reset the radio and allow you to use it without a code. However, keep in mind that you may lose any saved settings or presets in the process.

Conclusion

Resetting your Toyota radio may seem like a daunting task, but with the right information and guidance, it can be a straightforward process. By following the steps outlined in this guide, you can resolve common radio issues and get back to enjoying your favorite tunes without any interruptions. Remember, if you ever need assistance, don’t hesitate to contact your local Toyota dealership or customer service for help!


U1001 2003 Nissan Altima Sedan Meaning, Symptoms, Causes and How to Fix


Over 90% of Nissan Altima owners report exceptional satisfaction with their vehicle’s performance and reliability. If you’re diving into the world of used cars, the u1001 2003 Nissan Altima sedan stands out as a beacon of durability and comfort. This model, known for its smooth ride and efficient fuel economy, has become a go-to choice for drivers seeking both practicality and style. Whether you’re commuting to work or planning a road trip, the 2003 Nissan Altima offers an experience that combines the best of affordability with the high-quality standards Nissan is known for.

Overview U1001 in Nissan Altima

Fault Code

U1001 is a communication fault code. It shows problems in the CAN bus communication. This network lets different parts of the car talk to each other.

Cars have many electronic control units (ECUs). They control everything from engine timing to air conditioning. U1001 means these ECUs can’t communicate properly.

Impact on Altima

The 2003 Nissan Altima relies on this system for smooth operation. Without it, you might see weird issues. Lights on the dashboard might turn on for no reason, or the car might not start.

It affects safety and performance. Imagine trying to drive without knowing if your car will respond correctly. It’s scary and unsafe.

Addressing U1001

Fixing U1001 should be a priority. A skilled mechanic can diagnose and solve this problem. They might need to replace damaged wires or update software.

Ignoring it could lead to bigger problems later. Your car might stop working at a bad time, like when you’re far from home.

Common Symptoms of U1001

Dashboard Lights

Erratic dashboard warning lights are a key symptom. They might flicker or light up without reason. This can be confusing and worrying for drivers.

The lights on the dashboard act like the car’s way of talking to you. When they start acting up, it’s a sign something’s wrong.

Engine Issues

Another common problem is engine stalling or difficulties starting. This can happen without warning, making it unreliable and unsafe to drive.

etimes, the engine just won’t start. Other times, it might stall in the middle of a trip. Both are signs that the U1001 code is causing trouble.

Power Loss

Loss of power to certain vehicle functions is also frequent. It might affect windows, locks, or even steering.

This loss of power isn’t just inconvenient. It can also make driving dangerous if important features stop working suddenly.

Electronics Malfunction

Unexpected behavior in vehicle electronics is another symptom. The audio system or navigation might stop working properly.

These issues can range from minor annoyances to major problems. They all point to the U1001 code being an issue.

Limp Mode

In some cases, the vehicle enters “limp mode”. This limits its performance to prevent further damage.

Limp mode means your car is trying to protect itself. But it also means you need to get things checked out fast.

Diagnosing the U1001 Code

OBD-II Scanner

Using a professional OBD-II scanner is crucial. It helps accurately read the U1001 code. This tool can pinpoint issues within the vehicle’s control units.

It’s important to use the scanner properly. A correct diagnosis saves time and money.

CAN Bus Inspection

A thorough inspection of the CAN bus system is necessary. This includes checking wires and connectors for damage or corrosion.

Small issues here can cause big problems. They often lead to the U1001 code appearing.

Auto-Electrician Consult

etimes, diagnosing this issue is complex. It’s wise to consult with a specialized auto-electrician.

They have the skills to handle complicated diagnostic procedures. Their expertise ensures a correct fix.

Causes Behind U1001 Code

Wiring Issues

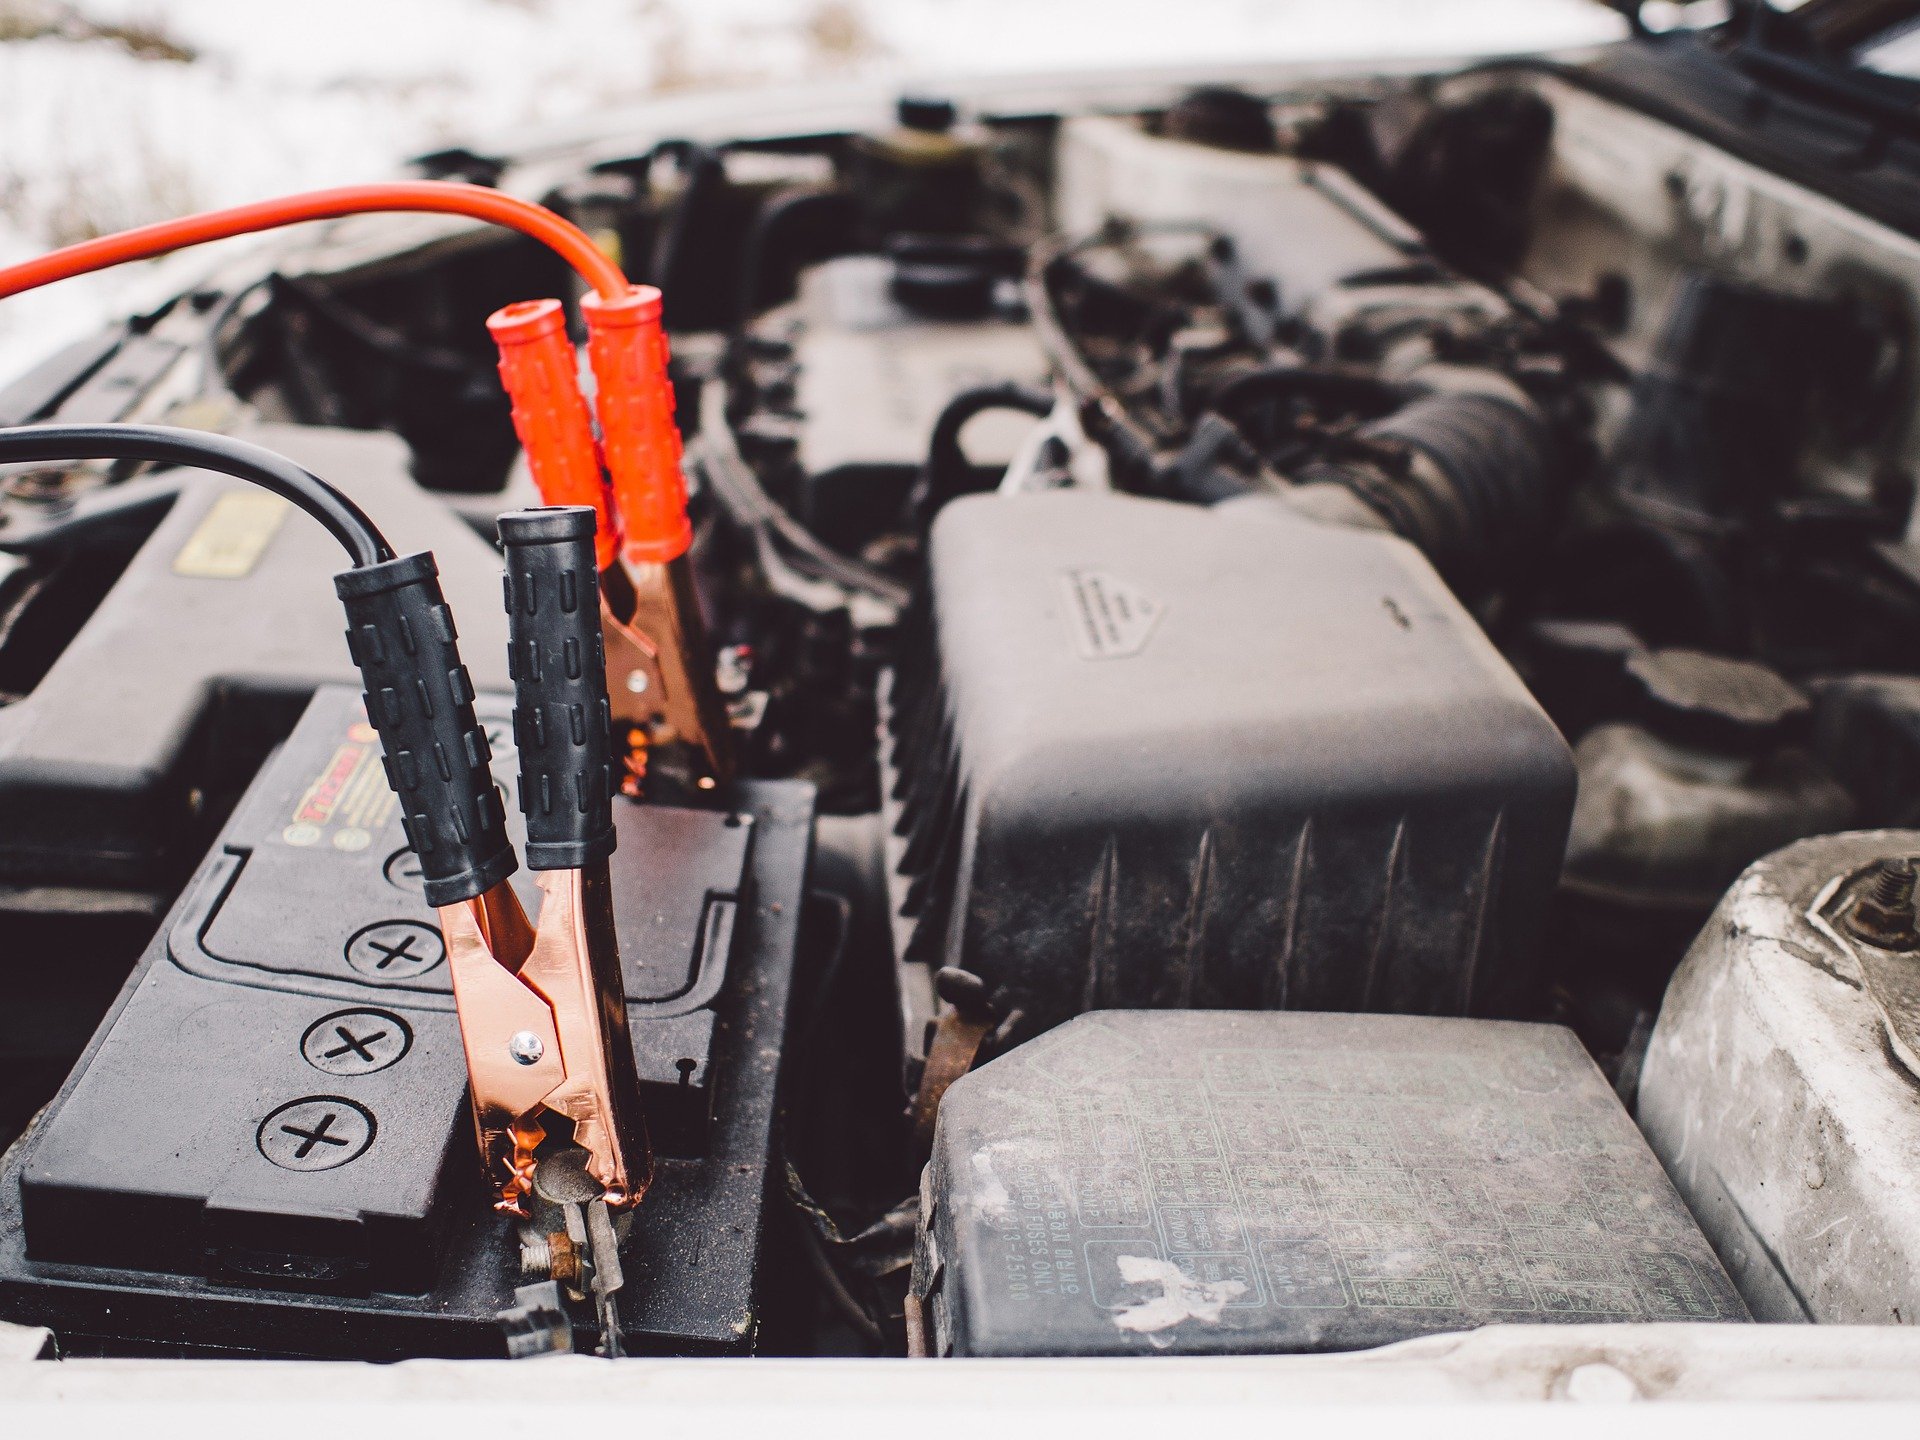
Damaged wiring or connectors within the CAN bus system can lead to the U1001 code in a 2003 Nissan Altima sedan. These damages disrupt the flow of information between the car’s electronic control units (ECUs).

It might be due to wear and tear over time. Sometimes, rodents chewing on cables cause this damage. Inspecting for visible signs of wear or breaks is crucial.

Faulty ECUs

Faulty ECUs are another common cause. They are the brain behind many of the car’s functions. If they fail, it can halt communication across the vehicle’s network.

This failure might stem from internal malfunctions or external impacts. Replacing or repairing faulty ECUs often resolves the U1001 code.

Aftermarket Interference

Aftermarket installations that interfere with the CAN bus can trigger this error code. These installations might include audio systems, alarm systems, or other electronic modifications not originally part of the vehicle.

They can overload the system or cause conflicts in data transmission. It is important to ensure any added electronics are compatible with your vehicle’s system.

Solutions for Resolving U1001

Wire Repair

Repairing or replacing damaged wires and connectors is crucial. It ensures the communication within the vehicle’s network is smooth. This step often solves the U1001 issue directly.

First, inspect all wiring connected to the Control Area Network (CAN). Look for any signs of wear, tear, or damage. If you find any, repairing or replacing them should be your priority. Often, this simple action can clear the U1001 code.

ECU Update

Resetting or updating the vehicle’s ECU software might be necessary. This is especially true if the problem comes from software glitches.

To do this, take your car to a professional. They have the right tools to update your ECU safely. Sometimes, just resetting the system clears the error code. Other times, an update fixes any bugs causing miscommunication.

Remove Interferences

Aftermarket devices can interfere with your car’s CAN bus system. Removing these devices might solve the U1001 issue.

Check if you have installed any non-factory devices recently. This includes audio systems, alarms, or performance chips that connect to the car’s electrical system. If so, try removing them to see if it resolves the error code.

Labor and Cost Considerations

Repair Costs

Repairing the U1001 code in a 2003 Nissan Altima Sedan can vary greatly in cost. Typically, labor rates range from $75 to $150 per hour, depending on the mechanic or dealership. The complexity of the issue, especially if it involves intricate wiring repairs or multiple Electronic Control Units (ECUs), can push costs higher.

Parts themselves might not be overly expensive, but the labor involved in diagnosing and fixing issues related to the temperature needle or communication errors can accumulate quickly. Owners should anticipate spending anywhere from $200 to over $600 when considering both parts and labor for standard repairs.

High Costs Scenario

In scenarios where multiple ECUs need repair or replacement, costs can skyrocket. This is because each unit requires precise programming and installation, multiplying the hours needed for repair. It’s crucial for car owners to understand that these situations can elevate the repair bill significantly, sometimes exceeding $1000.

Owners should always seek multiple quotes from reputable mechanics or dealerships. This ensures they receive a fair price and quality service. Remember, cheaper isn’t always better, especially with complex electrical issues.

Quotes Importance

Getting several estimates is more than just about finding the lowest price; it’s about understanding the scope of work. Different mechanics may identify different issues or suggest varying approaches to repair. By comparing quotes, owners ensure they are not paying for unnecessary work while also gaining insight into their vehicle’s condition.

Preventing U1001 Code Issues

Regular Checks

Regular maintenance is key. It helps spot early signs of trouble in the CAN bus system. Such checks prevent bigger problems.

Vehicle owners should schedule these checks yearly. This ensures all parts work well together.

Approved Devices

Using only approved devices is crucial. Not all aftermarket devices are safe for your car.

Before adding anything, talk to a professional. They know what’s best for your vehicle.

Software Updates

Keeping software updated is another important step. It prevents compatibility issues.

Manufacturers release updates often. These updates fix bugs and improve performance.

Assistance and Support Options

Nissan Dealerships

For those seeking professional advice and repair services, contacting authorized Nissan dealerships is a wise choice. These dealerships have technicians with ASE certifications who specialize in Nissan vehicles. They can provide accurate information and solutions for the U1001 code issue.

Visitors can expect to receive excellent service. The technicians will pull the vehicle into the service area, open the hood, and perform a thorough diagnosis. They often have access to the latest technical service bulletins (TSBs) that might offer additional guidance or fixes.

Owner Forums

Joining Nissan owner forums or groups offers another layer of support. These communities are filled with experienced owners who have faced similar issues.

Members share their experiences, answer questions, and offer tips on how to address problems like the U1001 code. It’s not uncommon to find posts detailing step-by-step fixes that worked for others.

Online Help

Platforms like JustAnswer provide quick access to automotive experts online. Users can post their questions and receive answers within minutes. This option is great for those looking for a fast response without leaving home.

Experts on these platforms often have satisfied customers who appreciate being able to fix issues themselves with the right information.

Final Remarks

Navigating the U1001 code in your 2003 Nissan Altima doesn’t have to be a headache. We’ve walked you through what this pesky code means, its symptoms, and how to diagnose it. You’ve also got the know-how on fixing it, what you might spend, and how to stop it from popping up again. Plus, we didn’t leave you hanging on where to get help if you need it. This guide’s got your back, making sure you’re not alone in tackling car troubles. Remember, keeping your ride smooth isn’t just about dealing with issues as they arise but preventing them before they start. Stay proactive and your Altima will thank you.

Ready to take control? Dive into regular check-ups and keep those nasty codes at bay. Your car’s health is in your hands. Let’s make those drives worry-free again!

Frequently Asked Questions

What is the U1001 code in a 2003 Nissan Altima Sedan?

The U1001 code indicates a communication issue within the car’s network, meaning the Engine Control Module (ECM) can’t correctly communicate with other parts of the vehicle.

What are common symptoms of a U1001 code in a Nissan Altima?

Common symptoms include the engine light turning on, the car unexpectedly stalling, or experiencing difficulties starting.

How do you diagnose a U1001 code in a 2003 Nissan Altima?

Diagnosing a U1001 code involves using a professional scan tool to read the fault codes from the ECM and checking for any related wiring or component issues.

What causes a U1001 code in a 2003 Nissan Altima?

Causes can range from damaged wiring, faulty control modules, to poor connections within the vehicle’s communication network.

What are some solutions for resolving a U1001 code?

utions include repairing or replacing damaged wires, fixing poor connections, or replacing faulty control modules as necessary.

How much does it typically cost to fix a U1001 code issue in a Nissan Altima?

Labor and parts costs vary but expect to pay between $75 and $150 per hour for labor alone. Parts will add to this cost.

How can I prevent U1001 code issues in my Nissan Altima?

Regular vehicle maintenance and promptly addressing any warning lights or strange behaviors can help prevent U1001 and other codes.

How to Change Key Fob Battery Toyota


To change the key fob battery in a Toyota, open the fob and locate the slot where the key fits. Use a small screwdriver or flat object to pop open the fob, then remove the old battery and replace it with a new one.

Key fobs are an essential component of modern vehicles, allowing drivers to lock, unlock, and start their cars with ease. However, over time, the battery in the key fob may need to be replaced to ensure it continues to function properly.

In this guide, we will walk you through the step-by-step process of changing the key fob battery in a Toyota. Follow these instructions to keep your key fob working like new.

How to Change Key Fob Battery Toyota

Credit: www.youtube.com

How to Change Key Fob Battery Toyota

Credit: www.bankstreet-toyota.ca

How to Change Key Fob Battery Toyota

Changing the battery in a Toyota key fob is a simple process that most Toyota owners can perform themselves with minimal tools. Here’s a general guide to help you change the battery in your Toyota key fob. Note that the exact steps may vary slightly depending on the model and year of your Toyota, as well as the design of the key fob. The most common type of battery used in Toyota key fobs is a CR2032 or CR2025 coin-cell battery.

What You’ll Need

  • A flat-head screwdriver or a key fob pry tool
  • A new CR2032 or CR2025 battery (check your fob’s current battery or your vehicle’s manual to confirm the correct type)

Steps to Change the Battery

  1. Locate the Notch: Examine your Toyota key fob carefully to find a small notch or slot. This notch is usually located on the seam where the two halves of the key fob meet.
  2. Pry Open the Key Fob: Insert the flat-head screwdriver or the pry tool into the notch. Gently twist the screwdriver or tool to pry open the key fob. Do this carefully to avoid damaging the fob.
  3. Remove the Old Battery: Once the key fob is open, you’ll see the battery. Note how the battery is positioned before removing it. You might need to use the screwdriver to gently lift the battery out. If the battery is held in place by a clip, carefully release the clip first.
  4. Insert the New Battery: Take your new CR2032 or CR2025 battery, making sure it’s facing the correct direction (the positive “+” side should usually be facing up), and place it in the battery compartment. Ensure it’s seated properly.
  5. Reassemble the Key Fob: Once the new battery is in place, align the two halves of the key fob and gently press them together until they snap shut. Make sure the edges are sealed properly.
  6. Test the Key Fob: After changing the battery, it’s important to test the key fob to ensure it’s working correctly. Try locking and unlocking your vehicle doors or starting your car if it has a push-button start.

Tips

  • If your key fob has a physical key you can remove, doing so might provide easier access to the seam for prying the fob open.
  • Be gentle when prying open the key fob and replacing the battery to avoid damaging any internal components.
  • If your key fob stops working after changing the battery, ensure that the battery is correctly installed and that the battery contacts are clean and not damaged.
  • Some key fobs might require reprogramming after the battery has been replaced. Consult your Toyota’s owner manual or contact a dealer if you encounter issues.

Following these steps should help you successfully change the battery in your Toyota key fob, ensuring that it continues to function properly for locking, unlocking, and starting your vehicle.

Frequently Asked Questions For How To Change Key Fob Battery Toyota

How Do I Change The Battery In My Toyota Key Fob?

To change the battery in your Toyota key fob, use a small screwdriver to open the fob. Remove the old battery and replace it with a new one. Ensure the battery is placed correctly, then close the fob. Finally, test the key fob to ensure it’s working.

Can I Replace The Key Fob Battery Myself?

Yes, you can replace the key fob battery yourself. Open the fob using a screwdriver or flat object. Lift the circuit board and locate the battery. Replace it with a new one. Close the fob and you’re done. Make sure to replace the battery every year or two for optimal performance.

What Size Battery Goes In A Toyota Key Fob?

The Toyota key fob uses a small battery. To replace it, open the fob and locate the circuit board. Lift the board and find the battery. Replace it with the same size battery.

Conclusion

If your Toyota key fob is showing signs of weakness, it might be time to replace the battery. By following our straightforward guide, you can easily change the battery in your Toyota key fob, ensuring smooth operation for your vehicle.

Don’t let a low battery impede your convenience – take charge of your key fob’s functionality today.

How to Jump Start Toyota Highlander Hybrid


How to Jump Start Toyota Highlander Hybrid

Jump starting a Toyota Highlander Hybrid can be a bit different from jump starting a conventional vehicle, but with the right knowledge and precautions, it can be done safely and effectively. In this guide, you will learn the step-by-step process to jump start your Toyota Highlander Hybrid.

Precautions

Before attempting to jump start your Toyota Highlander Hybrid, there are some important precautions to keep in mind:

  • Read the owner’s manual to understand the specific instructions and precautions for your vehicle.
  • Ensure that the jumper cables are in good condition and suitable for jump starting a hybrid vehicle.
  • Wear protective gloves and eyewear to reduce the risk of injury from battery acid or electrical sparks.
  • Do not smoke or create any sparks near the battery, as hydrogen gas emitted from the battery can be flammable.

Identify the Battery Location

The first step in jump starting your Toyota Highlander Hybrid is to locate the battery. In most Highlander Hybrids, the battery is located in the rear cargo area, usually under the floor. Refer to your owner’s manual for the exact location and instructions for accessing the battery.

Prepare the Jumper Cables

Once you have located the battery, ensure that both vehicles are turned off and the jumper cables are untangled. Identify the positive and negative terminals on both batteries. The positive terminal is usually marked with a plus sign (+), and the negative terminal is marked with a minus sign (-).

Connect the Jumper Cables

Follow these steps to connect the jumper cables:

  1. Connect one end of the red (positive) jumper cable to the positive terminal of the dead battery.
  2. Connect the other end of the red (positive) jumper cable to the positive terminal of the charged battery or the designated jump starting terminal on a hybrid vehicle if available.
  3. Connect one end of the black (negative) jumper cable to the negative terminal of the charged battery.
  4. Connect the other end of the black (negative) jumper cable to a solid, unpainted metal surface on the vehicle needing the jump start. This will act as a ground and reduce the risk of sparks near the battery.

Perform the Jump Start

With the jumper cables connected, start the vehicle with the charged battery and allow it to run for a few minutes. Afterward, start the Toyota Highlander Hybrid. Once the vehicle starts, carefully disconnect the jumper cables in the reverse order that they were connected, ensuring that the cables do not touch any moving parts.

How to Jump Start Toyota Highlander Hybrid

Credit: www.smarttoyota.com


How to Jump Start Toyota Highlander Hybrid

Credit: m.youtube.com

After Jump Starting

After successfully jump starting your Toyota Highlander Hybrid, it is important to take some additional steps:

  • Drive the vehicle for at least 30 minutes to allow the battery to recharge.
  • Consider having the vehicle’s hybrid system checked by a professional to ensure that the jump start did not cause any damage.

Frequently Asked Questions On How To Jump Start Toyota Highlander Hybrid

Q: How Do You Jump Start A Toyota Highlander Hybrid?

A: To jump start a Toyota Highlander Hybrid, locate the battery terminals, connect the red jumper cable to the positive terminal, attach the black cable to the negative terminal, start the assisting vehicle, and then start the Highlander Hybrid.

Q: What Precautions Should I Take When Jump Starting My Highlander Hybrid?

A: When jump starting your Highlander Hybrid, ensure that both vehicles are turned off, the jumper cables are properly connected following the correct sequence, and avoid touching the metal surfaces or allowing the cables to come into contact with each other during the process.

Q: Can Jump Starting A Highlander Hybrid Damage The Electrical System?

A: Jump starting a Highlander Hybrid can pose risks if not done correctly. However, by following the proper procedures and ensuring the correct connection of jumper cables, the chances of damaging the electrical system are minimized. It is recommended to consult your vehicle’s manual for detailed instructions.

Conclusion

Jump starting a Toyota Highlander Hybrid requires caution and attention to detail, but it can be done safely by following the proper procedures. By understanding the precautions, locating the battery, and carefully connecting and disconnecting the jumper cables, you can successfully jump start your Highlander Hybrid and get back on the road.

How to Get Maps on Toyota Rav4


How to Get Maps on Toyota Rav4

Welcome to our guide on how to get the most out of the navigation system in your Toyota Rav4. Whether you’re planning a road trip or just need to find your way around town, having updated maps is essential. In this article, we’ll show you the various ways to obtain and update maps on your Toyota Rav4’s navigation system.

Updating Maps through the Toyota Map Update Portal

One of the easiest ways to get maps for your Toyota Rav4 is by using the official Toyota Map Update Portal. This portal allows you to purchase and download the latest maps directly to a USB drive for installation in your vehicle. Follow these steps to update your maps:

  1. Visit the Toyota Map Update Portal on your computer or mobile device.
  2. Select your vehicle model and year to check for available updates.
  3. Purchase and download the latest map update package.
  4. Transfer the map update files to a USB drive.
  5. Insert the USB drive into your Toyota Rav4’s USB port to start the update process.

Updating Maps through the Toyota Dealership

If you prefer to have a professional handle the map updates for your Toyota Rav4, you can visit a Toyota dealership. The dealership can assist you in purchasing and installing the latest maps for your vehicle’s navigation system. Simply schedule an appointment with the service department, and they will take care of the rest.

Using Built-in Navigation System Updates

Some Toyota Rav4 models come equipped with a built-in navigation system that offers over-the-air updates. If your vehicle supports this feature, you can easily update the maps by following these steps:

  1. Ensure your vehicle is connected to a Wi-Fi network with a strong signal.
  2. Access the navigation settings menu in your Toyota Rav4.
  3. Check for available map updates and initiate the download process.
  4. Follow the on-screen prompts to install the updates directly to your vehicle’s navigation system.
How to Get Maps on Toyota Rav4

Credit: m.youtube.com


Ensuring Map Accuracy and Reliability

Regardless of the method you choose to obtain maps for your Toyota Rav4, it is crucial to ensure that the maps are accurate and reliable. Regular map updates can provide the latest information on roadways, points of interest, and navigation improvements. By keeping your maps up to date, you can enjoy a smoother and more seamless driving experience.

Why Updated Maps Matter

Having updated maps is essential for enhancing your driving experience in your Toyota Rav4. Whether you’re navigating through unfamiliar areas, avoiding traffic congestion, or searching for nearby amenities, having the latest map data ensures that you can reach your destination efficiently. With accurate maps, you can make informed decisions about your routes and explore new locations with confidence.

How to Get Maps on Toyota Rav4

Credit: www.ebay.com

Frequently Asked Questions For How To Get Maps On Toyota Rav4

How To Update Maps On The Toyota Rav4?

Updating maps on your Toyota Rav4 is easy. Simply visit the Toyota website, download the latest map update, and follow the step-by-step instructions provided.

Can I Install Third-party Navigation Apps On My Toyota Rav4?

While Toyota Rav4 comes pre-installed with a navigation system, it does not support third-party apps. However, you can connect your smartphone and utilize navigation apps like Google Maps or Apple Maps through the vehicle’s infotainment system.

Is It Possible To Get Real-time Traffic Updates On The Toyota Rav4 Navigation System?

Yes, the Toyota Rav4 navigation system offers real-time traffic updates. It utilizes various data sources to provide you with accurate information about traffic conditions, allowing you to choose the best route and avoid congestion.

Conclusion

In conclusion, keeping your Toyota Rav4’s navigation maps up to date is vital for hassle-free travel and exploration. Whether you choose to update the maps through the Toyota Map Update Portal, dealership assistance, or using the built-in navigation system updates, the end goal is to ensure that your maps remain accurate and reliable. By following the methods outlined in this guide, you can navigate with confidence and enjoy the full potential of your Toyota Rav4’s navigation system.