Recent Posts

How Long Does a Toyota Corolla Transmission Last


The Toyota Corolla's transmission typically lasts up to 200,000 miles.

Longevity depends on maintenance, driving habits, and climate.

Proper care can extend its life, making it a durable component of this reliable vehicle.

Transmission Lifespan Basics

transmission maintenance and longevity

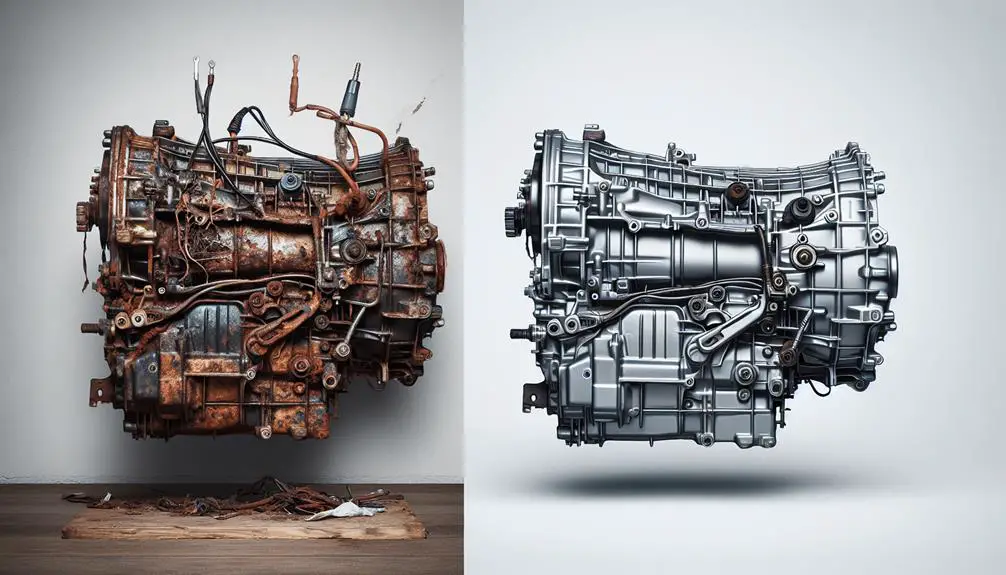
Knowing how long a Toyota Corolla's transmission lasts is important for its overall life. The transmission helps the car change gears and drive at different speeds. Toyota Corollas are known for having durable transmissions that can last over 100,000 miles, sometimes even up to 200,000 miles, with the right care.

The life of a transmission depends on how the car is used and maintained. Regular checks and fluid changes are crucial for keeping the transmission in good condition. Not doing these can cause damage and shorten its life.

In short, the longevity of your Toyota Corolla's transmission depends on your maintenance efforts. Proper care ensures it stays reliable for a long time.

Factors Affecting Longevity

Several factors can affect how long your Toyota Corolla's transmission lasts, including your driving habits and how well you maintain the vehicle. Here's a closer look at what influences your car's transmission life.

  • Driving Habits: Driving aggressively or with frequent stops and starts can wear out the transmission faster.
  • Maintenance Schedule: It's important to regularly change the oil and follow the manufacturer's service recommendations to avoid early transmission failure.
  • Towing and Load: Pulling heavy loads often or overloading your Corolla can reduce the transmission's lifespan.
  • Cooling System Health: A working cooling system is essential to prevent the transmission from overheating and getting damaged.
  • Use of Correct Fluids: Using the right transmission fluid and keeping it at the correct level helps prevent problems.

Recognizing Wear and Tear
preserving furniture from damage

To maintain your Toyota Corolla's transmission, it's important to recognize signs of wear and tear early. Look out for these indicators:

  1. Difficulty shifting gears: This could mean the transmission fluid is low, incorrect, or old and needs replacing.
  2. Unusual noises: Humming, buzzing, or whining sounds while driving could signal transmission problems.
  3. Leaking fluid: Bright red, sweet-smelling fluid under your car indicates a transmission fluid leak.
  4. Burning smell: This suggests the transmission fluid has overheated, which can damage the transmission.

Addressing these issues promptly can help keep your Toyota Corolla in good condition.

Maintenance Tips

To keep your Toyota Corolla's transmission working well and avoid expensive repairs, follow these maintenance tips:

  • Check the transmission fluid often: This fluid is essential for lubrication and cooling. Every few months, check if the fluid is low or dirty and change or top it up if needed.
  • Use the correct fluid: Make sure to use the transmission fluid recommended by Toyota for your Corolla. Using the wrong fluid can cause damage.
  • Service your transmission: Stick to Toyota's recommended transmission service schedule. This usually involves changing the fluid and replacing the filter to remove dirt and ensure smooth operation.
  • Don't tow heavy loads if not recommended: Towing more than your Corolla can handle can damage the transmission. Follow Toyota's guidelines on towing.
  • Warm up your car in cold weather: Before driving in cold weather, let your car warm up for a few minutes. This helps the transmission fluid warm up and circulate properly, which is better for performance and longevity.

Real-World Owner Experiences
valuable insights from owners

Toyota Corolla owners have shown that good maintenance can make the car's transmission last longer. Many owners have shared online that their Corolla's transmission worked well even after 200,000 miles because they followed the car's maintenance schedule closely. Some transmissions have lasted over 300,000 miles with regular fluid changes and proper servicing. Using high-quality parts and fluids seems to help transmissions last longer.

However, there are also stories of transmissions failing around 100,000 miles. Often, these cases involve neglected maintenance or the use of low-quality parts. This shows that not taking care of the car can lead to early transmission problems.

Conclusion

You've learned how long your Toyota Corolla's transmission can last and what can make it last longer or shorter. Taking good care of it's important. Other car owners say that if you take good care of it, your Corolla's transmission can last more than 200,000 miles.

Remember, it's not just about how long it lasts, but also about having a smooth and trouble-free drive every time.


How to Take off Maintenance Light on Toyota Corolla


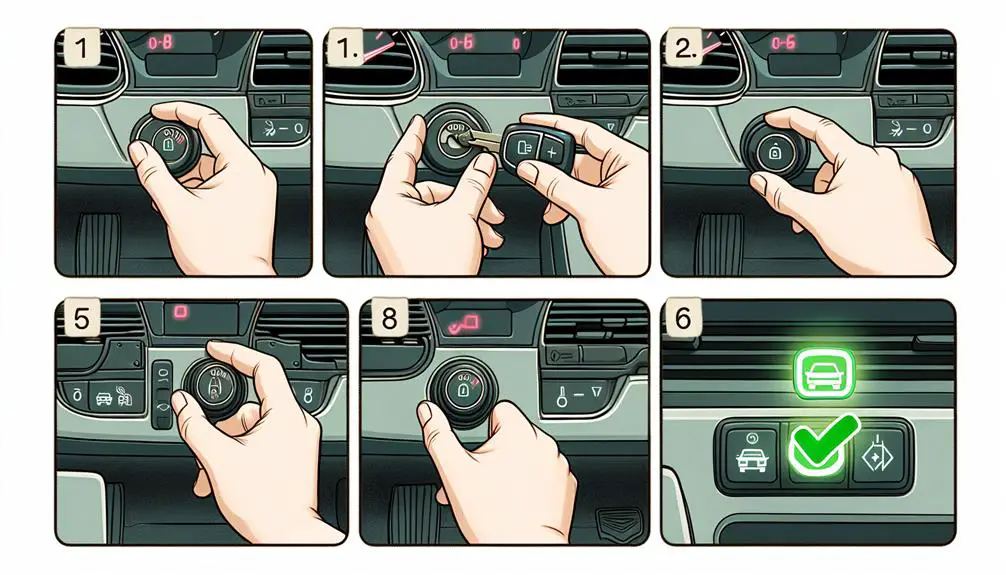
How to Take off Maintenance Light on Toyota Corolla? To turn off the maintenance light on a Toyota Corolla:

  • Turn the ignition key to the ‘On’ position.
  • Press the odometer button until it reads ‘Trip A.’
  • Turn the key to ‘Off.’
  • Press and hold the odometer while turning the key back to ‘On.’

Understanding the Maintenance Light

resetting the maintenance reminder

The maintenance light on a Toyota Corolla is a reminder to check the car and do needed services. It’s important and shouldn’t be ignored. It usually lights up based on the car’s mileage to remind you of regular services like oil changes and tire rotations. Ignoring it can cause problems like lower performance and engine damage.

Sometimes the light turns on for other reasons, like low tire pressure or engine issues, not just for regular maintenance.

Preparing to Reset the Light

Before resetting the maintenance light on your Toyota Corolla, complete all necessary services to avoid turning the light on too soon. Check the vehicle’s oil level, replace the oil filter, inspect brake pads, and ensure tires are properly inflated and have enough tread. Also, check your owner’s manual for any specific maintenance your model needs. Ignoring these steps can cause the maintenance light to turn on again or lead to bigger problems.

After ensuring all maintenance tasks are done, get any tools needed for the reset. Most models don’t need special tools, but having the car’s manual can help. If you lost your manual, you can find help online, such as Toyota forums and websites.

If you’re not comfortable doing these checks or the reset, it’s okay to get professional help. Visiting a certified Toyota service center can make sure maintenance is done right, and the light is reset correctly.

Resetting the maintenance light is about making sure your Corolla is in good condition. So, take this time to care for your car for a better driving experience.

Step-by-Step Reset Procedure

step by step reset instructions provided

To reset the maintenance light on your Toyota Corolla, follow these steps:

  1. Turn off your car and sit in the driver’s seat.
  2. Find the odometer button or knob near the speedometer on the dashboard.
  3. Press and hold the odometer button.
  4. Turn the key to the ‘On’ position without starting the car. If your car has a push-button start, press the Start button twice without pressing the brake pedal.
  5. Watch the odometer display. It will either flash or show dashes.
  6. Keep holding the odometer button until the display stops flashing and shows the normal reading. This may take a few seconds.
  7. Release the odometer button and turn your car off.

To check if the reset was successful:

  • Start your car normally. The maintenance light should be off. If it’s still on, you might’ve missed a step, or there’s another issue not fixed by the reset.

This procedure resets the maintenance light and helps keep track of service needs. Regular maintenance checks are important for your Corolla’s performance.

Troubleshooting Common Issues

If the reset steps didn’t work and your maintenance light is still on, check the steps again for any mistakes. If all steps were correct, the problem could be a faulty maintenance light circuit due to electrical issues like a short circuit or a blown fuse. Check the fuse box and replace any blown fuses. If fuses are fine, the problem could be with the wiring or the bulb of the maintenance light.

The light might also stay on because of engine problems detected by the vehicle’s computer. This could be something small like a loose gas cap or more serious like a faulty sensor. To identify the problem, run a diagnostic scan. You can get this done for free at most auto parts stores or use a home scanner.

If the light is still on after trying these solutions, it might require a professional’s help. The reset steps can vary between models, so consulting a mechanic or your dealership could provide the specific help your model needs.

Maintaining Your Toyota Corolla

car care for corolla

Learning how to fix the maintenance light on your Toyota Corolla is important for taking care of your car. After understanding that, follow these steps to keep your Corolla in good condition:

  1. Change your oil regularly. This keeps your engine running well. Depending on your car model, you might need an oil change every 5,000 to 10,000 miles. Check your owner’s manual to know the exact timing for your car.
  2. Check your tires often for the right pressure and tread wear. Wrong pressure can make your car use more fuel and wear out tires faster. Worn out treads can make driving unsafe. Rotating tires as recommended can make them last longer.
  3. Pay attention to your brakes. If they squeal or make the car vibrate when you use them, they need to be checked. You’ll need to replace brake pads and rotors from time to time.
  4. Make sure all your lights work, including headlights, brake lights, and turn signals. This keeps you safe and helps you avoid fines.

Conclusion

You’ve successfully turned off the maintenance light on your Toyota Corolla. This light is just a reminder to take good care of your car. If the light comes back on or something doesn’t seem right, it’s important to ask a professional for help.

Make sure to regularly check your car to keep it running well. You’re all set! Feel confident as you drive, knowing your Corolla is in great shape and ready for any journey.

How Do I Fix the Code P0171 on My Toyota Corolla


To fix the P0171 code on a Toyota Corolla, you should check for vacuum leaks. Inspect the fuel system thoroughly to ensure there are no issues affecting fuel delivery. If the problem persists, consider replacing the oxygen sensor. These steps address the engine running too lean and can help reset the engine light.

This structured approach will help in efficiently diagnosing and resolving the P0171 trouble code on your Toyota Corolla.

Understanding Code P0171

diagnosing vehicle s engine problem

Code P0171 means your Toyota Corolla is running with too much air and not enough fuel. This can cause problems like rough idling and poor fuel efficiency. The engine has sensors that detect when the air to fuel ratio is off. When there's too much air, the P0171 code is triggered. This usually happens because of issues in the fuel system or air intake components.

To fix this, it's important to find the exact problem. It might involve checking the fuel injectors for blockages, making sure the fuel pressure is right, or ensuring the mass airflow sensor is working properly. Fixing Code P0171 means diagnosing and repairing the specific issue causing the lean condition, not just making quick fixes. This helps make sure your Corolla runs well.

Checking for Vacuum Leaks

Understanding Code P0171 is important. It suggests checking for vacuum leaks because these leaks can cause problems. Vacuum leaks allow extra air into the engine, which messes up the air-fuel mix, leading to a lean condition that Code P0171 shows.

Here's how to check for vacuum leaks in your Toyota Corolla.

First, visually inspect all vacuum hoses and connections for wear, tear, or disconnections. Sometimes, the problem is just a loose or cracked hose.

If you can't find the problem by looking, you might need a smoke test. This test involves putting smoke into the vacuum system and seeing where it comes out. If smoke comes out somewhere, it means there's a leak. This method works well but needs special equipment.

Here's a quick summary of what to do when checking for vacuum leaks:

  • Visual Inspection: Look for damaged or disconnected hoses.
  • Smoke Test: Look for smoke coming out of hoses or connections to find leaks.

Inspecting the Fuel System

examining vehicle fuel system

To fix Code P0171 on your Toyota Corolla, which shows the fuel mixture is too lean (more air, less fuel), check the fuel system as follows:

  1. Fuel Filter: Look at the fuel filter first. If it's blocked, fuel can't flow well, causing a lean mix. Replace it if it's dirty or old.
  2. Fuel Pump: The fuel pump sends fuel to the engine. If it's weak, not enough fuel gets to the engine, leading to the P0171 code. Listen for odd sounds from the pump and check the fuel pressure to make sure it's right for a Toyota.
  3. Fuel Injectors: If fuel injectors are dirty or broken, they can't give the right amount of fuel to the engine. Test each injector's resistance with a multimeter and match it against the correct values. Think about getting them cleaned if they're blocked.
  4. Fuel Pressure Regulator: This part keeps the fuel pressure steady. If it's not working right, it can change the pressure, messing up the fuel-air mix. Look for any leaks or damage, and test the vacuum line to make sure it works properly.

Replacing the Oxygen Sensor

When dealing with a P0171 code in your Toyota Corolla, check the oxygen sensor. This sensor is important for making sure your car runs efficiently. It might be causing the problem.

First, find the oxygen sensor in the exhaust system. Your car might have more than one sensor either before or after the catalytic converter. Use a diagnostic tool to figure out which sensor isn't working right.

Before you start, make sure the engine is cool to prevent burns. Turn off the battery for safety, then find the oxygen sensor. You'll need an oxygen sensor socket and a wrench to remove the sensor without damaging anything.

Unscrew the faulty sensor. If it's hard to remove, use penetrating oil to loosen it. Before installing the new sensor, check that it matches the old one. Screw in the new sensor by hand first to avoid damaging the threads, then tighten it with the wrench.

After that, reconnect the battery. Make sure everything is put back correctly and there are no loose parts.

Changing the oxygen sensor can improve your Corolla's performance. This task requires some tools and patience but is important for fixing the P0171 code.

Resetting the Engine Light

resetting the engine light

Resetting the engine light after fixing the P0171 code in your Toyota Corolla is important. It clears error codes from the computer, helping it monitor the car properly. Here's how to do it:

  1. Use an OBD-II Scanner
  • Connect an OBD-II scanner to the port under the dashboard. Turn the ignition to 'ON' but don't start the car. Follow the scanner's steps to clear codes and turn off the engine light.
  1. Disconnect the Battery
  • Without a scanner, you can reset the computer by disconnecting the car battery. Turn off the car, remove the negative battery terminal, and wait 15 minutes. This resets the computer. Reconnect and start the car; the engine light should be off.
  1. Drive Your Car
  • Driving for 50 to 100 miles might also reset the light as the computer checks and finds no issues.
  1. Check for Other Issues
  • If the light stays on, check for unresolved problems or see a mechanic.

Resetting the light ensures your Corolla runs well and avoids emissions problems.

Conclusion

You're fixing code P0171 on your Toyota Corolla. First, check for any air leaks. Next, look at the fuel system. You might also need to change the oxygen sensor.

Don't forget to reset the engine light to see if your fixes worked. If the light turns on again, go through the steps another time or ask someone who knows a lot about cars for help.

Be patient and pay attention to what you're doing, and your Corolla will run well again soon.

How to Replace a Starter on a 2005 Toyota Corolla


To replace a starter on a 2005 Toyota Corolla:

  • Gather necessary tools
  • Locate and remove the old starter
  • Install the new one
  • Test the installation

Follow detailed steps carefully to avoid pitfalls and ensure a smooth process.

Gathering Necessary Tools

preparing for upcoming project

Before starting the replacement of the starter on a 2005 Toyota Corolla, gather the needed tools to make the job easier and faster.

You will need a socket set with 10mm, 12mm, and 14mm sockets for disconnecting the battery and removing the starter bolts. A ratchet with an extension bar is important for reaching and turning bolts in tight spaces.

Also, have a set of wrenches with 10mm, 12mm, and 14mm sizes. Wrenches can reach places sockets cannot, so it's useful to have both.

Include pliers and a screwdriver for removing clips or wires connected to the starter and for prying anything stuck.

Wear safety glasses to protect your eyes from dust, debris, or sparks. Use a flashlight or work light to see the starter's location and mounting clearly when working under the car.

Locating the Starter

To find the starter in your 2005 Toyota Corolla, follow these steps:

  1. Make sure your car is on a flat surface and turned off. For safety, disconnect the battery.
  2. The starter is near the front of the engine compartment, close to the transmission.
  3. Look for a cylindrical part bolted to the engine's block. It's on the lower side of the engine, towards the back and might be hard to see from the top. You may need to look from underneath the car or peer down from above the engine.
  4. The starter has a thick cable from the battery and one or more smaller wires. These connections help you identify it.

Removing the Old Starter

installing a new starter

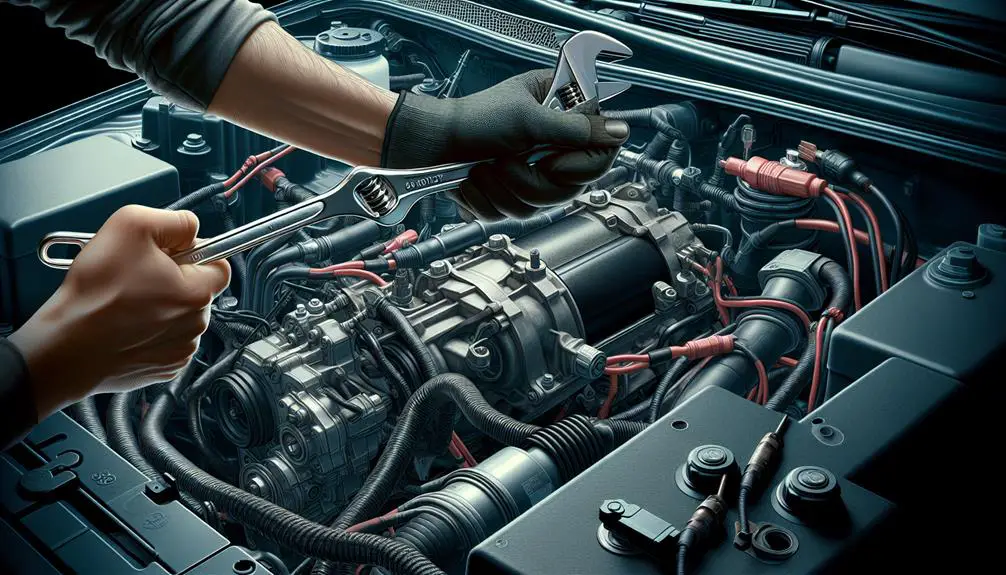
To remove the old starter from your 2005 Toyota Corolla, first, ensure the battery is disconnected. You'll need wrenches and a socket set. Start by locating the two wires connected to the starter: a thick wire from the battery and a thinner wire from the ignition. Use a wrench to remove the nuts that secure these wires. Remember the connection order for reattachment to the new starter.

Next, remove the starter's mounting bolts, typically two or three, using a socket set. If a bolt is hard to reach, use a socket extension.

After removing the bolts, the starter may still be tight. Wiggle it or gently pry it with a flathead screwdriver to loosen it.

Installing the New Starter

To install your new starter in a 2005 Toyota Corolla, make sure it lines up with the mounting bracket where the old one was. Here's a simple guide:

  1. Attach the Starter: Position the new starter and use the bolts you took out before to attach it back to the engine. Start by loosely fitting all the bolts, then tighten them to the specified torque to ensure a secure attachment without causing any damage.
  2. Connect Electrical Wires: Reconnect the electrical wires to the new starter. There should be a thick cable from the battery and a smaller wire for the solenoid. Ensure these are tight and secure.
  3. Reconnect Negative Battery Cable: Reattach the negative battery cable to the battery. This is important to power your car's electrical system.
  4. Check Everything: Before finishing, check all connections and bolts to make sure everything is secure and in the right place. This helps avoid future problems.

Testing the Installation

four word phrase created

After installing a new starter in a 2005 Toyota Corolla, test it by reconnecting the battery, with the negative terminal last for safety.

Then, turn the ignition key and listen for the starter cranking the engine smoothly. If there are issues, like struggling or unusual noises, recheck the installation.

If the engine starts smoothly, the installation is successful. If not, or if clicking sounds are heard, there might be a loose connection or the starter could be faulty. Ensure all connections are secure.

Conclusion

You did a great job changing the starter in your 2005 Toyota Corolla.

First, you got all the tools you needed.

Then, you found the old starter and took it out carefully.

After that, you put in the new starter just right.

Make sure to check that the new starter works well.

By being patient and paying close attention, you avoided having to go to a mechanic and learned how to fix a car.

Well done for taking the step and doing it yourself!

How to Reset Battery Light on Toyota Corolla


To reset the battery light on a Toyota Corolla:

  • First, ensure the battery and alternator are functioning properly.
  • Next, disconnect the battery for a few minutes.
  • Reconnect the battery and start the engine.

This should reset the battery light.

Understanding the Battery Light

interpreting car battery signals

The battery light on your Toyota Corolla dashboard indicates an issue with the car's electrical system, specifically that the battery isn't charging properly. The car's battery is crucial for starting the engine and powering electrical components. When the engine runs, the alternator charges the battery. If the light turns on, it means there's a problem in the charging process, possibly with the battery, alternator, or a loose belt.

Ignoring the battery light can lead to a dead battery or damage to the electrical system. It's important to address this warning immediately to avoid getting stranded or causing further issues.

Initial Troubleshooting Steps

To troubleshoot the battery light before it becomes a bigger issue, follow these simple steps:

  • Check if the battery light goes off after starting the car. If it does, it mightn't be urgent.
  • Look at the battery terminals to make sure they're not corroded or loose.
  • Check the dashboard for other warning lights, which could hint at the problem.
  • Listen for any strange sounds when starting the car, as these could affect the battery.
  • Refer to the owner's manual for your car, like a Toyota Corolla, for specific advice.

These steps are a good way to catch easy-to-fix problems early, saving time and money. They also help you know more about your car, making discussions with mechanics easier.

Battery and Alternator Check

automotive diagnostic service performed

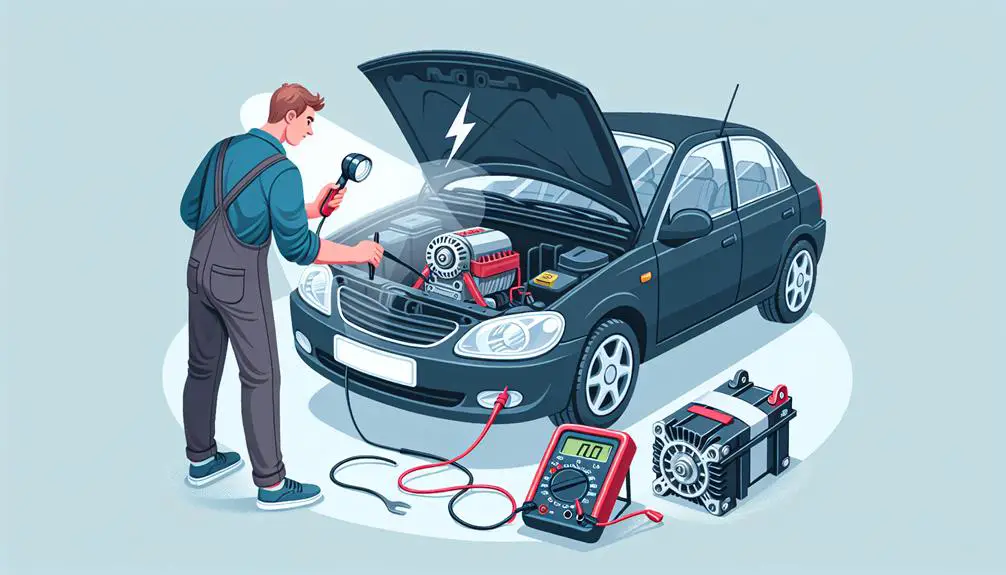
To ensure your Toyota Corolla operates correctly, check the battery and alternator. These are key for the car's electrical system, and problems can activate the battery light.

Start with the battery. Look for corrosion on the terminals, which can weaken the connection. Clean if needed. If the battery is over three years old, test its charge at an automotive store, usually for free.

Then, examine the alternator, which charges the battery while driving. A faulty alternator can't recharge the battery, possibly leading to a drained battery or the car not starting.

Here's a simplified table for reference:

Component Check for Issue Indicator
Battery Terminal corrosion White or greenish buildup
Battery Charge level Voltage under 12.6 volts when off
Alternator Charging ability Battery quickly drains after charge
Both Battery light on dashboard Light on while driving

Resetting the Battery Light

To reset the battery light on your Toyota Corolla, follow these steps:

  1. Disconnect the Battery: Turn off the car and remove the negative cable from the battery. Wait about five minutes before reconnecting it. This might reset the battery light.
  2. Check the Fuse: Look for a blown fuse related to the charging system in your Corolla's manual and replace it if needed.
  3. Drive Your Car: Driving for a short time can help reset the battery light as the system recalibrates and acknowledges that the battery and alternator issues are fixed.
  4. Use an OBD2 Scanner**: Use an On-Board Diagnostics (OBD2) scanner to clear any error codes keeping the battery light on. Connect the scanner, follow instructions, and clear the codes.
  5. Visit a Professional**: If the light doesn't go off, see a mechanic. They can find and fix problems that aren't obvious and reset the light with advanced tools.

Preventing Future Issues

addressing current problems effectively

To avoid problems with your Toyota Corolla's battery light, regularly check and maintain the electrical system. This helps prevent unexpected battery light warnings and keeps your car running well. Check the battery's condition and clean the terminals to avoid corrosion, which can cause bad connections and trigger the battery light.

Make sure the alternator works properly because it charges the battery when the car is on. If the alternator doesn't work, it can't charge the battery, and you might get stuck. A quick way to check the alternator is by looking at the car's headlights. If they get dim when the engine is idling but brighter when you rev the engine, the alternator might need to be checked.

Don't drain your battery by leaving lights on or using electronics a lot when the engine is off. This can make the battery's life shorter and cause the battery light to turn on. If you won't use your car for a long time, think about disconnecting the battery to keep it from draining.

Have a professional check your car's electrical system once a year. This can help find problems early and avoid bigger, more expensive issues later. By doing these things, you can't only turn off the battery light if it's on but also keep it from turning on unexpectedly in the future.

Conclusion

You've learned the basics now. This includes knowing what it means when the battery light comes on, how to check your battery and alternator, and how to turn off the battery light on your Toyota Corolla.

Remember, to avoid problems later, it's important to take care of your car regularly and pay attention to any warning signs early. By making sure you take care of your car's needs, you'll help it stay in good shape for many years.

So, don't ignore these steps; they help your car run well.

How to Reset Maintenance Required on Toyota Corolla 2015?


How to Reset Maintenance Required on Toyota Corolla 2015? To reset the maintenance required light on your Toyota Corolla 2015, start by locating the odometer button near the speedometer. Turn the ignition key to the ‘On’ position without starting the engine. Press and hold the odometer button for 10-15 seconds until the display shows all zeros. Wait for the display to show 000000, ensuring the maintenance required message is reset. Release the odometer button once the display confirms all zeros.

Following these steps accurately will successfully turn off the maintenance light. Unlock the full reset process details by completing these initial steps.

Step 1: Locate the Odometer Button

To begin the process of resetting maintenance on a Toyota Corolla 2015, the first step is to locate the odometer button within the vehicle.

The odometer button is usually situated near the speedometer and tachometer on the dashboard.

It is essential to identify this button correctly, as it will be used in conjunction with the ignition key to reset the maintenance light.

Once you have located the odometer button, ensure the vehicle is in the ‘off’ position before proceeding further. This will prevent any accidental triggering of other functions during the reset process.

Familiarize yourself with the layout of the dashboard to easily find the odometer button without confusion.

Additionally, make sure the car is parked safely with the parking brake engaged before attempting to reset the maintenance light. This precautionary measure ensures your safety and prevents any distractions while performing the reset steps.

By following these instructions carefully, you will be ready to continue with the maintenance light reset process efficiently and effectively.

Step 2: Turn the Ignition Key to On

After locating the odometer button and ensuring the vehicle is in the ‘off’ position, the next step in resetting maintenance on a Toyota Corolla 2015 is to turn the ignition key to the ‘On’ position.

This critical step is fundamental in initiating the maintenance reset process. By turning the key to the ‘On’ position, you are activating the vehicle’s electronic systems without starting the engine. It is essential to make sure all doors are closed during this process.

When the ignition key is turned to the ‘On’ position, various dashboard lights will illuminate, indicating that the vehicle is ready for the maintenance reset procedure.

This action allows the car’s computer to recognize the upcoming input from the odometer button, which is crucial for resetting the maintenance light.

Turning the key to the ‘On’ position is a simple yet pivotal step that sets the stage for successfully resetting the maintenance required light on your Toyota Corolla 2015.

Step 3: Press and Hold Odometer Button

With a firm and steady grip, press and hold the odometer button to proceed with resetting the maintenance on your Toyota Corolla 2015. This button is typically located on the dashboard, near the speedometer.

By pressing and holding this button, you will initiate the process of resetting the maintenance required light on your vehicle.

When pressing the odometer button, make sure to hold it down for approximately 10-15 seconds. You may notice some numbers or symbols flashing on the display while you continue to hold the button. This is an indication that the system is responding to your command and is in the process of resetting the maintenance light.

It is essential to maintain pressure on the button until you see the display show all zeros (000000). Once this sequence appears, you can release the button, signaling that the maintenance reset is complete. This step is crucial in ensuring that the maintenance light is properly reset on your Toyota Corolla 2015.

Step 4: Wait for Display to Show 000000

Upon holding the odometer button for 10-15 seconds, continue to maintain pressure until the display on your Toyota Corolla 2015 shows 000000, indicating that the maintenance reset process is complete.

To help you visualize the steps better, here is a table outlining the process:

StepActionResult
1Press and hold odometer buttonMaintenance required
2Wait for 10-15 secondsCountdown starts
3Continue holdingNumbers change
4Display shows 000000Maintenance reset

Following these steps precisely will ensure that the maintenance required message is successfully reset on your Toyota Corolla 2015. This process is essential to maintain the accuracy of your vehicle’s maintenance schedule and keep your car running smoothly.

Once the display shows 000000, you can proceed with confidence, knowing that the reset has been completed successfully.

Step 5: Release the Odometer Button

To conclude the maintenance reset process on your Toyota Corolla 2015, carefully release the odometer button once the display shows 000000. Releasing the odometer button at this point signals to the vehicle’s system that the reset procedure has been successfully completed.

It is crucial to ensure that the display shows all zeros before releasing the button to guarantee that the maintenance required light will be reset.

Releasing the odometer button promptly after the display reaches 000000 is essential in preventing any errors or interruptions in the reset process. By following this step correctly, you can avoid having to repeat the entire procedure and ensure that the maintenance light is successfully turned off.

Once you release the odometer button and confirm that the display remains showing zeros, you can rest assured that your Toyota Corolla 2015’s maintenance required light has been reset, and your vehicle is ready for its next scheduled maintenance interval.

Wrapping Up

Resetting the maintenance required light on a Toyota Corolla 2015 is a simple process that can be done quickly and easily by following these steps.

By locating the odometer button, turning the ignition key to on, pressing and holding the odometer button, waiting for the display to show 000000, and then releasing the odometer button, you can reset the maintenance required light on your vehicle.