The U1010 code in a 2008 Nissan Altima Sedan indicates a communication issue with the Engine Control Module (ECM).
Symptoms include the engine light turning on, poor engine performance, and possible starting problems.
Causes range from faulty ECM, bad connections, or damaged wiring. To fix, inspect and repair any damaged wiring, ensure all connections are secure, and if necessary, replace the ECM.
It’s crucial to address this issue promptly to avoid potential engine damage or malfunctioning vehicle systems.
Overview: U1010 Code for 2008 Nissan Altima Sedan
Code Definition
The U1010 code is a specific error message. It pops up when there’s a communication problem in your car’s computer system. This issue can stop different parts of your car from talking to each other properly.
Cars have many computers that need to share information. When one part can’t send or receive messages, it triggers the U1010 code. For a 2008 Nissan Altima Sedan, this could mean trouble with how the engine runs or how the brakes work.
Maintenance Importance
Ignoring the U1010 code is not wise. It might seem like just an annoying light on your dashboard at first. But it can lead to bigger problems down the road.
Fixing this issue early keeps your car running smoothly and safely. It’s also cheaper than waiting until something breaks down completely.
- Regular checks help spot this error.
- Addressing it quickly avoids more damage and higher repair costs.
Performance Impact
The performance of your 2008 Nissan Altima Sedan takes a hit with the U1010 code active. Your car might run rough, use more gas, or even stall while driving. These are signs that you shouldn’t ignore.
Safety features like airbags may also not work correctly if needed during an accident. Fixing this code ensures everything in your sedan works as it should, keeping you safe on the road.
Symptoms
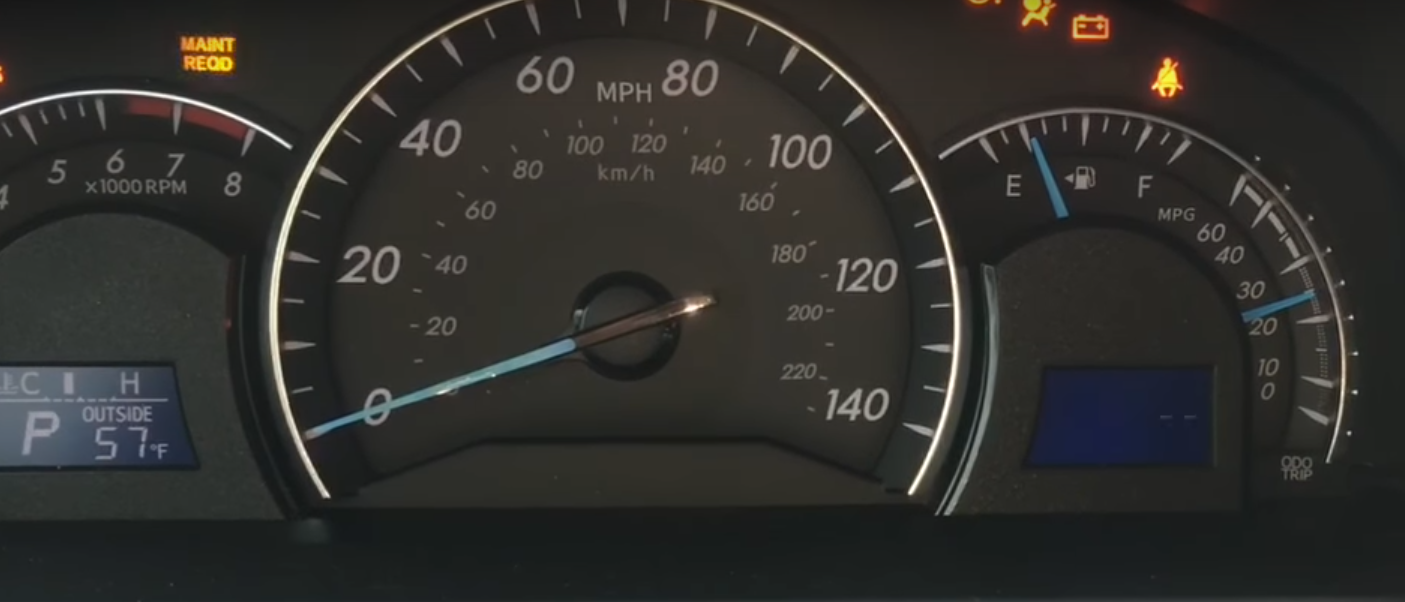
Warning Lights
When the U1010 code appears, your dashboard will light up. This is a clear sign something is wrong. You might see the check engine light or other warning symbols.
These lights are your car’s way of saying “help me.” Don’t ignore them. They mean it’s time to check what’s wrong.
Vehicle Performance
Another symptom is strange behavior from your car. It might stall or not drive smoothly. This can be scary and unsafe.
Your 2008 Nissan Altima Sedan may also hesitate when you try to accelerate. Or, it could shake at red lights. These signs show that the U1010 code issue affects how your car runs.
Fuel Efficiency
Lastly, you’ll notice less miles per gallon. Your car won’t go as far on a tank of gas as it used to. This means more trips to the gas station and more money spent on fuel.
This drop in fuel efficiency happens because the engine isn’t working right due to the U1010 code error.
Causes
Faulty Communication
The U1010 code can appear when there is a problem with the control module communication. This means the car’s computer isn’t talking right with other parts.
Sometimes, this happens because the control module itself is broken. Other times, it might just be having a bad day and not work right for a little while.
Wiring Issues
Damaged wiring or connectors in the CAN bus system are big reasons for trouble too. The CAN bus lets different parts of your car talk to each other.
Wires can get damaged by heat, water, or even being squished or cut. Connectors might come loose or get dirty which stops them from working well.
Electrical Interference
Electrical interference within the vehicle network can cause big problems. This kind of interference messes up how signals move around in your car.
It could come from things like bad spark plugs or using electronic gadgets that don’t match your car’s system. Even nearby radio towers can sometimes cause issues.
By understanding these causes, fixing the U1010 code becomes easier. Check all connections and replace any damaged parts you find. Make sure there’s no unwanted electrical noise messing things up too. Remember to keep everything clean and properly connected for your 2008 Nissan Altima Sedan to run smoothly again.
CAN Communication Bus – Signal Malfunction
Role Explained
The CAN (Controller Area Network) communication bus is vital. It lets car parts talk without many wires. This system shares data fast, making cars work better.
When the CAN works right, your car runs smoothly. Lights go on as they should. Your radio sounds clear too.
Signal Issues
Signal malfunction can cause big problems. For example, your 2008 Nissan Altima sedan might not respond right. Or it may not start at all.
This happens because important messages don’t reach where they need to go. Imagine sending a text that never arrives. It’s like that but with car parts talking.
U1010 Code Link
A U1010 code means there’s a signal malfunction in the CAN bus of your 2008 Nissan Altima sedan. Several things can cause this issue:
- Poor harness ground connection
- Noise messing with signals
- Bad fuses or connectors
Diagnosing this problem involves checking these areas carefully.
Remember from before how fuses and connectors are crucial? They really matter here for fixing signal issues.
Step-by-Step Solutions for Fixing the U1010 Code in 2008 Nissan Altima Sedan
Diagnostic Scanning
First, confirm the U1010 code. Use a diagnostic scanner. This will show if the problem is real.
Connect the scanner to your car. Turn it on and look for U1010 in its system. If you see it, you know there’s an issue.
Wiring Inspection
Next, check all wiring and connectors related to CAN communication bus. Look for any damage or loose connections.
Inspect carefully every wire and connector. Replace damaged parts as needed. Make sure everything connects well before moving on.
Computer Reset
After repairs, reset your vehicle’s computer system. This clears old errors including U1010.
Disconnect your car battery for a few minutes. Then reconnect it to reset the computer system fully.
By following these steps closely, fixing the U1010 code in a 2008 Nissan Altima Sedan becomes manageable even without deep technical knowledge of cars’ inner workings. Professionals often handle such tasks within an hour or so given their expertise and access to top tools.
However, with patience and careful attention to details outlined above, tackling this problem can be within reach for many car owners. Remember that seeking help from experts or looking up additional information online can provide further insights into effectively addressing this issue.
Cost of Diagnosing
Diagnostic Fees
Auto shops and dealerships charge for diagnosing problems. Their fees vary widely.
Some auto shops might charge less than dealerships. They usually have a set fee for scanning the car’s computer. This fee can range from $50 to $100.
Dealerships, on the other hand, may charge more. Their diagnostic fees often start at $100 and can go up to $150 or more. The exact cost depends on your location and the dealership’s policies.
Additional Costs
Fixing the U1010 code might lead to extra expenses.
After diagnosis, you’ll know what repairs are needed. These repairs could be minor or major, affecting the total cost significantly.
- Minor issues like wiring problems might need less money to fix.
- Major issues could involve replacing parts of the car’s communication system. This is more expensive.
Professional Diagnosis
Getting a professional diagnosis is crucial.
It helps avoid spending money on unnecessary fixes. A skilled technician will identify exactly what needs repair. This approach saves time and money in the long run.
Tech Notes
Troubleshooting Steps
Manufacturers often suggest specific steps to diagnose the U1010 code. First, a technical inspection is crucial. The technician should check all wiring and connectors related to the control module. Sometimes, loose or damaged wires cause this issue.
Next, using specialized diagnostic tools is essential. A lead tech vocational might use a scanner to read the fault codes from the car’s computer system. This helps identify where the problem lies.
Software Updates
Updating software can be vital. The control module in your 2008 Nissan Altima Sedan might need an update to fix bugs that cause errors like U1010.
Technicians usually download and install these updates during service visits. It’s important because updated software ensures your car runs smoothly and efficiently.
Prevention Tips
To prevent future occurrences of the U1010 code, regular maintenance is key.
- Always keep your vehicle’s firmware up-to-date.
- Inspect wiring and electrical connections regularly for signs of wear or damage.
Consulting with a professional technician who understands your vehicle’s technical needs can help avoid similar issues down the line.
Specific Information for 2008 Nissan Altima Sedan Models
Model Vulnerabilities
The 2008 Nissan Altima Sedan often shows the U1010 code due to specific vulnerabilities. This model can experience issues with its fuel pump and other vital components.
Owners have reported problems when their car suddenly loses power, especially while driving. The normal lights on the dashboard might flicker or stay lit because of these issues. These signs point towards a malfunction that needs immediate attention.
Common Fixes
Historical data has shown some common fixes for this issue in the 2008 Nissan Altima Sedan.
Firstly, replacing the fuel pump is a frequent solution. Shops with satisfied customers usually spot and resolve this problem quickly. Secondly, checking and fixing wiring issues can also clear the U1010 code.
These repairs are crucial for keeping your vehicle running smoothly.
Age and Mileage Relevance
The age and mileage of your 2008 Nissan Altima Sedan play significant roles in the occurrence of the U1010 code.
Cars with higher mileage are more prone to show this error code. It’s nothing unusual for older models to face such challenges as parts wear out over time.
Keeping an eye on your car’s condition can help you catch any potential problems early on. Regular checks ensure your vehicle remains in good shape, avoiding unexpected stops in the middle of nowhere or at inconvenient times like when you’re rushing out of your driveway.
Final Remarks
The U1010 code in the 2008 Nissan Altima Sedan signals a communication issue within the vehicle’s network, impacting its performance.
This article has navigated through understanding this error, its symptoms, causes, and the specific steps for resolution. It underscores the necessity for timely diagnosis and intervention to prevent further complications.
Owners are equipped with knowledge on potential costs and technical notes relevant to this sedan model.
Furthermore, addressing the U1000 error highlights the interconnectedness of vehicle diagnostics. For owners and technicians alike, grasping these insights ensures a well-maintained vehicle, optimizing its longevity and functionality.
This exploration invites further engagement from readers seeking to maintain or repair their 2008 Nissan Altima Sedan.
Sharing experiences or additional tips could enrich this conversation, fostering a community of informed car enthusiasts. Let’s continue learning from each other; your contributions are valuable.
Frequently Asked Questions
What does the U1010 code signify in a 2008 Nissan Altima Sedan?
The U1010 code indicates a malfunction in the CAN Communication Bus – specifically, a signal malfunction.
What are common symptoms of the U1010 code in this model?
Symptoms include erratic dashboard light behavior, loss of communication with certain car modules, and possible engine performance issues.
What causes the U1010 error to appear on a 2008 Nissan Altima Sedan?
Causes range from faulty wiring or connections within the CAN bus system to defective control modules that impair signal transmission.
How can I resolve the U1010 code issue in my vehicle?
Resolving this issue involves diagnosing and repairing faults within the CAN communication network, which might include wiring repairs or module replacements.
What is the estimated cost for diagnosing and fixing the U1010 code on this sedan?
Diagnosis costs vary by location but expect an initial diagnostic fee plus additional costs for any necessary repairs or parts replacement.
Are there specific tech notes available for handling a U1010 code in a 2008 Nissan Altima Sedan?
Yes, there are tech notes that provide detailed guidance on troubleshooting and resolving this specific error code effectively.
Is there different information needed for dealing with Error Code U1000 compared to U1010 on this model?
While both codes relate to communication errors within the vehicle’s network, they may require distinct approaches due to differing underlying causes.