Recent Posts

How Often Does a Toyota Corolla Need an Oil Change


For a Toyota Corolla, the oil change frequency generally ranges from every 5,000 to 10,000 miles, depending on driving conditions and the type of oil used (conventional or synthetic).

Regular checks help maintain vehicle longevity and performance.

Understanding Your Corolla's Needs

maintaining your toyota corolla

To keep your Toyota Corolla in good condition, it's important to know when to change its oil.

Newer Corolla models, made after 2008, use synthetic oil that needs changing every 5,000 to 10,000 miles.

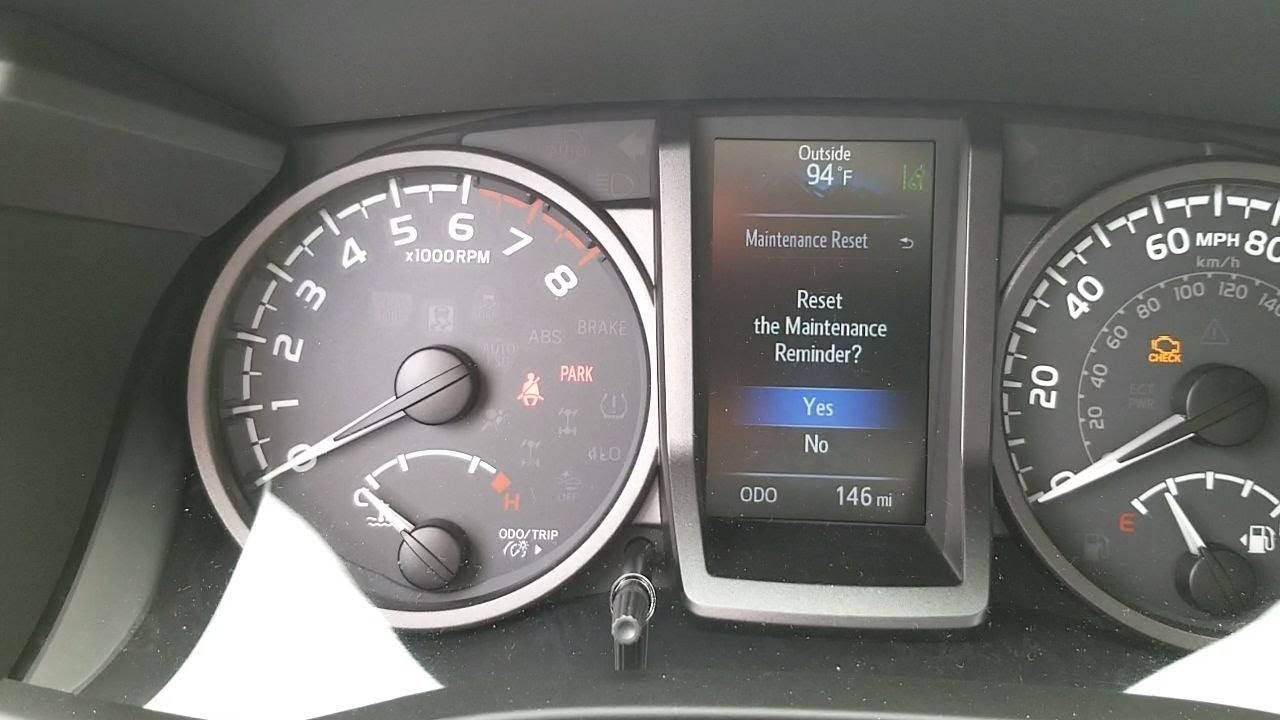
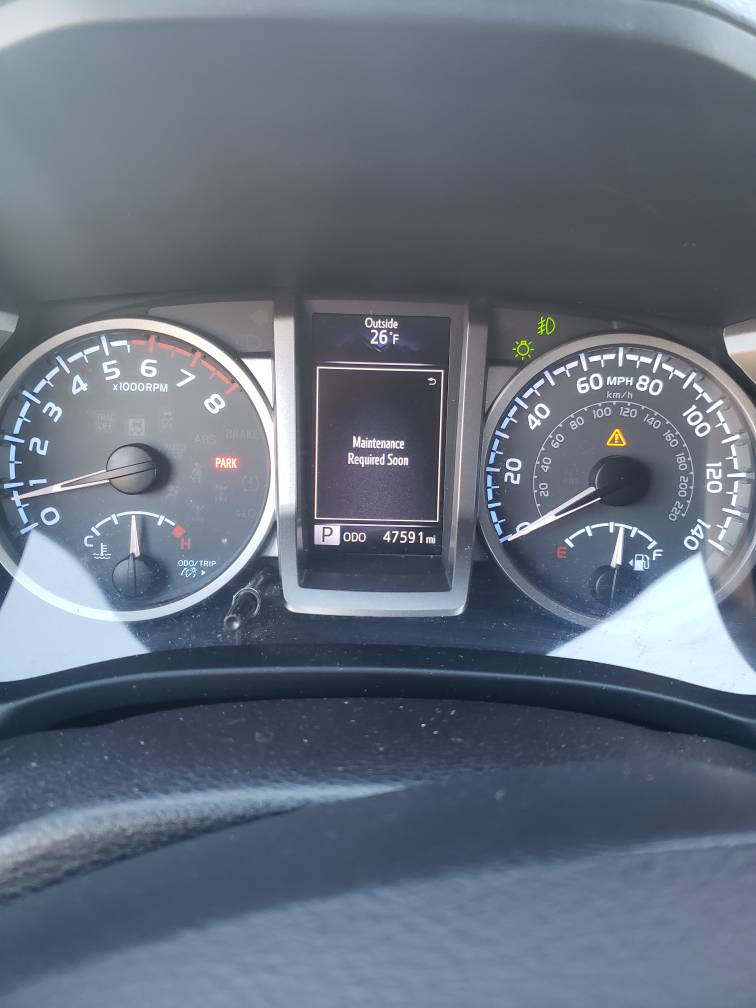
Always check your owner's manual for your car's specific needs. Don't rely only on the car's maintenance light.

Keep a record of oil changes and other maintenance to avoid future problems.

The Role of Driving Conditions

Understanding when to change your Corolla's oil is important, and driving conditions play a big role in this. How you drive and where you drive can change how often you need new oil. Let's look at how different conditions affect your oil change schedule.

Driving a lot in heavy traffic or in hot weather makes your engine work harder. This means your oil gets dirty faster and you'll need to change it more often. Also, if you often take short trips of less than 5 miles, your engine doesn't get hot enough to remove water. This can make your oil worse over time.

However, if you mostly drive on the highway at a steady speed, your engine isn't under as much stress. This could mean you don't need to change your oil as often. But, remember that over time, oil still gets old and less effective.

Synthetic Vs. Conventional Oil

oil type comparison analysis

Choosing between synthetic and conventional oil affects your Toyota Corolla's performance and maintenance. Synthetic oil, made in labs, provides better protection and performance than conventional oil, which comes from crude oil. Consider your car's needs and how you drive before choosing.

Synthetic oil handles extreme temperatures and conditions better, so it lasts longer and protects your engine more. This means smoother performance in tough conditions. However, synthetic oil costs more, potentially leading to savings on fewer oil changes.

Conventional oil is cheaper but doesn't perform as well under stress. It might need more frequent changes to keep the engine healthy, especially in older Corolla models. But, it's a good option for regular driving in moderate conditions.

Comparison:

  • Synthetic Oil: More expensive, longer between changes, better protection, good for new engines.
  • Conventional Oil: Cheaper, needs more changes, okay protection, works for older cars.

Choose based on your Corolla's needs and your driving habits for the best performance.

Recognizing Signs of Needed Change

Knowing when to change the oil in your Toyota Corolla is important to avoid engine damage and keep your car running well. Watch for these signs:

  • Check Engine or Oil Change Light: A clear indicator is the check engine or oil change light on your dashboard. Your car's computer decides when you need an oil change by considering your driving style and how many miles you've driven.
  • Engine Noise and Knocking: If your oil is old or low, your engine may make more noise or a knocking sound. This means your engine needs an oil change.
  • Dark and Dirty Oil: New oil is light in color and clear. Old oil becomes dark and dirty from collecting particles. If your oil looks dark or gritty, it's time for a change.

Don't ignore these signs to avoid serious engine problems. Regular checks and understanding your car's needs are important. How often you need an oil change depends not just on how much you drive, but also on how and where you drive your Toyota Corolla.

Maintenance Schedule Recommendations

regular maintenance for efficiency

To keep your Toyota Corolla in good shape, it's recommended to change the oil every 5,000 to 10,000 miles. The exact frequency depends on the type of oil and your car model. Synthetic oil lasts longer than conventional oil, potentially extending the time between changes. Driving habits and environmental conditions, like frequent stop-and-go traffic or extreme temperatures, may require more frequent oil changes.

Here's a maintenance schedule:

  • At 5,000 miles: Change oil if using conventional oil.
  • At 7,500 miles: Check fluid levels and rotate tires.
  • At 10,000 miles: Change oil if using synthetic oil and inspect the car.
  • At 15,000 miles: Replace air filter and perform a detailed inspection.

Following this schedule helps keep your Corolla running well and identifies potential issues early.

Conclusion

How often you need to change the oil in your Toyota Corolla depends on how you drive and what kind of oil you use. If you drive a lot in tough conditions, you might want to use synthetic oil and change it more often.

Watch for signs like the oil turning dark or the engine making strange noises. As a general guide, you should change the oil every 5,000 to 10,000 miles, but it's best to check your Corolla's maintenance guide to be sure.

Doing this helps keep your Corolla working well and protects your car over time.

How to Open a Toyota Corolla Trunk From the Outside


To open a Toyota Corolla trunk from the outside:

  • Press the trunk release button on your key fob.
  • Use the manual key entry.
  • Locate and use the trunk release lever near the driver's seat.

If these fail, consider professional help.

Using the Key Fob

unlocking the car remotely

To open the trunk of your Toyota Corolla from outside, press and hold the trunk release button on your key fob. The key fob has multiple buttons; look for the one with a car trunk image or the word 'trunk'. Pressing and holding this button will unlatch the trunk. Remember to be within 30 feet of the car, as the key fob works within this range. If the trunk doesn't open, check if the key fob battery is low and replace it if necessary.

Ensure the car is unlocked before trying to open the trunk with the key fob.

Manual Key Entry

If your Toyota Corolla's key fob battery is dead, you can still open the trunk with a physical key found inside the fob. This key is for situations when the electronic part doesn't work. Here's how to use it:

  1. Find the manual key inside the key fob by pressing or sliding a button or switch on the fob.
  2. Look for the keyhole on your Corolla's trunk. It might be hidden, so check your car's manual if needed.
  3. Use the manual key to unlock the trunk by inserting it into the keyhole and turning it.

Interior Release Mechanism

release mechanism for doors

To open the trunk from inside your Toyota Corolla, follow these steps:

  1. Find the Release Lever: Look for the trunk release lever near the driver's seat floor or on the lower dashboard. It has a car trunk icon on it.
  2. Pull the Lever: Gently pull the lever towards you to unlock the trunk. It should open slightly without much effort.
  3. Check the Trunk: Make sure the trunk is open by checking it, especially if the car is on an incline.
  4. Emergency Use: The interior trunk release lever also acts as a safety feature, allowing someone inside the trunk to exit in an emergency.

Troubleshooting Common Issues

If your Toyota Corolla's trunk won't open from the outside, follow these steps:

  1. If the key fob doesn't work, the battery might be low. Open the key fob and replace the battery.
  2. If using a manual key and it won't turn, clean the lock. Blow out dirt with compressed air or use lubricant carefully.
  3. If both methods fail, the trunk release cable could be disconnected or damaged. Access the trunk through the back seats, check the cable, and reconnect or replace it if necessary.

Seeking Professional Assistance

expert guidance for success

If your Toyota Corolla's trunk problems persist after trying DIY solutions, consider professional help. Here's how to proceed:

  1. Find a Good Service Center: Choose a mechanic who knows Toyota cars well or has good reviews for fixing trunk and lock issues.
  2. Explain the Problem Clearly: Tell the technician exactly what's wrong and what you've tried to fix it. This helps them diagnose the issue faster.
  3. Get an Estimate: Ask for a detailed cost estimate, including labor and parts, before any work starts.
  4. Ask About Warranties: Check if there are warranties on the parts to be replaced or the repair work.

Getting professional help means you're taking a step towards fixing your car's trunk issue. Trust the experts to do their job.

Conclusion

To open your Toyota Corolla's trunk from the outside, you have a few options. You can use the key fob, use the key in the lock, or use the button inside the car.

If you have trouble, try to fix the problem by checking common issues. If you can't fix it, it's a good idea to get help from a professional.

Remember, getting into your trunk should be easy, so keep these tips in mind to make it smooth.

How to Reset Maintenance Light on 2017 Toyota Tacoma


To reset the maintenance light on a 2017 Toyota Tacoma, turn the ignition off and press and hold the trip meter button. Then turn the key to the “On” position while continuing to hold the trip meter button.

Release the button when the display shows zeros. Owning a 2017 Toyota Tacoma means ensuring that regular maintenance is performed and the maintenance light is reset promptly. If you find yourself in a situation where the maintenance light needs to be reset, you can follow these simple steps to do so.

This will help ensure that your truck continues to operate at peak performance. Resetting the maintenance light is an essential part of vehicle ownership, and by following the specific steps, you can keep your Tacoma running smoothly and efficiently.

Step-by-step Guide

Are you tired of seeing the maintenance light on your 2017 Toyota Tacoma constantly reminding you of impending service? Fret not, because we have got you covered with this step-by-step guide on how to reset the maintenance light. By following these simple instructions, you can easily reset the light and ensure your vehicle remains in top condition. Let’s dive right in!

Step 1: Prepare Your Vehicle

  • Ensure your vehicle is parked in a safe and well-lit area.
  • Make sure the gear shift is in the Park position for automatic transmissions or in Neutral for manual transmissions.
  • Turn off all accessories such as the radio, air conditioning, and headlights.

Step 2: Access The Dashboard Buttons

Locate the dashboard area and identify the buttons used to navigate the vehicle’s settings.

Step 3: Turn The Ignition On

Insert the key into the ignition and turn it to the accessory power position, without starting the engine. This position powers the vehicle’s electrical systems while the engine remains off.

Step 4: Locate The Trip Button

Find the trip button on the dashboard. It is usually located near the speedometer or tachometer.

Step 5: Reset The Maintenance Light

  1. Press and hold down the trip button.
  2. While holding the trip button, turn the ignition key to the ON position.
  3. Continue holding the trip button until the maintenance light starts flashing and eventually turns off. This indicates that the light has been successfully reset.
  4. Release the trip button and turn off the ignition.
  5. Turn the ignition back on to verify that the maintenance light no longer appears.
How to Reset Maintenance Light on 2017 Toyota Tacoma

Credit: carbuzz.com

Common Mistakes To Avoid

When resetting the maintenance light on a 2017 Toyota Tacoma, it’s crucial to avoid common mistakes that could lead to issues or difficulties in the process. By being aware of these potential pitfalls, you can ensure a smooth and successful reset of the maintenance light.

Skipping Steps

One of the most common mistakes when resetting the maintenance light on a 2017 Toyota Tacoma is skipping essential steps. Skipping crucial steps in the process can lead to incomplete reset attempts or even damage to the vehicle’s systems. Ensure that you carefully follow each step in the reset procedure to guarantee a successful outcome.

Incorrect Button Pressing

Another common mistake to avoid is pressing the wrong buttons during the reset process. Incorrectly pressing the buttons on the dashboard can result in the maintenance light not resetting as intended. Refer to the vehicle’s manual or reliable online sources to confirm the correct buttons to press for the reset procedure.

When To Reset The Maintenance Light

Resetting the maintenance light on a 2017 Toyota Tacoma is a quick and simple process. Just follow the easy steps outlined in your vehicle’s manual to clear the light and ensure your truck is running smoothly.

When to Reset the Maintenance Light After Regular Maintenance It is important to reset the maintenance light after regular servicing.
Step Action
1 Turn ignition key to “ON” position.
2 Press trip meter button until trip A or B is displayed.
3 Turn key to off position while holding trip meter button.
4 Turn key back to “ON” position while holding the trip meter button.
5 Wait until zeros replace the dashes on the trip display. Release trip meter button.
6 Start vehicle to ensure the maintenance light is reset.
When Light Remains On If the maintenance light remains on after resetting, further measures may be required.
  • Check oil levels.
  • Inspect for any leaks.
  • Ensure all maintenance tasks were completed.
If issues persist, consult a professional mechanic for assistance.
How to Reset Maintenance Light on 2017 Toyota Tacoma

Credit: www.youtube.com

How to Reset Maintenance Light on 2017 Toyota Tacoma

Credit: www.tacomaforum.com

Frequently Asked Questions Of How To Reset Maintenance Light On 2017 Toyota Tacoma

How Do I Reset The Maintenance Light On My 2017 Toyota Tacoma?

To reset the maintenance light on your 2017 Toyota Tacoma, follow these simple steps:
1. Turn the engine switch to the “ON” position, but do not start the engine. 2. Locate the trip meter reset button and press it until “Trip A” or “Trip B” is displayed on the screen. 3. Turn the engine switch off, then press and hold the trip meter reset button. 4. While holding the button, turn the engine switch to the “ON” position. 5. Continue holding the trip meter reset button until the maintenance light starts flashing and then turns off. 6. Release the trip meter reset button. The maintenance light should now be reset.

How Often Should I Reset The Maintenance Light On My 2017 Toyota Tacoma?

It is recommended to reset the maintenance light on your 2017 Toyota Tacoma after each scheduled maintenance service. This ensures that the light accurately reflects the next service interval and helps you stay on top of your vehicle’s maintenance needs.

What Does It Mean When The Maintenance Light Comes On In A 2017 Toyota Tacoma?

When the maintenance light comes on in your 2017 Toyota Tacoma, it means that there is a scheduled maintenance service that needs to be performed. It is important not to ignore this light, as regular maintenance helps keep your vehicle running smoothly and can prevent potential issues down the road.

Conclusion

Resetting the maintenance light on your 2017 Toyota Tacoma is a simple task. By following these steps, you can easily maintain your vehicle’s performance and longevity. Remember to keep up with regular maintenance to ensure your truck stays in top condition.

Drive safe and enjoy the road ahead!


How to Change Cabin Air Filter 2020 Toyota Corolla?


How to Change Cabin Air Filter 2020 Toyota Corolla? To change the cabin air filter in a 2020 Toyota Corolla, follow these steps:

  • Step 1: Gather Necessary Tools
  • Step 2: Locate the Filter Compartment
  • Step 3: Remove the Old Filter
  • Step 4: Install the New Filter
  • Step 5: Final Checks and Testing

Step 1: Gather Necessary Tools

prepare for home improvement

To change the cabin air filter in a 2020 Toyota Corolla, you need a few tools. First, get a new cabin air filter that fits your car. You can check your car’s manual or ask an auto parts store for the right model.

You’ll also need a Phillips head screwdriver to remove screws from the filter compartment, though some cars mightn’t require any tools to open it. Wearing gloves is useful to keep your hands clean and avoid cuts. A small flashlight is also helpful to see better in dim areas.

Step 2: Locate the Filter Compartment

To find the cabin air filter in your 2020 Toyota Corolla, you don’t need to open the hood. It’s behind the glove box. Here’s how to get to it:

  1. Open the glove box on the passenger side. Empty it.
  2. Press the sides of the glove box to release the stops. This lets the glove box drop down.
  3. Behind the lowered glove box, there’s a rectangular cover. That’s where the filter is. It might’ve clips or latches that you can easily open.

Now, you have access to the cabin air filter compartment.

Step 3: Remove the Old Filter

replace the air filter

To replace the cabin air filter in your 2020 Toyota Corolla, follow these steps:

  1. Open the glove box and press its sides to lower it, revealing the filter compartment.
  2. Unclip the cover of the compartment to access the old filter.
  3. Before removing the filter, check for debris or leaves inside the compartment.
  4. Note the direction the old filter faces, as indicated by an airflow arrow on it.
  5. Carefully remove the filter to avoid spreading dust.
  6. If the compartment is dirty, use a handheld vacuum to clean it.

This process prepares your car for a new filter, ensuring clean air inside.

Step 4: Install the New Filter

After removing the old filter, install the new cabin air filter in your 2020 Toyota Corolla. Ensure you have the correct filter for your model. It should fit easily without force. The filter has arrows for airflow direction, pointing towards the car’s rear.

Place the new filter gently into the slot. Don’t rush to avoid damage. If it doesn’t fit, check the orientation and try again. The filter should go in smoothly.

Ensure the filter is properly positioned, flush with the housing edges. This prevents unfiltered air from entering the cabin. If you removed a cover or clips, reattach them now. Secure them carefully to avoid breaking.

Check your work to ensure the filter is correctly installed and hasn’t moved during the process.

Step 5: Final Checks and Testing

ready for launch now

After installing a new cabin air filter in a 2020 Toyota Corolla, it’s important to check a few things to make sure it’s installed correctly and working well. This will help keep the air inside the car clean.

  • First, make sure the filter housing cover is properly secured. If it’s loose, unfiltered air can get into the car.
  • Check the air flow direction on the filter. It should match the car’s airflow direction, usually shown by an arrow on the filter.
  • Look for any gaps around the filter. There shouldn’t be any spaces that let air pass without being filtered.
  • Test the air conditioning and heating system. Turn them on to see if air flows smoothly and listen for any strange sounds, which could mean the filter isn’t installed right.
  • Check for bad smells. If the air smells clean, the filter is likely installed correctly. Any bad odors might mean the filter isn’t seated right or there’s debris in the housing.

Doing these checks after replacing the cabin air filter will help ensure the air in your 2020 Toyota Corolla is clean and fresh.

Conclusion

Changing the air filter in your car is a simple job that you can do at home. It’s important to do this because it helps keep the air inside your car clean and fresh. This is good for you and your passengers because it can help you feel better and breathe easier.

Changing the air filter also helps your car’s heating and cooling system work better. It’s like giving your car a little tune-up! You can do this job yourself, and it’s easy. You don’t need any special tools, and it won’t take a lot of time.

How Hard is It to Repair a Honda Odyssey Vs a Toyota Sienna?


When it comes to choosing a family minivan, the Honda Odyssey and Toyota Sienna are popular choices. Both vehicles are known for their reliability, safety features, and spacious interiors. However, potential owners often wonder about the maintenance and repair process for these vehicles. This article aims to compare the repair process of the Honda Odyssey and Toyota Sienna to help you make an informed decision.


Cost of Parts and Labor

One of the crucial aspects to consider when comparing the repair process of these minivans is the cost of parts and labor. In general, the cost of parts for the Honda Odyssey is slightly lower than that of the Toyota Sienna. The availability of aftermarket parts for the Odyssey is also relatively higher, which can lead to cost savings for repairs.

In terms of labor costs, it largely depends on the location and the specific repair shop. However, due to the popularity of both vehicles, finding a skilled mechanic with experience in repairing the Odyssey or Sienna should not be a major challenge.

Common Repair Issues

Understanding the common repair issues for each minivan can give insight into the potential headaches that owners may face. The Honda Odyssey is known for having occasional transmission and electrical issues. However, these concerns are not widespread and are often covered under warranty or extended warranty programs.

On the other hand, the Toyota Sienna has been praised for its reliability, with fewer reported transmission and electrical problems compared to the Odyssey. However, some Sienna models have experienced issues with power sliding doors, which may require more frequent repairs.

DIY Repair and Maintenance

For those who prefer to handle minor repairs and maintenance tasks themselves, it’s essential to assess the ease of DIY repairs for these minivans. Both the Honda Odyssey and Toyota Sienna have user-friendly engine compartments, making routine maintenance tasks such as oil changes, filter replacements, and battery checks relatively straightforward.

When it comes to more complex repairs, both vehicles have accessible components and serviceability, with ample online resources, including forums and tutorials, available to guide owners through the process. However, it’s important to note that certain repairs, particularly those related to advanced electrical systems or transmission components, may require professional expertise.

Warranty Coverage and Extended Protection

Another factor to consider is the warranty coverage and availability of extended protection plans for the Honda Odyssey and Toyota Sienna. Both manufacturers offer comprehensive warranties, including powertrain coverage, roadside assistance, and rust protection, which can provide peace of mind for owners.

Additionally, extended protection plans are available for both vehicles, offering an extra layer of security against unexpected repairs. It’s recommended to research and compare the terms and coverage of these plans, as they can vary in cost and included benefits.

How Hard is It to Repair a Honda Oddysey Vs a Toyota Sienna

Credit: www.hondanorth.net

Resale Value and Long-Term Reliability

While repairs are part of owning any vehicle, considering the long-term reliability and resale value is crucial. The Honda Odyssey and Toyota Sienna are both recognized for their resale value and longevity. With regular maintenance and timely repairs, owners can expect these minivans to hold their value well over time.

Moreover, the reliable reputation of both vehicles contributes to their long-term appeal in the used car market. Factors such as overall condition, service records, and the resolution of any recurring issues can significantly influence the resale value and desirability of these minivans.

How Hard is It to Repair a Honda Oddysey Vs a Toyota Sienna

Credit: cars.usnews.com

FAQ

How Hard Is It To Repair A Honda Odyssey?

Repairing a Honda Odyssey is relatively easy. With the availability of online tutorials and accessible parts, many repairs can be done by DIY enthusiasts. However, for complex issues, it is advisable to seek professional assistance.

How Hard Is It To Repair A Toyota Sienna?

Repairing a Toyota Sienna is generally straightforward. Thanks to Toyota’s reputation for reliability, finding replacement parts and getting guidance from online forums is relatively easy. Nonetheless, complex repairs may require the expertise of a professional mechanic.

What Are The Main Factors That Affect The Repair Difficulty For Both Vehicles?

The main factors impacting repair difficulty include the complexity of the repair task, the availability of replacement parts, the accessibility of components, and the individual’s mechanical skills and experience. Adequate preparation, proper tools, and following repair guides are essential for successful repairs.

Wrapping Up

In summary, the repair process for the Honda Odyssey and Toyota Sienna involves considerations such as the cost of parts and labor, common repair issues, DIY repair and maintenance, warranty coverage, and long-term reliability. Both minivans have their unique strengths and weaknesses in these areas, and the decision ultimately depends on individual preferences, budget, and specific needs.

Regardless of the choice between the Honda Odyssey and Toyota Sienna, staying proactive with maintenance and addressing repairs in a timely manner can help maximize the lifespan and enjoyment of these family-friendly vehicles.


How to Reset Maintenance Light on Toyota


To reset the maintenance light on a Toyota, turn the key to position one and press and hold the trip meter reset button. While holding the button, turn the key to position two.

Resetting the maintenance light on a Toyota is a straightforward process that can be done quickly and easily. By following a few simple steps, you can turn off the maintenance reminder and ensure that your vehicle’s maintenance is up to date.

We will outline the exact steps you need to take to reset the maintenance light on a Toyota. Whether you drive a Toyota Camry, Corolla, or Tacoma, these instructions will work for most Toyota models. So, let’s dive in and learn how to reset the maintenance light on your Toyota.

How to Reset Maintenance Light on Toyota

Credit: www.mariettatoyota.com

Methods For Resetting Maintenance Light

Learn how to reset the maintenance light on your Toyota with these easy methods. From pressing and holding buttons to navigating through menus, these step-by-step instructions will have your maintenance light turned off in no time. Keep your Toyota running smoothly and efficiently with these simple tips.

How to Reset Maintenance Light on Toyota

Using The Trip Odometer Button

To reset the maintenance light on your Toyota using the trip odometer button:

  1. Set the odometer to total mileage.
  2. Press and hold the trip odometer button.
  3. Release the button when the maintenance light is reset.

Using The Navigation System

If your Toyota is equipped with a navigation system, follow these steps:

  1. Reset your scheduled maintenance reminder.
  2. Navigate through the menus on the screen using the arrows.
  3. Click and hold the OK button to reset the maintenance light.

Using The Key Positions

To reset the maintenance light using the key positions:

  1. Turn the key to position one, usually marked “I.”
  2. Press and hold the trip meter reset button on the dashboard.
  3. Without letting go of the button, turn your key to position two or “II.”

Click and hold the trip reset button located near the odometer until you see “Trip A” appear on the center screen.

Turn the key off and hold down the trip/odometer button while turning the key to the ON position (do not start) to reset the maintenance light after an oil change.

How to Reset Maintenance Light on Toyota

Credit: www.redmccombstoyota.com

Resetting Maintenance Light On Specific Toyota Models

If you own a Toyota vehicle, you may have noticed the maintenance light blinking on your dashboard. This light serves as a reminder that your vehicle is due for regular maintenance, such as an oil change or tire rotation. While it’s important to follow your vehicle’s maintenance schedule, you may wonder how to reset the maintenance light once the service has been completed. In this blog post, we will guide you through the process of resetting the maintenance light on specific Toyota models, including the Toyota Tacoma, Toyota Camry, and Toyota Corolla.

Toyota Tacoma

To reset the maintenance light on your Toyota Tacoma, follow these simple steps:

  1. Insert the key into the ignition and turn it to the “ON” position.
  2. Locate the trip meter reset button on the dashboard.
  3. Press and hold the trip meter reset button until the maintenance light starts flashing.
  4. Release the trip meter reset button and turn off the ignition.
  5. Start your Toyota Tacoma again, and you will notice that the maintenance light has been successfully reset.

Toyota Camry

If you own a Toyota Camry and want to reset the maintenance light, follow these steps:

  1. Insert the key into the ignition and turn it to the “ON” position.
  2. Locate the trip meter reset button on the dashboard.
  3. Press and hold the trip meter reset button until the maintenance light starts flashing.
  4. Release the trip meter reset button and turn off the ignition.
  5. Start your Toyota Camry again, and you will find that the maintenance light has been reset.

Toyota Corolla

Resetting the maintenance light on your Toyota Corolla is a simple process. Follow these steps to get it done:

  1. Insert the key into the ignition and turn it to the “ON” position.
  2. Locate the trip meter reset button on the dashboard.
  3. Press and hold the trip meter reset button until the maintenance light starts flashing.
  4. Release the trip meter reset button and turn off the ignition.
  5. Start your Toyota Corolla again, and you will see that the maintenance light has been successfully reset.

In conclusion, resetting the maintenance light on specific Toyota models like the Tacoma, Camry, and Corolla is a straightforward process. By following the steps outlined above, you can easily reset the maintenance light and ensure that your Toyota vehicle continues to perform at its best.


Common Questions And Answers

To reset the maintenance light on a Toyota, follow these simple steps: Set the odometer to total mileage, press and hold the trip odometer button, and then release it when the maintenance light turns off. Check out videos on YouTube for more visual guidance.

How To Reset The Maintenance Light On A Toyota Im?

Resetting the maintenance light on a Toyota IM is a simple process that can be done in a few easy steps. Here’s how:

  1. Locate the trip meter reset button on the dashboard of your Toyota IM.
  2. With the key in the ignition and turned off, press and hold down the trip meter reset button.
  3. While holding down the button, turn the key to the “ON” position, without starting the engine.
  4. Continue to hold down the trip meter reset button until the maintenance light on your Toyota IM starts flashing.
  5. Once the light stops flashing, release the trip meter reset button. The maintenance light should now be reset.

By following these steps, you can easily reset the maintenance light on your Toyota IM and ensure that your vehicle continues to run smoothly.

How To Turn Off The Maintenance Required Light On A Toyota Push Button Start?

If you have a Toyota with a push button start, here’s how you can turn off the maintenance required light:

  1. Press the “ENGINE START STOP” button once to turn on the ignition.
  2. Without starting the engine, press and hold the trip meter reset button.
  3. While holding down the button, press the “ENGINE START STOP” button twice to turn off the ignition.
  4. Release the trip meter reset button. The maintenance required light should now be turned off.

Following these steps will allow you to easily turn off the maintenance required light on your Toyota with a push button start.

How To Reset The Service Engine Soon Light On A Toyota?

To reset the service engine soon light on a Toyota, follow these simple steps:

  1. Turn the key to position one, usually marked as “I”.
  2. Locate the trip meter reset button on the dashboard.
  3. Press and hold the trip meter reset button.
  4. While holding down the button, turn the key to position two or “II”.
  5. Continue to hold the trip meter reset button until the service engine soon light resets.

Following these steps will help you reset the service engine soon light on your Toyota and keep your vehicle running smoothly.

Additional Resources

When it comes to resetting the maintenance light on your Toyota, there are additional resources that can provide valuable guidance and tips. Knowing the appropriate methods for resetting the maintenance light is crucial to ensure the longevity and performance of your vehicle. Toyota owners have access to various online tutorials and tips from Toyota dealerships that can assist in this process.

Online Tutorials On Resetting Toyota Maintenance Light

To reset the maintenance light on your Toyota, various online tutorials are available to guide you through the step-by-step process. Sources such as official Toyota websites, automotive forums, and YouTube channels offer comprehensive tutorials with visual demonstrations. These resources provide a detailed walkthrough on accessing and utilizing the reset button or navigating through the vehicle’s electronic menu to clear the maintenance reminder.

Tips From Toyota Dealerships

Toyota dealerships are reputable sources for obtaining expert advice on resetting the maintenance light. Visiting a certified Toyota dealership allows you to seek personalized assistance from trained technicians who possess in-depth knowledge of your specific Toyota model. They can offer valuable insights and tips on effectively resetting the maintenance light, ensuring that the process is carried out accurately and efficiently.

How to Reset Maintenance Light on Toyota

Credit: m.youtube.com

Frequently Asked Questions For How To Reset Maintenance Light On Toyota

How Do I Turn Off The Maintenance Required Light?

To turn off the maintenance required light, follow these steps: 1. Set Odometer to Total Mileage 2. Press and Hold the Trip Odometer Button 3. Reset your scheduled maintenance reminder 4. Navigate through the menus on the screen using the arrows 5. Click and hold the OK button

How Do You Reset The Maintenance Light On A Toyota Im?

To reset the maintenance light on a Toyota IM, follow these steps: Set the odometer to total mileage. Press and hold the trip odometer button. Release the button when the maintenance light blinks and then stays lit. The light should reset.

For a visual guide, search “How to Reset Maintenance Light on Toyota IM” on YouTube.

How Do You Turn Off The Maintenance Required Light On A Toyota Push Button Start?

To turn off the maintenance required light on a Toyota push button start: 1. Set odometer to total mileage. 2. Press and hold the trip odometer button. 3. Release the button when the light turns off.

Conclusion

To sum up, resetting the maintenance light on your Toyota is a simple process that can save you time and money. Following the steps outlined in this guide will ensure that your vehicle’s maintenance reminder is accurately reset, allowing for smooth driving and peace of mind.

By understanding and implementing these procedures, you can maintain the optimal performance of your Toyota for years to come.