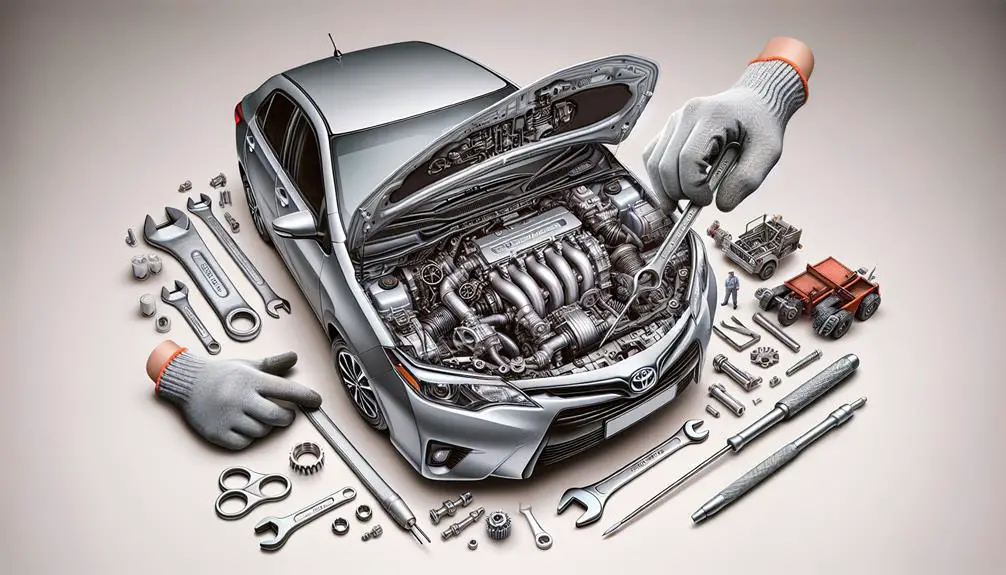
Repairing a 2013 Toyota Corolla's automatic transmission involves several key steps.
Diagnosing the issue is the first crucial step, followed by gathering the necessary tools.
Once the tools are in place, the transmission can be removed for further inspection and repair.
Repairing or replacing parts as needed is the next phase, followed by reassembling the transmission.
Finally, thorough testing is essential to ensure the smooth operation of the repaired transmission.
Diagnosing Transmission Issues

To fix your Toyota Corolla 2013's transmission correctly, first, find out what's wrong. Don't start taking things apart or buying new parts until you're sure of the issue.
Start by figuring out what the problem looks like. If your car shifts roughly, slips gears, or doesn't move, each sign points to different problems. For example, gear slipping might mean low transmission fluid or a bad transmission solenoid.
Check the transmission fluid next. If it's dirty or smells burnt, you need to change it, and there might be more damage inside. But, if there's not enough fluid, you probably have a leak, which is easier to fix.
Look out for any warning lights on your dashboard. Your Corolla has advanced systems that can alert you to many problems. A transmission warning light could mean a small sensor issue or a big mechanical problem.
Also, listen for odd noises when the car is running. Grinding sounds usually mean a serious problem inside the transmission.
Gathering Necessary Tools
To fix a 2013 Toyota Corolla's transmission, you need certain tools. These tools help do the job smoothly and prevent damage to the car parts. You should have:
- Basic hand tools like wrenches (both metric and standard) and a socket set. These are important for working with different nuts and bolts in the transmission.
- A transmission jack is important for safely handling the transmission.
- A torque wrench is needed to make sure everything is put back together correctly, according to Toyota's guidelines.
Here's a simple list of the needed tools:
- Basic Tools: Wrenches, Socket Set
- Special Tools: Transmission Jack
- Precision Tools: Torque Wrench
- Safety Gear: Gloves, Safety Glasses
Removing the Transmission

To remove the transmission from a 2013 Toyota Corolla, follow these steps. Make sure the car is lifted and supported on jack stands for safety. First, disconnect the battery to avoid electrical issues. Then, take out the air intake assembly, starter motor, and possibly the exhaust manifold, depending on the car model. Keep track of all parts and screws for easy reassembly.
Next, carefully disconnect the shift linkage, speed sensor connectors, and transmission fluid lines. Labeling these can help during reinstallation. Use an engine support bar to keep the engine stable after removing the transmission.
Repairing or Replacing Parts
After you remove the transmission from your 2013 Toyota Corolla, check each part for wear or damage. Look at the gears, clutches, seals, and torque converter. If parts are worn or damaged, decide whether to fix or replace them. Often, replacing is better for a long-term fix. For instance, a damaged gear should usually be replaced, not repaired. But, some seals or gaskets can be fixed if they're only slightly damaged.
When getting new parts, choose quality ones. Cheap parts might save money now but can cause problems later. Use OEM parts made for your Corolla for the best fit and performance.
Reassembling and Testing

After choosing and replacing any old or broken parts, it's important to carefully put your Corolla's transmission back together. This ensures your car works well. First, prepare all the parts and tools you need. Think of it as a detailed puzzle where each piece must return to its exact spot.
Here's a simple guide to follow:
| Step | What to Do |
|---|---|
| 1. Install the gears | Make sure they're correctly aligned. |
| 2. Place the clutch assembly | Ensure it's facing the right way. |
| 3. Secure the valve body | Tighten all bolts uniformly. |
| 4. Attach the transmission pan | Use a new gasket to stop leaks. |
After assembly, test your work. Fill the transmission with the right fluid. Then, start your Corolla and let it run for a few minutes. This helps the fluid spread and oil the inside parts.
Next, take a test drive. Focus on how the transmission changes gears. It should do so smoothly, without delays or odd sounds. If anything seems off, it's best to fix it immediately.
Putting together and testing your Corolla's transmission requires patience and careful attention. Doing it correctly means your car will run well. This task isn't just about repair; it's about mastering a complex challenge.
Conclusion
You did a great job fixing the automatic transmission in your Toyota Corolla. You found out what was wrong, got all the tools you needed, and fixed or replaced the parts that were broken.
After putting everything back together, it's time to see if your work was successful. Start the car and go for a short drive. If the car drives smoothly, you fixed the transmission correctly.
Remember, taking care of your car often can help avoid problems later. Well done on making your car run well again!
