Recent Posts

How to Reset Maintenance Light Toyota Sienna


To reset the maintenance light on a Toyota Sienna, turn the ignition to “off,” press and hold the trip meter reset button, and turn the ignition to “on” while continuing to hold the button until the light goes out. Dealing with the maintenance light on your Toyota Sienna can be a simple process when you know the steps to take.

Whether you want to reset the light after performing maintenance or you simply want to clear the light after it illuminates, following the correct procedure is important. We will discuss how to reset the maintenance light on a Toyota Sienna in an easy and straightforward manner.

By following these simple steps, you can reset the maintenance light on your Toyota Sienna without any hassle.

Understanding The Maintenance Light

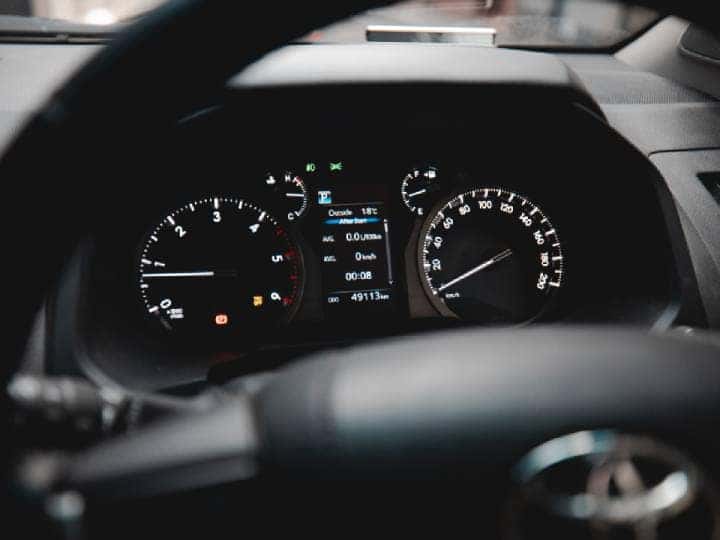
To understand how to reset the maintenance light on a Toyota Sienna, follow these simple steps. First, locate the ODO button on your dashboard. Next, turn the car off and press and hold the button while turning the car on again.

Release the button when the maintenance light goes off, and you’re done!

How to Reset Maintenance Light Toyota Sienna

What Is The Maintenance Light?

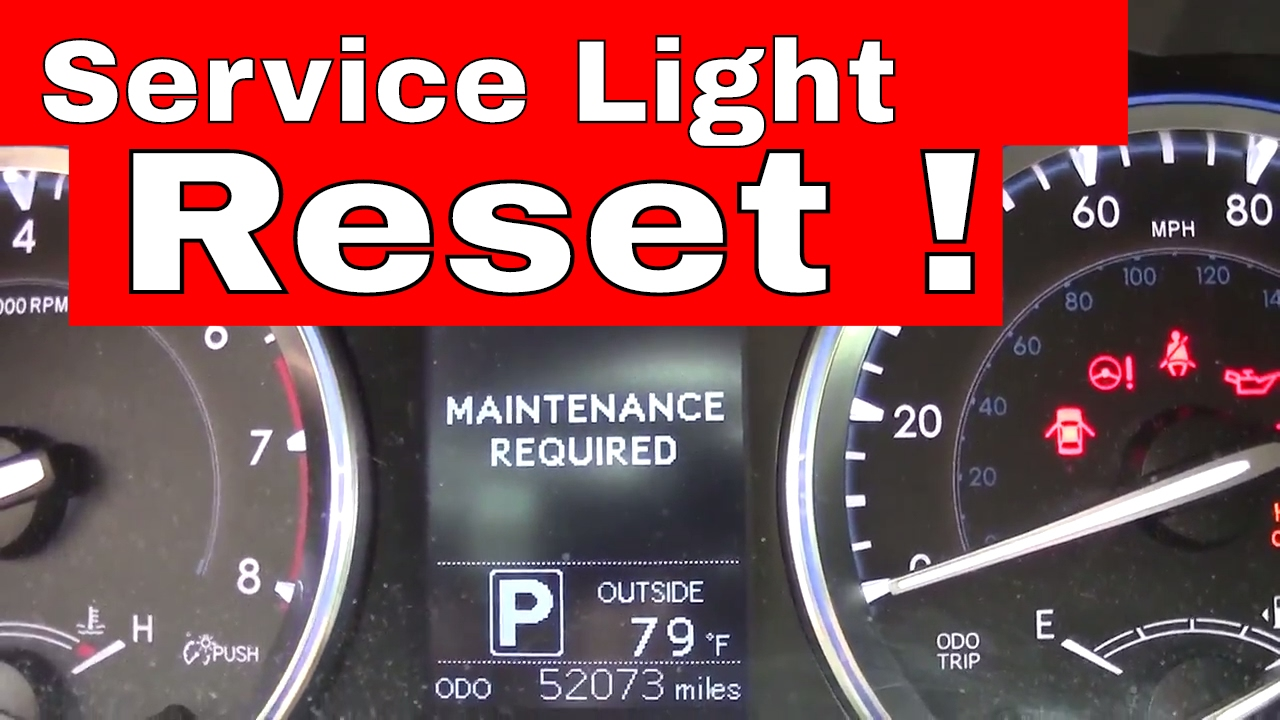
The maintenance light on your Toyota Sienna is a reminder that your vehicle needs routine servicing to ensure optimal performance.

Why Does The Maintenance Light Come On?

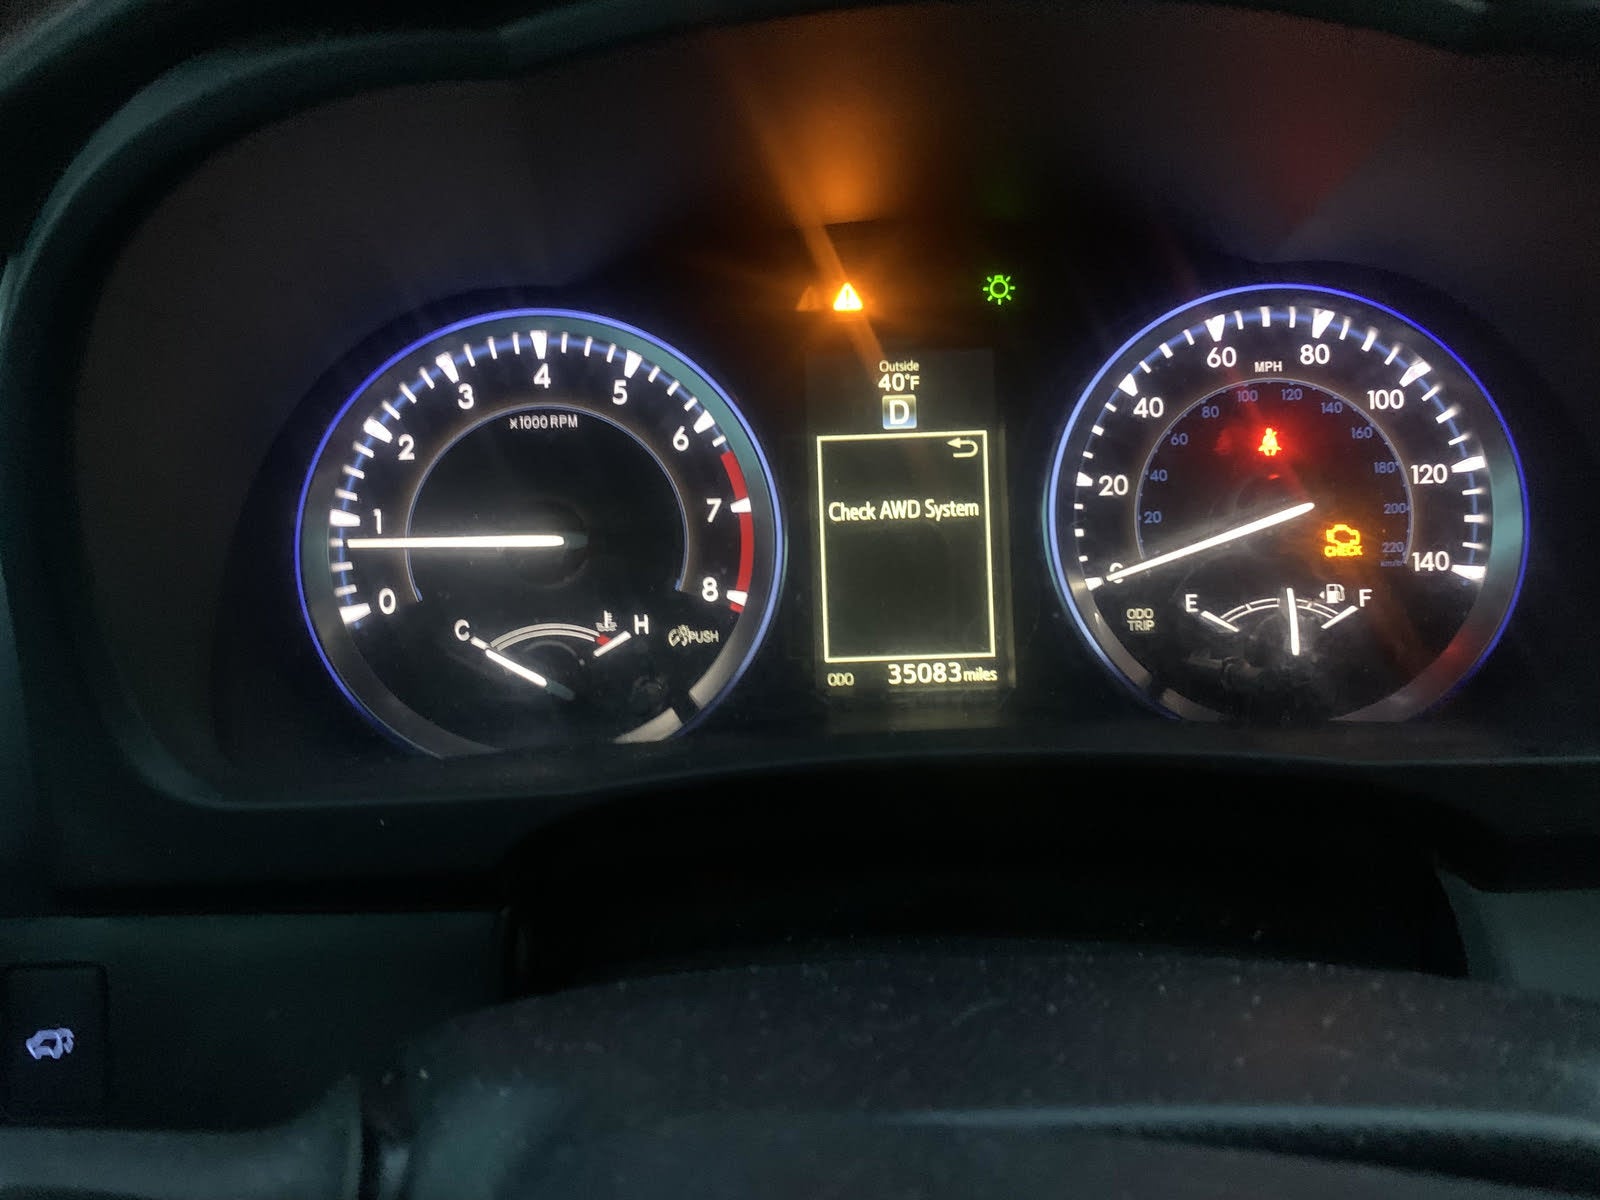
Maintenance light illuminates based on mileage or time intervals to alert you to schedule maintenance.

How to Reset Maintenance Light Toyota Sienna

Credit: www.jdpower.com

Resetting The Maintenance Light

Resetting the maintenance light on your Toyota Sienna is a simple task that can save you time and money. By following a few easy steps, you can reset the maintenance light yourself, without having to visit a mechanic. This blog post will guide you through the process of resetting the maintenance light on your Toyota Sienna, so you can get back on the road with peace of mind.

Step 1: Start The Vehicle

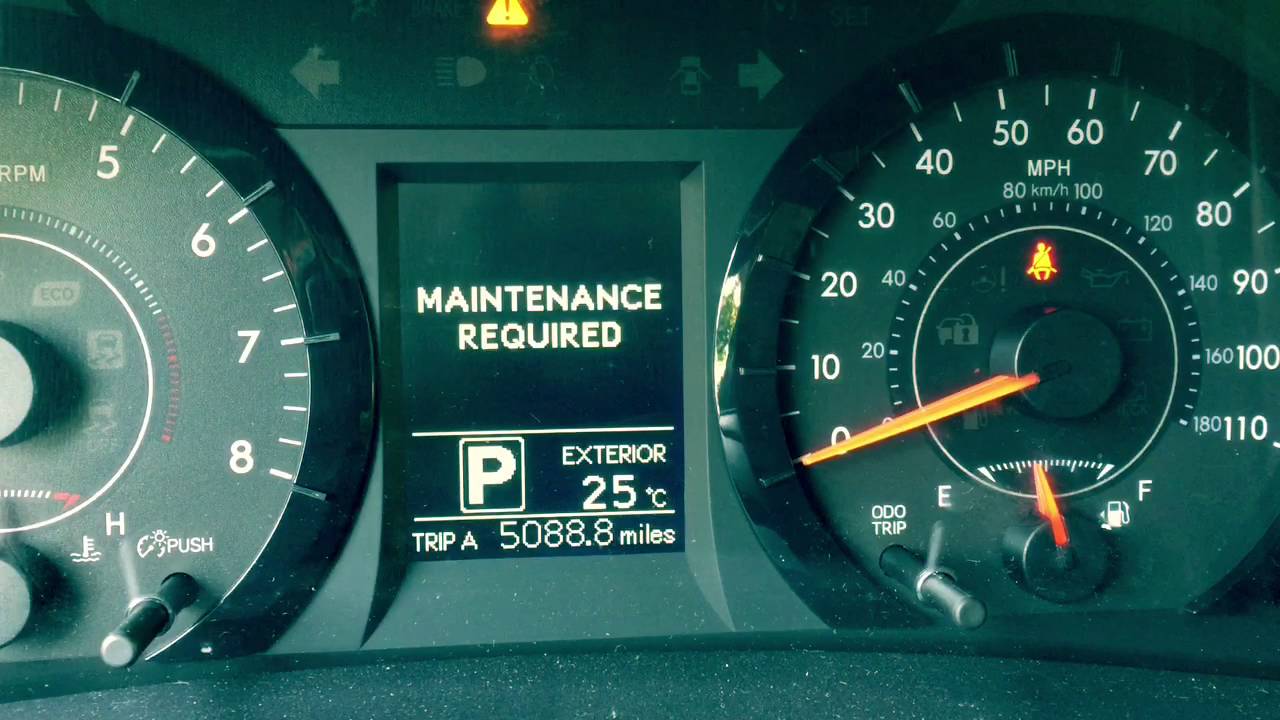
To begin the process of resetting the maintenance light on your Toyota Sienna, start the vehicle and ensure it is in a stationary position with the engine running.

Step 2: Locate The Maintenance Light Button

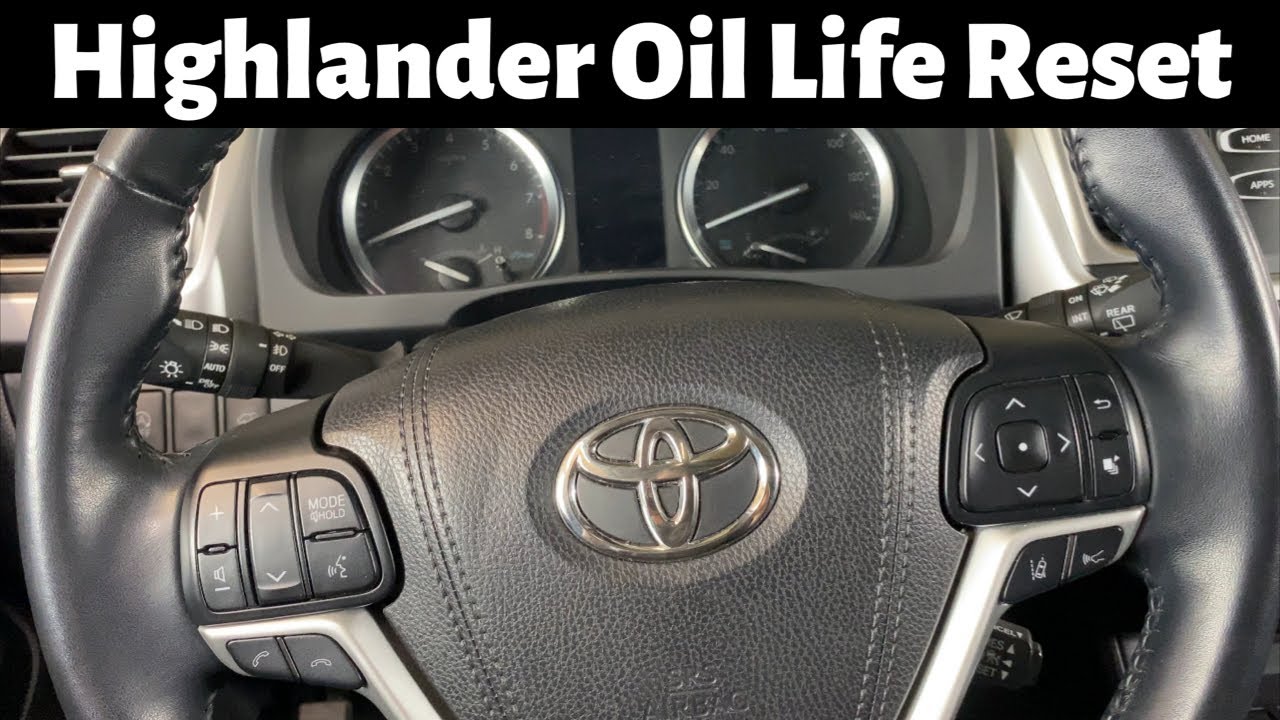
Next, locate the maintenance light button, which is typically found near the steering wheel or instrument panel on the dashboard of your Toyota Sienna.

Step 3: Press And Hold The Button

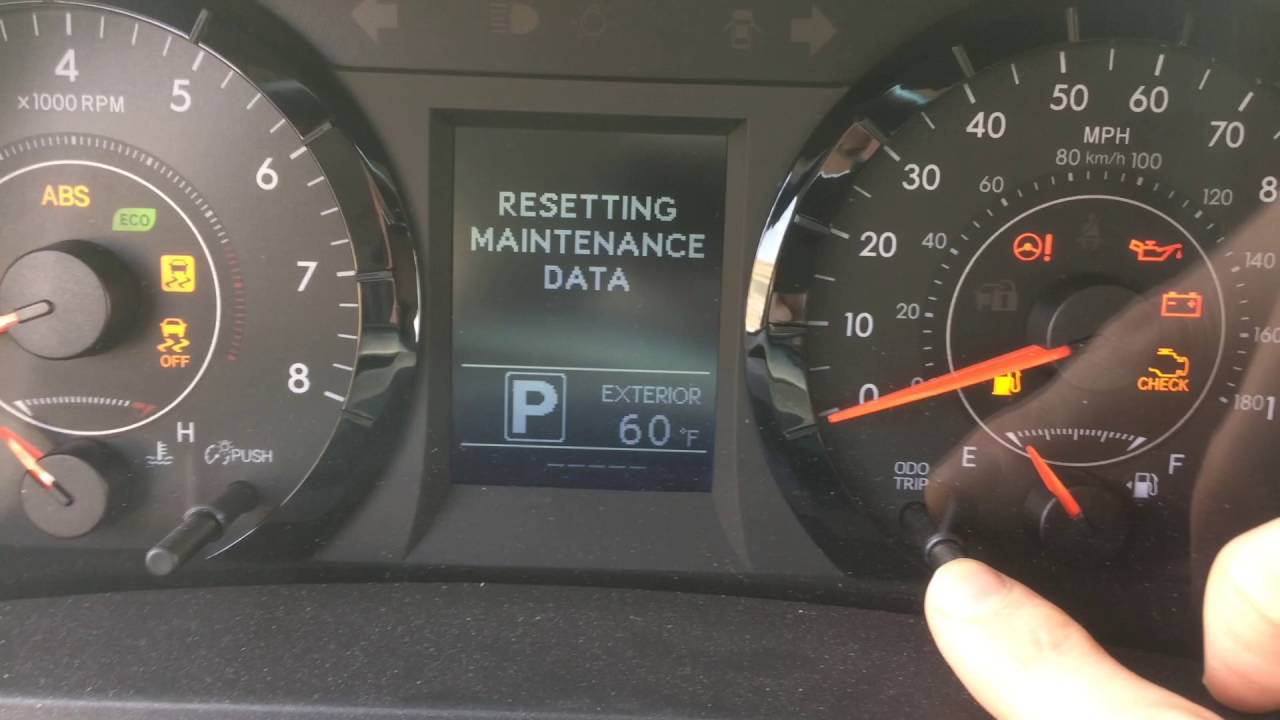
Once you have located the maintenance light button, press and hold it for a few seconds. This action will signal the vehicle’s internal system that you are ready to reset the maintenance light.

Step 4: Turn Off The Ignition

After holding the maintenance light button, turn off the ignition of your Toyota Sienna. This step will help reset the maintenance light and clear the previous maintenance reminder from the system.

Step 5: Release The Maintenance Light Button

Finally, release the maintenance light button. By following these simple steps, you have successfully reset the maintenance light on your Toyota Sienna, ensuring that your vehicle’s maintenance schedule is up to date.


Common Issues And Troubleshooting

When it comes to resetting the maintenance light on your Toyota Sienna, there are a few common issues that you may encounter. Troubleshooting these issues can help you successfully reset the maintenance light and ensure that it stays off.

Maintenance Light Won’t Reset

If you’ve tried to reset the maintenance light on your Toyota Sienna but it just won’t budge, there are a few things you can check. Firstly, make sure that you are following the correct steps for your specific Sienna model. Consult your owner’s manual for the reset procedure.

Additionally, ensure that the maintenance required light is actually indicating a scheduled service and not a mechanical issue. Sometimes, a failed attempt to reset the light can indicate an underlying problem that needs to be addressed by a professional technician.

If you’re still having trouble, it might be a good idea to reach out to a qualified mechanic who can diagnose and fix the issue for you. They can also check to see if there are any fault codes stored in the vehicle’s system that could be triggering the maintenance light.

Maintenance Light Keeps Coming Back On

If you successfully reset the maintenance light, but it keeps coming back on, there are a few potential reasons for this. One common cause is that the maintenance interval has not been properly reset, resulting in the light turning on at the scheduled mileage or time interval.

Another possibility is that there is an unresolved issue with the vehicle that is triggering the maintenance light to come on repeatedly. Checking for any stored fault codes and addressing any underlying mechanical problems can help prevent the light from reappearing.

Regularly scheduled maintenance, such as oil changes and inspections, can also help prevent the maintenance light from coming back on unnecessarily. Staying on top of your vehicle’s maintenance needs can ensure that the light stays off until the next scheduled service.

How to Reset Maintenance Light Toyota Sienna

Credit: www.thompsontoyota.com

Additional Tips And Precautions

When it comes to resetting the maintenance light on your Toyota Sienna, it’s essential to follow the correct steps. Aside from the basic process, there are additional tips and precautions that you should keep in mind to ensure a smooth reset experience.

Check The Owner’s Manual

It’s crucial to refer to the owner’s manual of your Toyota Sienna before attempting to reset the maintenance light. The manual provides detailed instructions specific to your vehicle model.

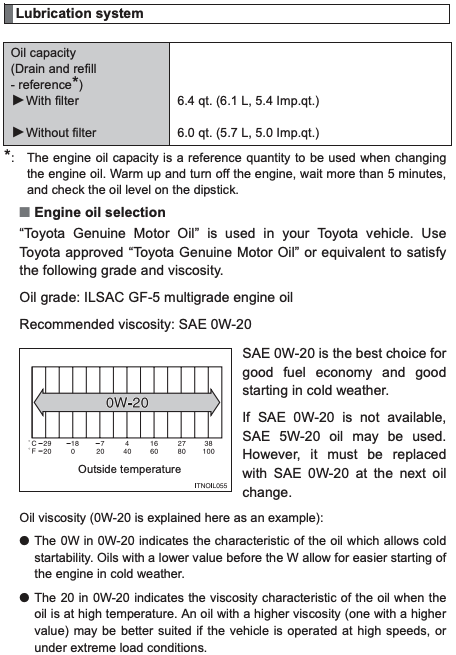
Perform Regular Maintenance

Regular maintenance is key to preventing the maintenance light from coming on frequently. By staying up-to-date with scheduled maintenance, you can avoid unnecessary dashboard notifications.

Consult A Professional If Unsure

If you’re unsure about resetting the maintenance light on your Toyota Sienna, it’s best to consult a professional. A qualified technician can provide guidance and assistance to ensure the light is reset correctly.

By checking the owner’s manual, performing regular maintenance, and seeking professional help when needed, you can effectively manage the maintenance light on your Toyota Sienna.

How to Reset Maintenance Light Toyota Sienna

Credit: m.youtube.com

Frequently Asked Questions On How To Reset Maintenance Light Toyota Sienna

How Do You Reset The Maintenance Light On A Toyota Sienna?

To reset the maintenance light on a Toyota Sienna, simply follow these steps:
1. Turn on the ignition without starting the engine. 2. Press and hold the trip meter reset button. 3. While holding the button, turn the ignition off and then back on. 4. Continue to hold the button until the maintenance light turns off. 5. Release the button and the light should be reset.

Why Is My Toyota Sienna’s Maintenance Light On?

The maintenance light on your Toyota Sienna can illuminate for various reasons, including:
1. Regularly scheduled maintenance is due, such as an oil change or tire rotation. 2. A malfunction or issue with the vehicle’s systems that requires attention from a mechanic. It is important to address the cause of the maintenance light to ensure the longevity and performance of your Sienna.

Can I Reset The Maintenance Light Without Servicing My Toyota Sienna?

While it is possible to reset the maintenance light without servicing your Toyota Sienna, it is not recommended. The maintenance light is designed to remind you of necessary maintenance tasks that help keep your vehicle running smoothly and safely. Neglecting these services can lead to more significant problems in the future.

It’s best to attend to the required maintenance and then reset the light according to the manufacturer’s guidelines.

Conclusion

Resetting the maintenance light on your Toyota Sienna is a simple task that can save you time and money. By following the steps outlined in this guide, you can easily reset the light on your own. Regular maintenance is key to ensuring the longevity of your vehicle.

Stay on top of it!

Toyota Highlander How to Reset Maintenance Light


To reset the maintenance light on a Toyota Highlander, turn the ignition to “On” and press the trip meter button until the odometer reading shows the trip A or trip B display. Then, turn the ignition off and press and hold the trip meter reset button while turning the ignition back to “On.”

Resetting the maintenance light on your Toyota Highlander is a simple process that can be done in just a few minutes. Whether you’ve recently completed a maintenance task or the light is simply on due to a scheduled service reminder, it’s important to know how to reset it.

By following the easy steps outlined in this guide, you can reset the maintenance light on your Toyota Highlander and ensure that your vehicle is in top condition. Keep reading to learn the step-by-step process for resetting the maintenance light and keeping your vehicle running smoothly.

Toyota Highlander How to Reset Maintenance Light

Credit: www.redmccombstoyota.com

Resetting Maintenance Light On Toyota Highlander

Resetting Maintenance Light on Toyota Highlander is a simple process that can be done by following a few easy steps. Whether you prefer to use the dashboard controls or the odometer button, resetting the maintenance light on your Toyota Highlander is a quick task that can help ensure your vehicle continues to run smoothly.

Using The Dashboard Controls

  • Enter the driver’s seat and insert the key into the ignition.
  • Press and hold the “Trip” button on the dashboard.
  • While holding the button, turn the key to the “On” position without starting the engine.
  • Continue holding the button until the maintenance light resets.

Using The Odometer Button

  1. Turn the ignition key to the “Off” position.
  2. Press and hold the odometer button.
  3. While holding the button, turn the key to the “On” position.
  4. Release the odometer button when the maintenance light turns off.
Toyota Highlander How to Reset Maintenance Light

Credit: www.brentbrowntoyota.com

Toyota Highlander How to Reset Maintenance Light

Credit: m.youtube.com

Frequently Asked Questions On Toyota Highlander How To Reset Maintenance Light

How Do I Reset The Maintenance Light On My Toyota Highlander?

To reset the maintenance light on your Toyota Highlander, simply follow these steps:
1. Start your car and make sure the display shows the odometer reading. 2. Turn the engine off and then press and hold the odometer/trip button. 3. While holding the button, turn the engine on. 4. Continue holding the button until the maintenance light resets, usually after about 10 seconds.

Can I Reset The Maintenance Light Without Going To A Dealership?

Yes, you can reset the maintenance light on your Toyota Highlander without going to a dealership. Just follow the DIY steps provided in the owner’s manual or refer to online tutorials.

Why Is My Maintenance Light Still On After Resetting?

If your maintenance light is still on after resetting, it could indicate a more serious issue with your vehicle. It’s recommended to consult a qualified mechanic to diagnose and resolve the underlying problem causing the light to remain on.

Conclusion

Keep your Toyota Highlander running smoothly with these simple maintenance light reset steps. Take control of your vehicle’s health and ensure longevity with easy DIY methods. Don’t let a pesky light distract you from enjoying the open road. Stay on top of maintenance effortlessly.

Drive with peace of mind.


How to Reset Maintenance Light on Toyota Highlander 2017


To reset the maintenance light on a Toyota Highlander 2017, start the car and press the “Trip” button until the odometer displays “Trip A.” Turn off the car, then press and hold the “Trip” button while starting the car to reset the maintenance light.

Owning a Toyota Highlander 2017 comes with the responsibility of maintaining its performance and longevity. One of the common tasks involved is resetting the maintenance light that indicates when the car needs servicing. While it may seem like a daunting task, resetting the maintenance light is a simple process that can be done in just a few steps.

By following the instructions provided by the manufacturer, you can ensure that your Highlander continues to operate at its best. We will guide you through the procedure to reset the maintenance light on your Toyota Highlander 2017.

How to Reset Maintenance Light on Toyota Highlander 2017

Credit: www.cargurus.com

Why Maintenance Light Comes On

The maintenance light in your Toyota Highlander 2017 illuminates to remind you of necessary service check-ups, which are crucial for the car’s longevity.

Sensor Dysfunction

The maintenance light may turn on due to sensor malfunction, such as detecting issues with engine performance or oil quality.

Maintenance Schedule

Following the recommended maintenance schedule keeps your Highlander running smoothly and ensures prompt detection of any issues.

How to Reset Maintenance Light on Toyota Highlander 2017

Credit: m.youtube.com

Methods To Reset Maintenance Light

When it comes to managing the maintenance of your Toyota Highlander 2017, it’s crucial to know the different methods to reset the maintenance light. This light serves as a reminder for regular vehicle maintenance, and by resetting it, you can ensure that the system accurately tracks your next service interval. Below, we’ll explore the two primary methods you can use to reset the maintenance light on your Toyota Highlander 2017.

Method 1: Using Dashboard Buttons

One simple method to reset the maintenance light on your Toyota Highlander 2017 is by using the dashboard buttons. Follow these steps to effectively reset the maintenance light:

  1. Insert the key into the ignition and turn it to the “On” position without starting the engine.
  2. Locate the trip meter reset button on the dashboard and press and hold it.
  3. While holding the trip meter reset button, turn the ignition key to the “Off” position.
  4. Continue holding the trip meter reset button and turn the ignition key back to the “On” position.
  5. Release the trip meter reset button when the maintenance light starts flashing and then turns off.

Method 2: Using Obdii Scanner

If you prefer a more technical approach, you can utilize an OBDII scanner to reset the maintenance light on your Toyota Highlander 2017. Here’s how you can do it:

  1. Locate the OBDII port under the dashboard of your vehicle.
  2. Plug the OBDII scanner into the port and turn on the ignition.
  3. Follow the scanner’s instructions to navigate to the “Reset Maintenance Light” function.
  4. Select the option to reset the maintenance light, and wait for the process to complete.
  5. Once the maintenance light has been successfully reset, disconnect the OBDII scanner from the port.

Step-by-step Guide: Resetting Maintenance Light

When it comes to maintaining your Toyota Highlander 2017, it’s essential to stay on top of scheduled maintenance. One important aspect of this is resetting the maintenance light after servicing your vehicle. In this step-by-step guide, we will walk you through how to reset the maintenance light on your Toyota Highlander 2017. Follow these simple steps to ensure your vehicle’s maintenance light is reset and you can drive with peace of mind.

Step 1: Start Vehicle

Begin by entering your Toyota Highlander 2017 and starting the vehicle. Make sure the car is in park or neutral and the parking brake is engaged.

Step 2: Locate Reset Button

Next, locate the reset button on the dashboard. It is usually a small button that may be labeled “reset” or “reset maintenance.”

Step 3: Turn Ignition On

Turn the ignition switch to the “On” position without starting the engine. You should see various dashboard lights illuminate, indicating that the car’s electronics are powered on.

Step 4: Press/hold Button

Press and hold the reset button until the maintenance light starts flashing. This may take a few seconds, but continue holding the button until you see the light begin to blink.

Step 5: Wait For Light To Flash

Once the maintenance light starts flashing, release the reset button. Wait for the light to stop flashing and then start the engine to ensure the maintenance light has been successfully reset.

How to Reset Maintenance Light on Toyota Highlander 2017

Credit: www.brentbrowntoyota.com

Alternative Options

Alternative Options:

Consulting The Owner’s Manual

It is crucial to refer to the owner’s manual for precise instructions.

Visiting A Toyota Dealership

For expert assistance, consider going to a Toyota dealership for a professional reset.

Importance Of Regular Maintenance

Regular maintenance is crucial for the upkeep of your Toyota Highlander 2017. If you’re wondering how to reset the maintenance light on your vehicle, read on to discover the steps to ensure your car runs efficiently and safely.

Regular maintenance is crucial for the optimal performance and longevity of your Toyota Highlander 2017. By staying on top of maintenance tasks, you can avoid expensive repairs down the line and extend the lifespan of your vehicle. In this section, we will explore the importance of regular maintenance, focusing on two key aspects: avoiding expensive repairs and increasing vehicle lifespan.

Avoiding Expensive Repairs

Maintaining your Toyota Highlander 2017 in good condition plays a significant role in avoiding expensive repairs. By regularly servicing your vehicle, you can identify and address minor issues before they snowball into major problems that require costly repairs. Ignoring maintenance tasks like oil changes, filter replacements, and tire rotations can lead to engine damage, reduced fuel efficiency, and decreased overall performance. Adhering to the recommended maintenance schedule provided in the owner’s manual allows you to keep your vehicle in top shape. Through routine inspections and tune-ups, potential issues can be detected early on, saving you from hefty repair bills in the future. Addressing concerns promptly helps prevent further damage and ensures that your Toyota Highlander 2017 operates at its best.

Increasing Vehicle Lifespan

Regular maintenance not only helps you avoid expensive repairs but also extends the lifespan of your Toyota Highlander 2017. By taking care of routine tasks such as fluid checks, brake inspections, and belt replacements, you can keep your vehicle in optimal condition for a longer period. Proper maintenance helps mitigate wear and tear on crucial components, allowing them to function efficiently and reducing the risk of premature failure. Additionally, timely maintenance assists in preserving the resale value of your Highlander, should you decide to sell it in the future. To maximize the lifespan of your Toyota Highlander 2017, it’s essential to follow the manufacturer’s maintenance guidelines. Regularly changing the oil and filters, inspecting and replacing belts and hoses, and keeping an eye on fluid levels are just a few of the tasks that contribute to the longevity of your vehicle. By prioritizing regular maintenance, you can avoid expensive repairs and increase the lifespan of your Toyota Highlander 2017. Taking care of your vehicle ensures that it runs smoothly, performs efficiently, and stays in excellent condition for years to come. Make sure to stick to the recommended maintenance schedule and address any concerns promptly, allowing you to enjoy your Highlander 2017 with peace of mind.

Frequently Asked Questions For How To Reset Maintenance Light On Toyota Highlander 2017

How Do I Reset The Maintenance Light On My Toyota Highlander 2017?

To reset the maintenance light on your Toyota Highlander 2017, follow these simple steps:
1. Turn the ignition switch to the “On” position without starting the engine. 2. Press and hold the odometer button until the maintenance light blinks and then turns off. 3. Release the odometer button and turn the ignition switch off. The maintenance light should now be reset.

Why Is The Maintenance Light On My Toyota Highlander 2017 Blinking?

If the maintenance light on your Toyota Highlander 2017 is blinking, it indicates that your vehicle is due for regular maintenance. It’s important not to ignore this light, as it’s a reminder to take your car in for a service or check-up to ensure optimal performance and safety.

Can I Reset The Maintenance Light On My Toyota Highlander 2017 Without Visiting A Mechanic?

Yes, you can reset the maintenance light on your Toyota Highlander 2017 without visiting a mechanic. Simply follow the steps mentioned earlier in this article to reset the light yourself. It’s a quick and easy process that you can do at home, saving you time and money.

Conclusion

After following these steps, you can easily reset the maintenance light on your Toyota Highlander 2017. Proper maintenance is key to keeping your vehicle running smoothly. By taking care of these small tasks, you ensure the longevity and performance of your car.

Stay on top of maintenance for a worry-free driving experience.


How to Reset Maintenance Light on Toyota Fj Cruiser


To reset the maintenance light on a Toyota FJ Cruiser, turn the key to “On” without starting the engine, then press the odometer button until the maintenance light flashes and resets. Owning a Toyota FJ Cruiser means enjoying rugged adventures and reliable performance.

However, taking care of routine maintenance is essential to keep it running smoothly. When the maintenance light illuminates on your dashboard, it’s time to reset it after servicing the vehicle. This guide will walk you through the simple steps to reset the maintenance light on your Toyota FJ Cruiser, allowing you to get back on the road with confidence.

Follow these easy instructions and continue to enjoy the thrill of driving your well-maintained Toyota FJ Cruiser.

How to Reset Maintenance Light on Toyota Fj Cruiser

Credit: m.youtube.com

Understanding The Maintenance Light

Learn how to reset the maintenance light on your Toyota Fj Cruiser for easy upkeep. Keeping your vehicle in top shape is simple with this quick maintenance light reset guide. Take control of your car’s maintenance alerts with a few easy steps.

What is the maintenance light? The maintenance light is a feature in Toyota Fj Cruiser that indicates when service is due. Why does the maintenance light come on? The light comes on based on mileage or hours of operation to remind you of necessary maintenance. Regular maintenance is crucial for optimal performance and longevity of your Toyota Fj Cruiser. Here’s a simple guide on how to reset the maintenance light: 1. Turn Off the Engine: Before proceeding, ensure the engine is turned off completely. 2. Locate the Odometer Button: Find the odometer button on the dashboard. 3. Press and Hold: Press and hold the odometer button while turning the engine key to the “On” position. 4. Cycle Through: Cycle through until you see the maintenance light indicator on the odometer display. 5. Reset the Light: Once the light appears, press and hold the odometer button again until the light resets. 6. Verify Reset: Start the engine to ensure the maintenance light is no longer illuminated. 7. Maintenance Done: Congratulations! You have successfully reset the maintenance light on your Toyota Fj Cruiser. Remember, resetting the light does not mean you can skip maintenance. Stay on top of regular servicing for a well-maintained vehicle.
How to Reset Maintenance Light on Toyota Fj Cruiser

Credit: oilreset.com

Resetting The Maintenance Light

If the maintenance light on your Toyota Fj Cruiser is turned on, it means that it’s time for some routine maintenance. Luckily, resetting the maintenance light is a straightforward process that you can easily do at home. Follow these quick steps to reset the maintenance light on your Toyota Fj Cruiser:

Step 1: Turn The Ignition Key To The ‘on’ Position

Insert the key into the ignition and turn it to the ‘On’ position without starting the engine.

Step 2: Press And Hold The Trip Reset Button

Locate the trip reset button, usually found on the dashboard or steering wheel. Press and hold it down.

Step 3: Turn The Ignition Key To The ‘off’ Position

After holding the trip reset button, turn the ignition key to the ‘Off’ position.

Step 4: Release The Trip Reset Button

Release the trip reset button after turning off the ignition key.

Step 5: Start The Engine And Verify The Maintenance Light Is Reset

Finally, start the engine and check to ensure that the maintenance light is reset. If it’s still on, repeat the process or consult the vehicle manual for assistance.


Common Issues And Troubleshooting

When it comes to resetting the maintenance light on a Toyota Fj Cruiser, there are some common issues that you may encounter. Below are some troubleshooting steps to address these issues:

Maintenance Light Still On After Resetting

If you have followed the proper reset procedure for the maintenance light on your Toyota Fj Cruiser but the light is still on, there are a few potential issues to consider. Ensure that the reset procedure was performed correctly, and that all steps were completed as outlined in the owner’s manual. Additionally, check for any underlying maintenance issues that may need to be addressed, such as overdue oil changes or other necessary services. If the light persists, it may be necessary to consult with a qualified technician to diagnose any underlying issues.

Maintenance Light Keeps Coming Back On

When the maintenance light on your Toyota Fj Cruiser continues to illuminate after it has been reset, there could be a recurring issue that needs attention. Make sure to thoroughly inspect your vehicle for any underlying maintenance concerns, such as leaks or faulty sensors. It is important to address any necessary maintenance or repairs promptly to prevent the light from reoccurring. If the issue persists, seeking the assistance of a qualified mechanic or dealership may be necessary to diagnose and resolve the problem.

How to Reset Maintenance Light on Toyota Fj Cruiser

Credit: oilreset.com

Frequently Asked Questions On How To Reset Maintenance Light On Toyota Fj Cruiser

How Do You Reset The Maintenance Light On A Toyota Fj Cruiser?

To reset the maintenance light on a Toyota Fj Cruiser, simply follow these steps:
1. Insert the key into the ignition and turn it to the “ON” position without starting the engine. 2. Locate the trip odometer button and press and hold it down. 3. While holding down the button, turn the ignition key to the “OFF” position. 4. Continue holding the trip odometer button, then turn the ignition key back to the “ON” position. 5. Release the trip odometer button when the maintenance light starts to flash. 6. Start the engine and verify that the maintenance light has been successfully reset.

How Often Should The Maintenance Light Be Reset On A Toyota Fj Cruiser?

The maintenance light on a Toyota Fj Cruiser should be reset every time routine maintenance is performed, such as an oil change or tire rotation.

What Does It Mean When The Maintenance Light Comes On In A Toyota Fj Cruiser?

When the maintenance light comes on in a Toyota Fj Cruiser, it is a reminder that routine maintenance needs to be performed. It could indicate that an oil change or other service is due.

Conclusion

Keep your Toyota FJ Cruiser running smoothly by resetting the maintenance light hassle-free. Follow these simple steps to ensure your vehicle stays in top condition. Don’t let a flashing light disrupt your drive – take control and reset it in minutes.

Stay proactive with your vehicle maintenance routine.

How to Turn off Master Warning Light Toyota Highlander


To turn off the master warning light on a Toyota Highlander, locate the “Trip” button and press and hold it until the light turns off. If you’ve recently noticed the master warning light illuminated on your Toyota Highlander’s dashboard, you’re not alone.

This warning light can be triggered by a variety of issues, ranging from low fuel to brake system problems. While the light can be a cause for concern, it’s often easily resolved. In this guide, we’ll discuss how to turn off the master warning light on your Toyota Highlander, providing you with the knowledge to handle this situation quickly and efficiently.

By following these simple steps, you can ensure your vehicle is in top condition and address any potential issues that may have triggered the light.

How to Turn off Master Warning Light Toyota Highlander

Credit: www.carparts.com

Step-by-step Guide To Turn Off The Master Warning Light

Step-by-Step Guide to Turn off the Master Warning Light

Checking The Immediate Issue

Step 1: Check for any potential issues such as low tire pressure or engine problems.

Step 2: Ensure all doors are properly closed and there are no open warning lights on the dashboard.

Resetting The Master Warning Light

Step 1: Turn the ignition switch to the “on” position without starting the engine.

Step 2: Locate the reset button, typically found near the odometer on the instrument panel.

Step 3: Press and hold the reset button until the master warning light turns off.

Step 4: Start the engine to confirm that the warning light stays off.

You can follow these steps to effectively reset the master warning light on your Toyota Highlander and ensure a safe and smooth driving experience.

How to Turn off Master Warning Light Toyota Highlander

Credit: m.youtube.com

How to Turn off Master Warning Light Toyota Highlander

Credit: www.youtube.com

Frequently Asked Questions Of How To Turn Off Master Warning Light Toyota Highlander

Can I Turn Off The Master Warning Light In My Toyota Highlander?

Yes, you can turn off the master warning light in your Toyota Highlander by following a few simple steps.

How Can I Reset The Master Warning Light In My Toyota Highlander?

To reset the master warning light in your Toyota Highlander, you need to locate the reset button and press it for a few seconds until the light turns off.

Why Is The Master Warning Light On In My Toyota Highlander?

The master warning light in your Toyota Highlander could be on due to various reasons, such as low fuel, low tire pressure, or a malfunction in the vehicle’s system.

Conclusion

To sum up, knowing how to turn off the Master Warning Light in your Toyota Highlander is essential. By following the simple steps provided, you can quickly address any issues and ensure safe driving. Stay informed and proactive when dealing with dashboard warning lights for a smooth and worry-free driving experience.


How to Reset Maintenance Light on 2017 Toyota Sienna


To reset the maintenance light on a 2017 Toyota Sienna, turn the vehicle off and press the trip reset button while turning the ignition to “on” without starting the engine. After the maintenance light flashes and goes off, the reset is complete.

Resetting the maintenance light on your 2017 Toyota Sienna is a simple process that can be done in just a few steps. This ensures that you can keep track of your vehicle’s maintenance schedule and stay informed about important service intervals.

By following the manufacturer’s guidelines for resetting the maintenance light, you can ensure that your Sienna continues to perform at its best and stays in top condition.

How to Reset Maintenance Light on 2017 Toyota Sienna

Credit: www.reddit.com

Step 1: Preparation

To reset the maintenance light on a 2017 Toyota Sienna, follow Step 1: Preparation. This involves locating the trip meter button and turning off the car’s ignition.

In order to reset the maintenance light on your 2017 Toyota Sienna, you need to follow a few simple steps. Let’s start with Step 1: Preparation.

Gather Necessary Tools

Before beginning the maintenance light reset process, ensure you have the following tools:

  • Screwdriver
  • Owner’s manual

Park The Vehicle In A Safe Location

Find a secure spot to park your Toyota Sienna for the reset process. Make sure the area is well-lit and away from traffic.

How to Reset Maintenance Light on 2017 Toyota Sienna

Credit: www.youtube.com

Step 2: Locate The Reset Button

Now that you know why it’s essential to reset the maintenance light, let’s move on to the next step: finding the reset button on your 2017 Toyota Sienna. The reset button is an important feature that allows you to clear the maintenance light after performing the required maintenance on your vehicle.

Identify The Dashboard Cluster

Before you can locate the reset button, it’s important to identify the dashboard cluster on your Toyota Sienna. The dashboard cluster is the area behind the steering wheel that contains various gauges, lights, and indicators to provide you with important information about your vehicle’s status. It’s essential to familiarize yourself with this area to find the reset button.

Find The Reset Button

The reset button is typically located within the dashboard cluster. It may be labeled with the words “reset” or depicted by a symbol. Take a close look at the dashboard cluster and locate the button. It’s important to note that the exact placement of the reset button may vary slightly depending on the model and trim level of your Toyota Sienna.

Once you’ve identified the reset button, proceed to the next step in the process of resetting the maintenance light on your 2017 Toyota Sienna.

Step 3: Press And Hold The Reset Button

Start of the section about ‘Step 3: Press and hold the reset button’

In Step 3 of resetting the maintenance light on your 2017 Toyota Sienna, you will need to press and hold the reset button. This is a crucial step in the process, so it’s important to follow the instructions carefully.

H3 heading: Turn the ignition key to the ‘On’ position

Turn The Ignition Key To The ‘on’ Position

Before pressing and holding the reset button, ensure that the ignition key is in the ‘On’ position. This will activate the vehicle’s electrical systems and allow you to proceed with the reset process.

H3 heading: Press and hold the reset button

Press And Hold The Reset Button

Locate the reset button, usually found near the speedometer or on the dashboard. Once you have found the reset button, press and hold it for approximately 10-15 seconds. You should see the maintenance light start to flash, indicating that the reset process is in progress. Make sure to hold the button until the light stops flashing.

How to Reset Maintenance Light on 2017 Toyota Sienna

Credit: www.reddit.com

Step 4: Wait For The Maintenance Light To Reset

Step 4: Wait for the maintenance light to reset.

Monitor The Dashboard Cluster

Observe the dashboard for any changes in the maintenance light status.

Release The Reset Button, Ensuring

Release the reset button carefully to finalize the reset process.


Frequently Asked Questions On How To Reset Maintenance Light On 2017 Toyota Sienna

How Do I Reset The Maintenance Light On My 2017 Toyota Sienna?

To reset the maintenance light on your 2017 Toyota Sienna, follow these simple steps:
1. Turn the ignition key to the ON position without starting the engine. 2. Press and hold the Trip Reset button located on the instrument panel until the light blinks. 3. Release the Trip Reset button and turn the ignition off. The maintenance light should now be reset.

Why Is The Maintenance Light On My 2017 Toyota Sienna Blinking?

The blinking maintenance light on your 2017 Toyota Sienna indicates that your vehicle is due for regular maintenance. It is a reminder for you to schedule an appointment with your mechanic or dealership to get your car serviced.

How Often Should I Reset The Maintenance Light On My 2017 Toyota Sienna?

The maintenance light on your 2017 Toyota Sienna should be reset each time after performing routine maintenance, such as oil change, tire rotation, or any other service specified in your vehicle’s owner’s manual. By resetting the light, you ensure that the maintenance schedule is accurately tracked and kept up-to-date.

Conclusion

Resetting the maintenance light on your 2017 Toyota Sienna is a simple process that can save you time and money. By following these easy steps, you can ensure your vehicle stays in top condition. Stay proactive in your vehicle maintenance for a smooth and reliable driving experience.