Recent Posts

How to Get Check Engine Light Codes Without Scanner Toyota


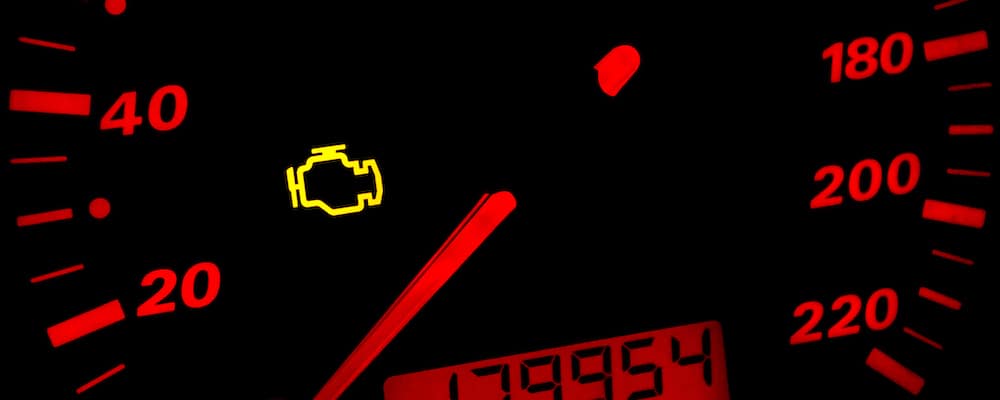
To get check engine light codes without a scanner for a Toyota, turn the ignition key on and off three times, then count the number of times the check engine light flashes. This method is known as the “flash code method” and can help you retrieve the diagnostic trouble codes (DTCs) stored in the vehicle’s computer.

If you’re experiencing issues with your Toyota vehicle and need to determine the specific problem triggering the check engine light, this method can provide valuable insight without the need for a scanner. By following these simple steps, you can access the necessary information to address any underlying automotive problems efficiently and effectively.

How to Get Check Engine Light Codes Without Scanner Toyota

Credit: www.youtube.com

Different Ways To Get Check Engine Light Codes

When your Toyota’s check engine light comes on, it’s essential to determine the underlying issue promptly. Here are some methods to retrieve check engine light codes without a scanner.

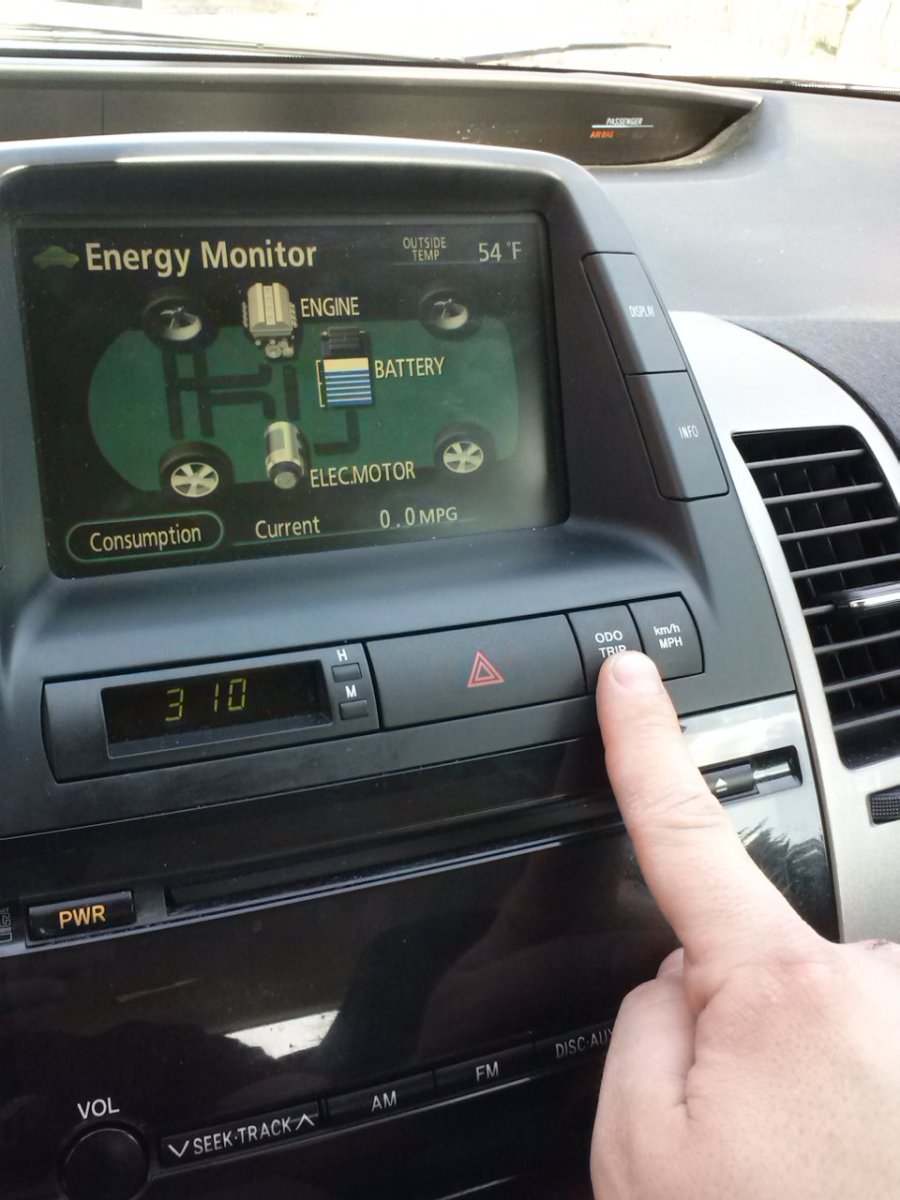
The trip meter method involves a simple sequence of steps to access check engine light codes on your Toyota. First, ensure your ignition key is in the off position.

  1. Press and hold the trip meter reset button.
  2. Turn the ignition key to the on position without starting the engine. Keep holding the reset button until the trip meter reads “000000.”
  3. Release the reset button, and the check engine light will start flashing the codes in a series of short and long pulses.

The paperclip or wire method is another DIY approach to extracting check engine light codes. You will need a small piece of wire or a paperclip for this method.

  1. Locate your Toyota’s diagnostic connector under the dashboard near the driver’s side.
  2. Insert the paperclip or wire into the terminals TE1 and E1 to jump-start the diagnostic system.
  3. Observe the check engine light flashes to decode the fault codes, where a series of long and short pulses represent different numbers.

If your Toyota is an older model manufactured before 1996, you can utilize an OBD-I scanner tool to read the check engine light codes. This method provides more accurate results.

  1. Locate the diagnostic connector under the hood or dashboard, depending on your Toyota’s model year.
  2. Connect the OBD-I scanner tool and turn the ignition key to the on position to retrieve the error codes.
  3. Refer to the scanner’s manual to interpret the specific codes for troubleshooting your Toyota effectively.
How to Get Check Engine Light Codes Without Scanner Toyota

Credit: www.youtube.com

Using The Trip Meter Method

If you’re experiencing issues with your Toyota and need to retrieve the check engine light codes without a scanner, the trip meter method is an effective way to do so. This method allows you to access and record trouble codes using your vehicle’s trip meter button. Follow the simple steps below to retrieve the codes and diagnose the specific issue with your Toyota.

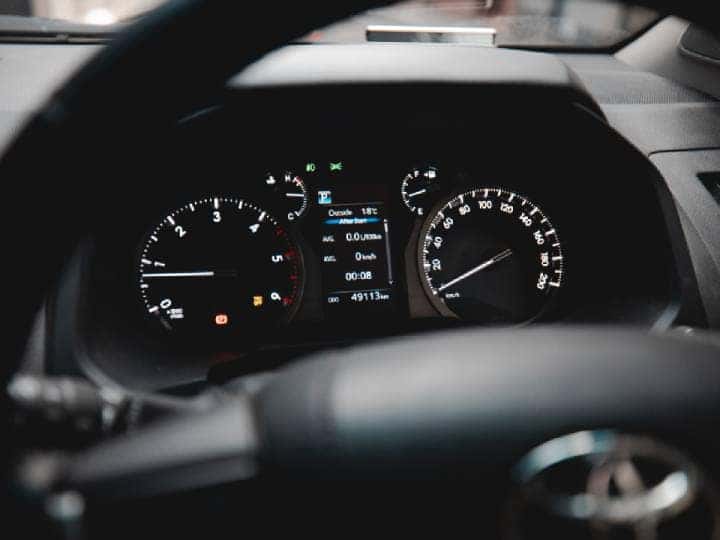
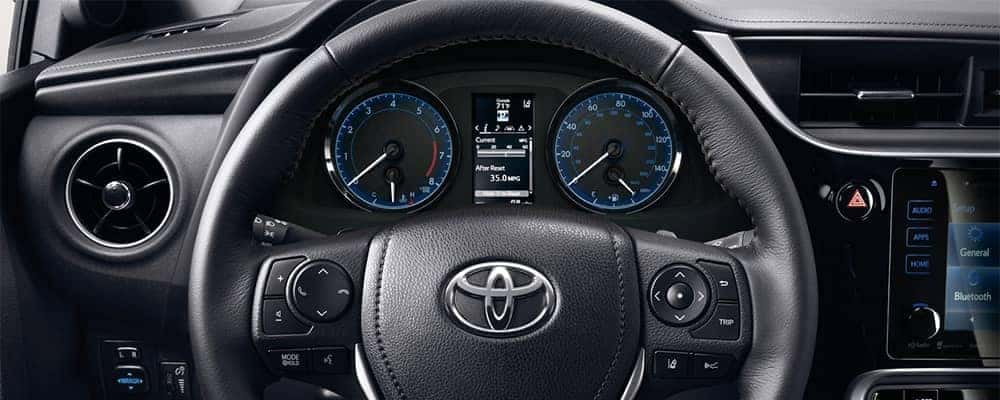
Step 1: Turn On Your Ignition

Before starting the process, ensure that the ignition of your Toyota is turned on. You don’t need to start the engine, but the ignition should be active to initiate the procedure.

Step 2: Use The Trip Meter Button

Once the ignition is on, locate the trip meter button on your dashboard. Press and hold the trip meter button to begin accessing the check engine light codes. Keep the button pressed for a few seconds until the trip meter display changes.

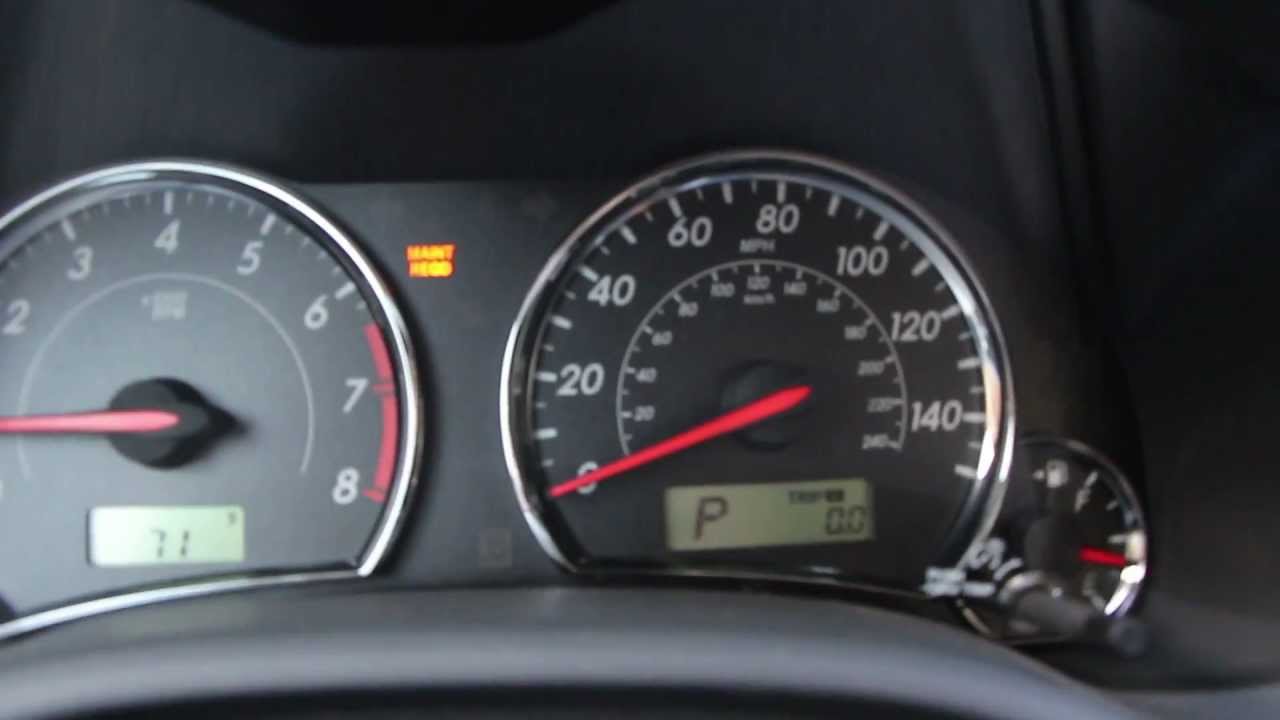
Step 3: Record The Codes

As you hold the trip meter button, you will see a series of numbers and letters appear on the display. These alphanumeric characters are the check engine light codes that indicate the specific issues in your Toyota. Make sure to record these codes accurately as they will help in diagnosing the problem with your vehicle.

Using A Paperclip Or Wire Method


How to Get Check Engine Light Codes Without Scanner Toyota

If your Toyota is displaying the check engine light and you need to retrieve the trouble codes without a scanner, you can utilize the paperclip or wire method to access the codes. This DIY approach can help you to identify the issue causing the check engine light with minimal tools and equipment.

Step 1: Locate The Diagnostic Connector

First, locate the diagnostic connector, also known as the OBD-II connector. It is commonly situated underneath the dashboard on the driver’s side. Once you have found it, you can proceed to the next step.

Step 2: Connect The Paperclip Or Wire

Using a paperclip or wire, carefully insert one end into the TE1 terminal and the other into the E1 terminal of the diagnostic connector. Ensure that the connection is secure and properly maintained throughout the process.

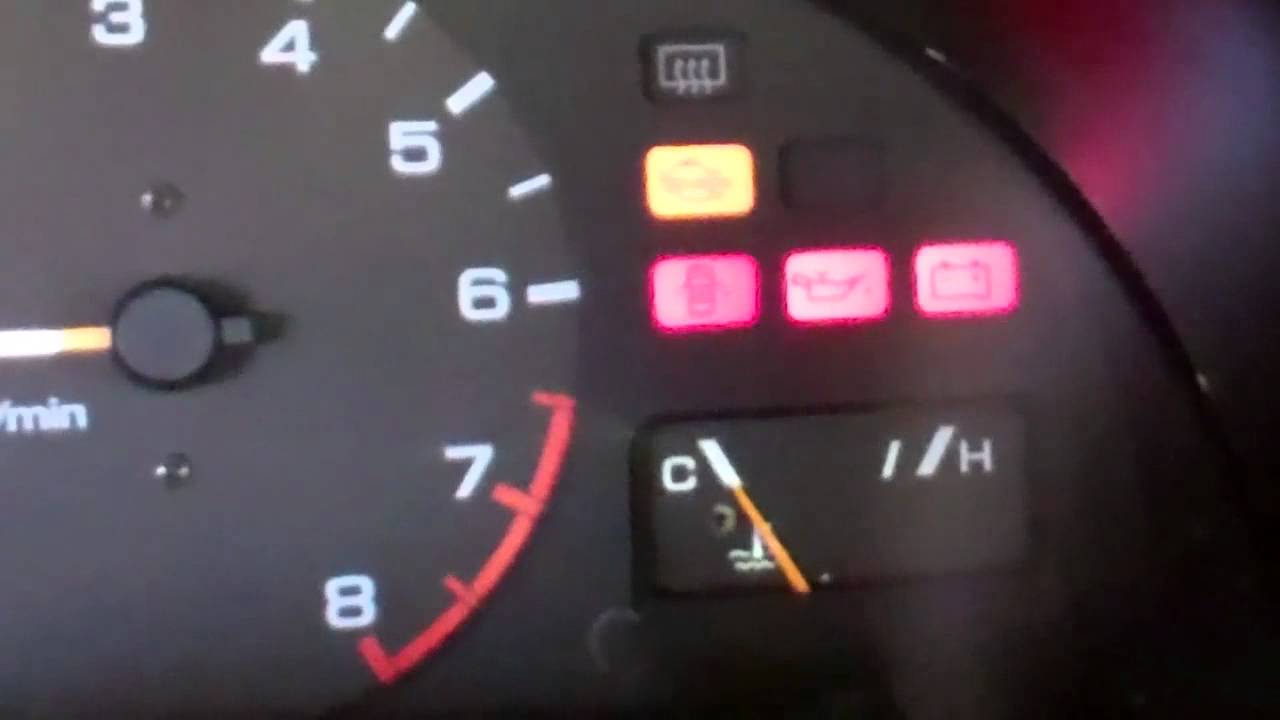
Step 3: Observe The Check Engine Light Flashes

After connecting the paperclip or wire, turn the ignition key to the ON position without starting the engine. Observe the check engine light on the dashboard and count the number of flashes. Each flash represents a specific digit in the trouble code.

Step 4: Decode The Flashes

Once you have noted the flashes, refer to a Toyota check engine light code chart to decode the sequence of flashes. This will enable you to identify the error codes related to the specific issue triggering the check engine light.


Using An Obd-i Scanner Method

First, find the diagnostic connector in your Toyota vehicle. It is typically located under the dashboard near the driver’s side.

Connect the OBD-I scanner to the diagnostic connector. Ensure a secure connection to access the check engine codes.

Once connected, follow the OBD-I scanner instructions to retrieve the check engine light code stored in your Toyota’s computer system.

How to Get Check Engine Light Codes Without Scanner Toyota

Credit: www.amazon.com

Frequently Asked Questions On How To Get Check Engine Light Codes Without Scanner Toyota

How Can I Get The Check Engine Light Codes Without A Scanner For My Toyota?

You can try using the “paperclip method” to jump the diagnostic connector terminals and count the flashes to obtain the codes.

Is There A Way To Retrieve Check Engine Light Codes Without Using A Scanner In A Toyota?

Yes, another method is to turn the ignition on and off three times, count the number of times the check engine light flashes, and then refer to a code chart for the corresponding error.

What Are The Potential Risks Of Retrieving Check Engine Light Codes Without A Scanner In A Toyota?

Retrieving codes without a scanner may not provide specific details about the underlying issue. It is best to consult a professional for a thorough diagnosis and appropriate solutions.

Conclusion

In sum, decoding check engine light codes on your Toyota without a scanner is practical. Utilizing the paperclip method is a cost-effective and handy approach. By following the steps outlined, you can effectively troubleshoot issues with your vehicle and save money on diagnostic services.

Start decoding today.

How to Reset Maintenance Light on Toyota Avalon


To reset the maintenance light on a Toyota Avalon, first, turn the ignition switch to the “off” position. Next, press and hold the trip reset button.

While holding the button, turn the ignition switch to the “on” position. Hold the button until the light resets. Owning a Toyota Avalon means attention to regular maintenance. A vital aspect is resetting the maintenance light. This indicator reminds you to schedule routine service appointments.

By resetting the light, you acknowledge completion of necessary maintenance, helping your vehicle operate at its best. We will guide you through the simple process of resetting the maintenance light on a Toyota Avalon, ensuring that you can easily maintain your vehicle’s optimal performance.

How to Reset Maintenance Light on Toyota Avalon

Credit: www.findlaytoyota.com

Understanding The Maintenance Light

What Is The Maintenance Light?

The maintenance light on your Toyota Avalon is a crucial indicator that alerts you when it’s time for routine maintenance. It is designed to ensure your vehicle functions optimally.

Importance Of Resetting The Maintenance Light

Resetting the maintenance light is essential to keep your Toyota Avalon in top condition and prevent potential issues down the road. It helps you stay proactive with maintenance tasks.

Resetting The Maintenance Light On Toyota Avalon

Resetting the Maintenance Light on Toyota Avalon

To reset the maintenance light on your Toyota Avalon, follow these simple steps. It’s important to reset the light after completing maintenance to ensure accurate tracking of future service intervals and to maintain the performance of your vehicle.

Step 1: Prepare The Vehicle

Ensure that the vehicle is in a stationary position with the engine turned off. Have the ignition key readily available before proceeding with the steps.

Step 2: Turn The Ignition Key

Insert the key into the ignition and turn it to the “on” position. Avoid starting the engine; keep it in the “on” position without starting.

Step 3: Press And Hold The Trip Odometer Button

Locate the trip odometer button, which is typically located near the speedometer. Press and hold this button while the ignition is in the “on” position.

Step 4: Release The Button

Release the trip odometer button once the maintenance light begins to flash or goes out. This indicates that the resetting process has been initiated.

Step 5: Turn Off The Ignition

Turn off the ignition and ensure that the maintenance light is no longer illuminated when you restart the vehicle. This confirms that the maintenance light has been successfully reset.


Common Mistakes To Avoid

Avoiding common mistakes when resetting the maintenance light on your Toyota Avalon can save time and frustration. By familiarizing yourself with these errors, you can ensure a smooth process and prevent potential complications. Here are the common mistakes to avoid:

Not Following The Steps Correctly

When resetting the maintenance light on your Toyota Avalon, it’s crucial to follow the steps in the correct sequence. Missing or out of order steps can result in the light not resetting properly. Be sure to carefully read the owner’s manual and understand each step before proceeding. This will help you avoid unnecessary errors and ensure a successful reset.

Forgetting To Release The Trip Odometer Button

One common mistake is forgetting to release the trip odometer button after holding it down to reset the maintenance light. Failing to release the button can prevent the reset from taking effect, leaving the maintenance light illuminated. Pay close attention to this step and make sure to release the button as directed in the manual.

How to Reset Maintenance Light on Toyota Avalon

Credit: www.youtube.com

Other Methods To Reset The Maintenance Light

If the traditional method of resetting the maintenance light on your Toyota Avalon doesn’t work, there are alternative approaches you can try. Below are two additional methods to reset the maintenance light that may prove useful.

Using A Diagnostic Tool

Sometimes, using a diagnostic tool can be an effective way to reset the maintenance light on your Toyota Avalon. Here’s how you can do it:

  1. Connect the diagnostic tool to the car’s onboard diagnostic port.
  2. Follow the tool’s instructions to navigate to the maintenance light reset option.
  3. Select the reset option to clear the maintenance light from the dashboard.

Consulting The Owner’s Manual

If you’re unsure about how to reset the maintenance light on your Toyota Avalon, referring to the owner’s manual is always a reliable option. Here’s what you need to do:

  • Locate the section in the owner’s manual that explains how to reset the maintenance light.
  • Follow the step-by-step instructions provided in the manual to reset the light correctly.
  • Once you have completed the reset process, the maintenance light should no longer be illuminated.
How to Reset Maintenance Light on Toyota Avalon

Credit: oilreset.com

Frequently Asked Questions Of How To Reset Maintenance Light On Toyota Avalon

How Often Should I Reset The Maintenance Light On My Toyota Avalon?

It is recommended to reset the maintenance light after performing any routine maintenance service on your Toyota Avalon.

Is Resetting The Maintenance Light On A Toyota Avalon Difficult?

No, resetting the maintenance light on a Toyota Avalon is a simple and straightforward process that can be done by following a few easy steps.

Will Resetting The Maintenance Light On My Toyota Avalon Affect Its Warranty?

No, resetting the maintenance light on your Toyota Avalon will not affect its warranty. It is a routine procedure that does not void any warranty terms or conditions.

Conclusion

Resetting the maintenance light on your Toyota Avalon is essential for vehicle upkeep. By following these simple steps, you can ensure your car runs smoothly and efficiently. Don’t overlook this important task to keep your Toyota in top condition for many miles ahead.

Stay proactive and maintain your car with confidence.

How to Turn on Toyota Emblem Light


To turn on the Toyota emblem light, locate the emblem on the front grille and press the button. You can easily illuminate the emblem on your Toyota by following these simple steps.

In addition to adding a stylish touch to your vehicle, the illuminated emblem can also enhance visibility and safety, particularly in low-light conditions. The process is straightforward and can be completed without any additional tools or expertise. By following these instructions, you can effortlessly activate the emblem light and enjoy the unique and eye-catching feature on your Toyota vehicle.

Whether you want to enhance the aesthetic appeal or improve visibility, turning on the Toyota emblem light is a simple and effective way to elevate your driving experience.

How to Turn on Toyota Emblem Light

Credit: www.amazon.com

Step 1: Locate The Toyota Emblem

When it comes to turning on the Toyota emblem light, the first step is to locate the emblem on your vehicle.

Understand The Location Of The Emblem On Your Toyota Vehicle

Before proceeding, ensure you know where the Toyota emblem is positioned on your specific model.

How to Turn on Toyota Emblem Light

Credit: www.ebay.com

Step 2: Remove The Emblem Cover

Once you have located the emblem light on your Toyota, the next step is to remove the cover. This cover protects the emblem light and may need to be removed in order to access the light for replacement or repair.

Identify The Cover Over The Emblem

The cover over the emblem can vary depending on the model of your Toyota. It’s usually a small, plastic piece located on the front grille or rear hatch. Identify the cover by closely examining the emblem area for any seams or notches that suggest it can be removed.

Gently Remove The Cover Without Causing Any Damage

When removing the cover, use gentle and steady pressure to avoid damaging it. In most cases, the cover can be carefully pried off using a flathead screwdriver or a plastic trim removal tool. If necessary, refer to your vehicle’s manual for specific instructions on removing the emblem cover without causing any damage.


Step 3: Connect The Power Source

Locate The Power Source For The Emblem Light

First, you need to locate the power source for the emblem light. The power source is usually found in the engine compartment of your Toyota vehicle. It can be connected to the battery or to the vehicle’s electrical system. Look for the appropriate wires or connectors that will provide power to the emblem light.

Connect The Power Source To The Emblem Light

Once you have located the power source, it’s time to connect it to the emblem light. This typically involves connecting the power wires of the emblem light to the power source using wire connectors or a soldering iron. Make sure to follow the manufacturer’s instructions carefully to ensure a proper and secure connection.

After connecting the power source, test the emblem light to ensure that it is functioning correctly. If all goes well, you are now ready to enjoy the enhanced style and visibility provided by your Toyota emblem light!

Step 4: Test The Emblem Light

Step 4: Test the emblem light on your Toyota to ensure it is functioning properly.

Switch On The Power To Test If The Emblem Light Is Working Properly

Turn the ignition key to the “On” position.

  1. Check if the emblem light illuminates brightly.
  2. Verify if the light color matches your preference.
  3. Ensure there are no flickering or dimming issues.

Ensure Each Heading Adheres To Html Syntax.

How to Turn on Toyota Emblem Light

Credit: www.tacomaworld.com

Frequently Asked Questions For How To Turn On Toyota Emblem Light

How Do I Turn On The Toyota Emblem Light?

To turn on the Toyota emblem light, locate the emblem on the front grille and press the designated button or switch.

Can I Customize The Color Of The Toyota Emblem Light?

Yes, you can customize the color of the Toyota emblem light by accessing the settings in your vehicle’s dashboard display or control panel.

Does The Toyota Emblem Light Stay On While Driving?

No, the Toyota emblem light does not stay on while driving. It is designed to turn on only when the vehicle is parked or when the headlights are turned on.

Conclusion

To conclude, turning on your Toyota emblem light is simple with these step-by-step instructions. Enhance the look of your car and stand out on the road effortlessly. Practice these tips to illuminate your Toyota emblem with ease. Illuminate and drive in style today!

How to Reset Maintenance Light on Toyota Prius 2008


To reset the maintenance light on a 2008 Toyota Prius, first turn on the ignition without starting the engine. Press the odometer button until the trip meter displays TRIP A, then turn off the ignition.

Press and hold the odometer button while turning the ignition back on. After about 10 seconds, the display should reset to “000000. ” Toyota Prius 2008 is a popular hybrid car known for its fuel efficiency and eco-friendly features. However, like all vehicles, it requires regular maintenance to ensure optimal performance and longevity.

One common issue Prius owners encounter is the maintenance light coming on, indicating the need for service. Fortunately, resetting the maintenance light is a straightforward process that can be done at home, saving time and money. In this guide, we’ll walk you through the simple steps to reset the maintenance light on your Toyota Prius 2008.

How to Reset Maintenance Light on Toyota Prius 2008

Credit: m.youtube.com

Why Resetting The Maintenance Light Is Important

Resetting the maintenance light on your Toyota Prius 2008 is crucial for ensuring proper maintenance, avoiding unnecessary service, and maintaining resale value.

Ensuring Proper Maintenance

  • Keeps your vehicle in optimal condition
  • Alerts you to any impending issues promptly
  • Helps prevent major breakdowns

Avoiding Unnecessary Service

  • Prevents unnecessary trips to the mechanic
  • Saves time and money on unnecessary repairs
  • Enhances the longevity of your vehicle

Maintaining Resale Value

  • Demonstrates proper care and maintenance
  • Creates a positive impression for potential buyers
  • Increases the resale value of your Toyota Prius
How to Reset Maintenance Light on Toyota Prius 2008

Credit: www.tvtoyota.com

Step-by-step Guide To Resetting The Maintenance Light

Here’s a step-by-step guide to resetting the maintenance light on your Toyota Prius 2008. Follow these simple instructions to clear the maintenance notification and ensure your vehicle is in top condition.

Locating The Obd-ii Port

To begin, you will need to locate the OBD-II port on your Prius. This port is typically found underneath the dashboard on the driver’s side. It is often positioned near the steering column for easy access.

Powering On The Prius

Once you have located the OBD-II port, insert your key into the ignition and turn it to the “on” position. Ensure that all the doors are closed before proceeding. Press the “power” button without pressing the brake pedal, and wait for the various dashboard lights to illuminate.

Accessing The Maintenance Menu

After powering on the Prius, look for the “trip” button on the instrument panel. It is typically located to the right of the speedometer. Once you have found the trip button, press and hold it until the odometer display changes to show the maintenance menu.

Resetting The Maintenance Light

When the maintenance menu appears, use the trip button to navigate to the “reset” option. Once you have selected the reset option, press and hold the trip button again to confirm the reset. The maintenance light should now be reset, and you should see a confirmation on the odometer display.

Common Issues And Troubleshooting

Learn how to reset the maintenance light on your Toyota Prius 2008 with these easy troubleshooting steps. Keep your vehicle in top shape and eliminate the annoyance of a glowing maintenance light.

Maintenance Light Still Illuminated

If the maintenance light on your Toyota Prius 2008 remains illuminated after attempting to reset it, there may be a few common issues to troubleshoot.

Firstly, ensure that the reset procedure was performed correctly, following the specific steps outlined in the owner’s manual. If the light persists, it could indicate an underlying problem with the vehicle that needs to be addressed by a professional mechanic.

Additionally, if the maintenance light continues to stay on, it may be a sign of a more complex issue with the vehicle’s diagnostic system, requiring further diagnostic testing.

Difficulty Accessing The Maintenance Menu

Encountering difficulties accessing the maintenance menu when attempting to reset the maintenance light on your Toyota Prius 2008 can be frustrating. Before troubleshooting, double-check that the vehicle is parked and the engine is turned off.

If difficulties persist, ensure that the vehicle battery is adequately charged, as low voltage can impact menu access. If the issue persists, consult the owner’s manual for alternative methods to access the maintenance menu.

If the problem remains unresolved, it may be necessary to seek professional assistance to diagnose and rectify the underlying cause of the menu access issue.

Resetting The Wrong Warning Light

If you accidentally reset the wrong warning light on your Toyota Prius 2008, don’t worry – it’s a common mistake. Firstly, identify which warning light was reset by the mistake and then proceed to reset the maintenance light following the correct procedure outlined in the owner’s manual. It’s essential to pay close attention to the instructional steps to avoid resetting the wrong warning light in the future.

If there are multiple warning lights on, use the owner’s manual or seek professional help to correctly identify and address each warning individually.

Other Tips For Prius Maintenance

Checking and maintaining proper fluid levels in your Toyota Prius is essential for its longevity.

To prevent engine damage, regularly check and top up the engine oil, coolant, brake fluid, and windshield washer fluid.

Adhering to the recommended maintenance schedule is crucial to keep your Prius running smoothly.

Make sure to follow the manufacturer’s guidelines for oil changes, filter replacements, tire rotations, and other necessary maintenance tasks.

When it comes to replacing parts in your Prius, always opt for genuine Toyota parts.

These parts are specifically designed for your vehicle, ensuring optimal performance and durability.

How to Reset Maintenance Light on Toyota Prius 2008

Credit: axleaddict.com

Frequently Asked Questions Of How To Reset Maintenance Light On Toyota Prius 2008

How Can I Reset The Maintenance Light On My Toyota Prius 2008?

To reset the maintenance light on your Toyota Prius 2008, follow these simple steps:
1. Turn your key to the “off” position. 2. Press and hold the trip meter reset button. 3. While holding the button, turn the key to the “on” position (but don’t start the engine). 4. Continue holding the button until the maintenance light goes off.

Why Is The Maintenance Light On In My Toyota Prius 2008?

The maintenance light in your Toyota Prius 2008 is an indicator that your vehicle is due for routine maintenance. It is a reminder to have your vehicle serviced by a qualified technician to ensure its optimal performance and longevity.

What Should I Do If The Maintenance Light Keeps Coming Back On?

If the maintenance light in your Toyota Prius 2008 keeps coming back on, despite having the necessary routine maintenance, it is recommended to have your vehicle inspected by a mechanic. They will be able to diagnose any underlying issues that may be causing the light to reappear.

Conclusion

Resetting the maintenance light on a Toyota Prius 2008 is simple. By following the steps outlined in this guide, you can easily take care of this task. Keeping up with your car’s maintenance is crucial for its longevity and performance.

Remember to reset the light periodically to ensure smooth driving.

How Do I Turn off Maintenance Required Light on Toyota


To turn off the maintenance required light on your Toyota, follow these simple steps: Insert the key into the ignition, turn it to the “on” position, but don’t start the car. Then, press and hold the trip reset button until the maintenance light turns off.

If you drive a Toyota vehicle, you may have encountered the “maintenance required” light on your dashboard. This indicator is designed to alert you when your vehicle is due for regular maintenance. While it’s important to service your car when prompted, you may find that the light remains on even after the maintenance is completed.

In this case, you’ll need to manually reset the light to ensure it accurately reflects the status of your vehicle’s maintenance schedule. Luckily, this process can be easily performed at home, saving you time and money. Keep reading to learn the simple steps for turning off the maintenance required light on your Toyota.

How Do I Turn off Maintenance Required Light on Toyota

Credit: www.redmccombstoyota.com

Methods To Turn Off The Maintenance Required Light

To turn off the maintenance required light on a Toyota, start by turning the ignition to the “off” position. Next, press and hold the trip reset button, then turn the key to the “on” position. Continue holding the button until the light turns off, indicating that the maintenance required light has been successfully reset.

Methods to Turn off the Maintenance Required Light

Turning off the Maintenance Required Light on your Toyota is a straightforward task. There are two primary methods to achieve this – using the Trip Meter and utilizing the Odometer.


Using The Trip Meter


1. Turn your vehicle’s ignition switch to the “Off” position.
2. Press and hold the Trip Meter Reset button.
3. While holding the button, turn the ignition key to the “On” position.
4. Continue holding the Trip Meter Reset button until the Maintenance Required Light turns off.
5. Release the button, and the Maintenance Required Light should now be reset.

Using The Odometer

1. Place the key in the ignition and ensure it is set to the “Off” position.
2. Press and hold the Odometer Trip Button.
3. While holding the button, turn the key to the “On” position without starting the engine.
4. Wait for the Maintenance Required Light to flash and then turn off.
5. Release the Odometer Trip Button to complete the process successfully.

By following these simple steps using either the Trip Meter or Odometer method, you can easily turn off the Maintenance Required Light on your Toyota yourself.

How Do I Turn off Maintenance Required Light on Toyota

Credit: m.youtube.com

How Do I Turn off Maintenance Required Light on Toyota

Credit: www.mariettatoyota.com

Frequently Asked Questions For How Do I Turn Off Maintenance Required Light On Toyota

How Often Should I Turn Off Maintenance Required Light On Toyota?

To avoid potential issues, it is recommended to turn off the Maintenance Required Light on Toyota every time it appears.

What Are The Consequences Of Not Turning Off Maintenance Required Light On Toyota?

Neglecting to turn off the Maintenance Required Light on Toyota can lead to overlooked maintenance tasks, potential engine damage, and decreased vehicle performance.

Is It Safe To Drive With Maintenance Required Light On Toyota?

While it is safe to drive with the Maintenance Required Light on Toyota illuminated temporarily, it is crucial to address the underlying maintenance issue as soon as possible to prevent further complications.

Conclusion

In short, turning off the maintenance required light on your Toyota is simple. By following a few steps, you can easily reset the light and ensure your vehicle is running smoothly. Don’t let this light stress you out – with the right information, you can take control of your car’s maintenance.

How to Reset Maintenance Light on Toyota 4 Runner


To reset the maintenance light on a Toyota 4Runner, follow these steps: Turn the ignition key to the “Off” position, press and hold the trip meter button, then turn the key to the “On” position without starting the engine, and release the trip meter button. In the United States, the button sequence may differ for other countries.

Consult the owner’s manual for specific instructions. Resetting the maintenance light on your Toyota 4Runner is a simple process that can be done in just a few minutes. Regular maintenance is crucial for the longevity and performance of your vehicle, and resetting the maintenance light ensures that you stay on top of scheduled service.

Whether you’ve performed the maintenance yourself or had it done at a service center, it’s important to reset the light to ensure accurate tracking of your vehicle’s maintenance schedule. In this guide, we’ll walk you through the steps to reset the maintenance light on your Toyota 4Runner, so you can keep your vehicle running smoothly and efficiently.

How to Reset Maintenance Light on Toyota 4 Runner

Credit: m.youtube.com

Why Resetting Is Important

Resetting the maintenance light on your Toyota 4Runner is an essential task that should not be overlooked. It not only ensures the smooth operation of your vehicle but also helps in maintaining its longevity. Let’s delve into the reasons why resetting the maintenance light is crucial.

Preventive Maintenance Benefits

By resetting the maintenance light, you are effectively acknowledging that the necessary maintenance tasks have been carried out on your Toyota 4Runner. This proactive approach to vehicle care can help in identifying and addressing any potential issues before they escalate, saving you from costly repairs in the future.

Methods To Reset

When it comes to resetting the maintenance light on a Toyota 4Runner, there are a few different methods you can use. Below, we will explore two effective ways to reset the maintenance light in your 4Runner.

Method 1: Manual Reset Steps

If you prefer to reset the maintenance light on your Toyota 4Runner manually, follow these simple steps:

  1. Insert the key into the ignition and turn it to the “On” position, without starting the engine.
  2. Locate and press the odometer button until you see the odometer reading, not the trip meter.
  3. Turn the key to the “Off” position while holding down the odometer button.
  4. Turn the key back to the “On” position while continuing to hold the odometer button.
  5. Keep holding the button until the maintenance light resets, indicating that the reset is successful.

Method 2: Using Obd-ii Scanner

If you prefer a more modern approach, you can use an OBD-II scanner to reset the maintenance light. Follow these steps:

  1. Locate the OBD-II port under the dashboard of your 4Runner.
  2. Plug in your OBD-II scanner and turn the ignition key to the “On” position.
  3. Follow the instructions on your OBD-II scanner to navigate the reset process.
  4. Once the scanner indicates that the reset is successful, unplug the OBD-II scanner and start your 4Runner to ensure the maintenance light is no longer illuminated.

Tips And Safety Precautions

When resetting the maintenance light on your Toyota 4Runner, it’s crucial to follow certain tips and safety precautions to ensure a smooth process.

Safety Precautions To Consider

  • Avoid resetting the maintenance light while the vehicle is in motion.
  • Ensure the parking brake is engaged before initiating any maintenance procedures.
  • Always wear safety gloves and goggles when working on your vehicle.
  • Disconnect the vehicle’s battery before attempting any maintenance tasks.

Additional Tips For Maintenance

  • Refer to the owner’s manual for specific instructions on resetting the maintenance light.
  • Double-check all connections and fittings to ensure they are secure.
  • Use the appropriate tools and equipment for the task at hand.
How to Reset Maintenance Light on Toyota 4 Runner

Credit: www.howtoautomotive.com

How to Reset Maintenance Light on Toyota 4 Runner

Credit: www.jdpower.com

Frequently Asked Questions For How To Reset Maintenance Light On Toyota 4 Runner

How Do I Reset The Maintenance Light On A Toyota 4 Runner?

To reset the maintenance light on your Toyota 4 Runner, follow these steps: turn off the engine, press and hold the trip meter reset button, turn the engine switch to the “on” position, continue holding the button until the light extinguishes, and then release the button.

Why Is The Maintenance Light On In My Toyota 4 Runner?

The maintenance light in your Toyota 4 Runner turns on as a reminder for routine maintenance, such as an oil change or tire rotation. It’s important to address these maintenance tasks promptly to ensure the longevity and performance of your vehicle.

Can I Reset The Maintenance Light Myself, Or Do I Need To Take It To A Mechanic?

You can easily reset the maintenance light on your Toyota 4 Runner yourself, without the need for a mechanic. Simply follow the steps outlined in the owner’s manual or consult online resources for the specific procedure for your vehicle model.

It’s a quick and simple task that can be done at home.

Conclusion

Finally, resetting the maintenance light on your Toyota 4Runner is a simple task that can save you time and money. By following the steps outlined in this guide, you can ensure your vehicle continues to run smoothly. Regular maintenance is key to keeping your car in top condition.

Keep up the good work!